

Five Years to Build a Garden
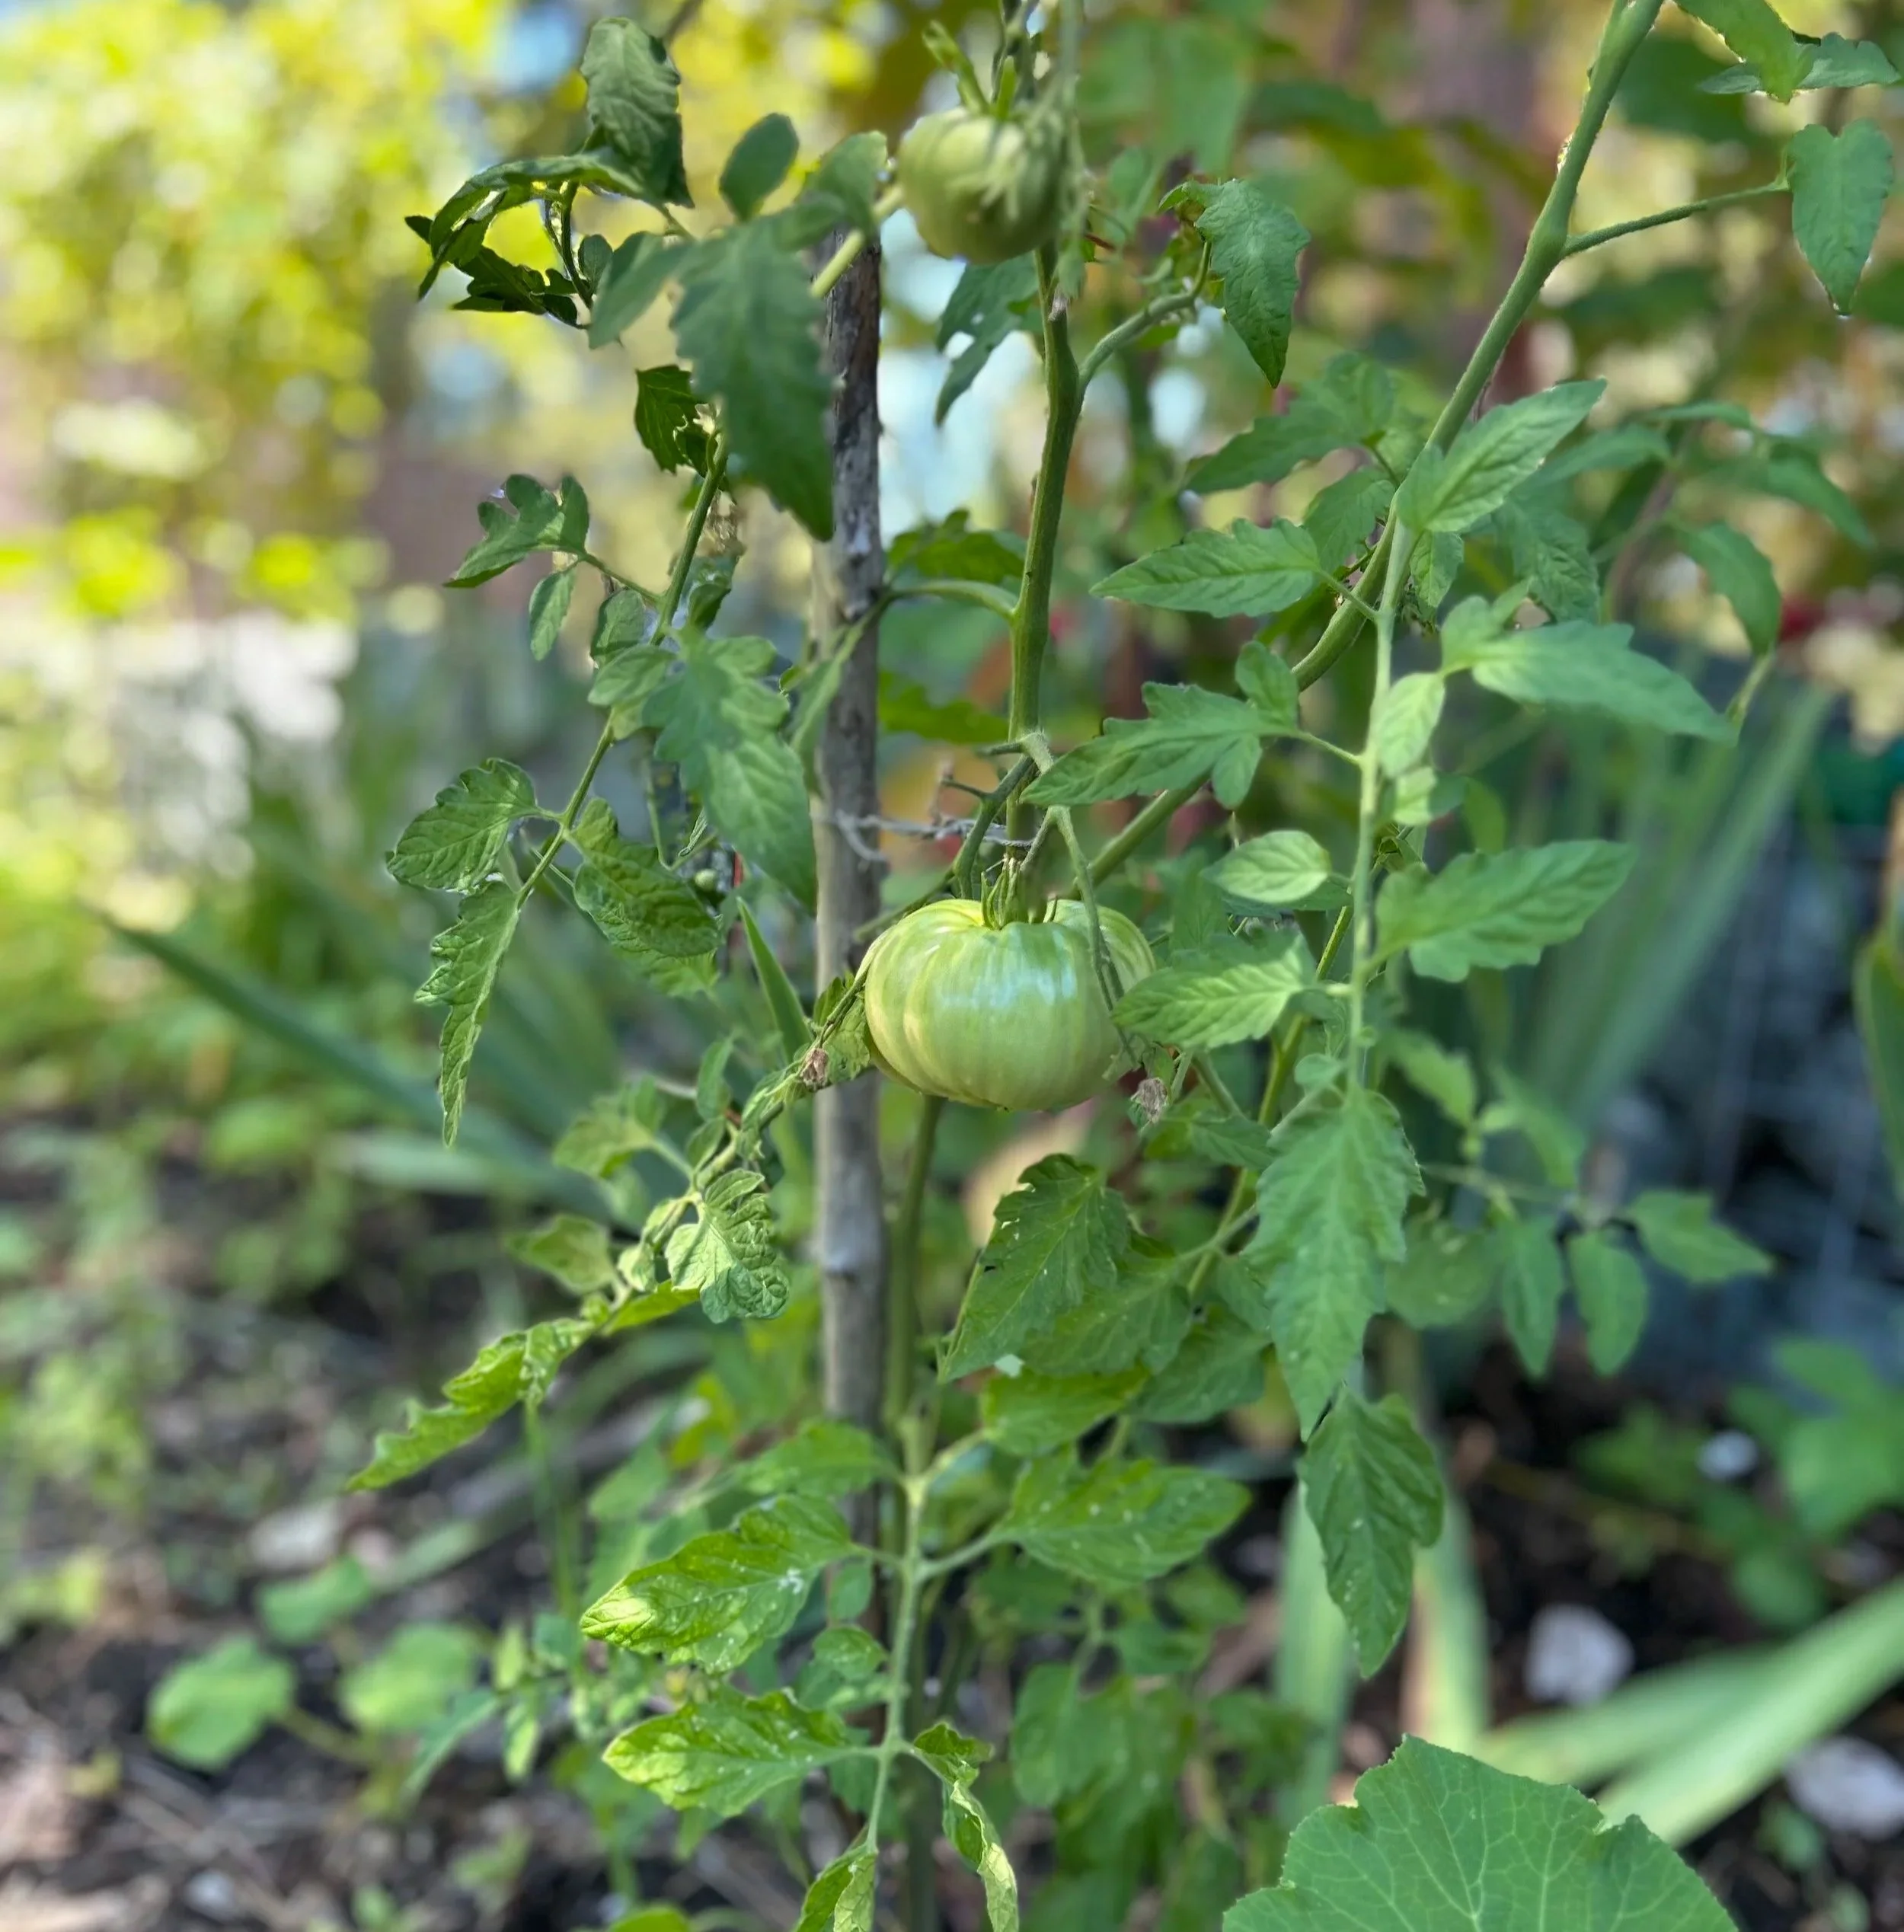
Tomato plant on July 8, 2026
Five Years to Grow a Garden
Do you have a garden? Have you ever thought about planting a garden? In this newsletter I share my recent adventures in gardening.
When we first moved to Northern California in July of 2021, one of the very first things I did, even before building a house, was build a garden. You could safely say gardening was a priority for me. In fact, before we chose the spot for where we would build a house, I chose the spot for the garden. That was, of course, a spot with a lot of sun exposure. It was a southwest facing slope and one of the few spots that was tree-free on the 30 acres of forested land that we call home.
Now, you might read that last paragraph and think I am some sort of green-thumbed master gardener. I am not. I tinker. I experiment. I make mistakes. I get ridiculously happy at the tiniest successes in my garden. I get inspired by gorgeous gardening books and friends' gardens. I ask questions at the farmers market. As a child my family always had a garden. The logical side of me tells me I should have a garden. I should grow my own food. And so, I approach gardening with passion and curiosity as well as a sense of duty and obligation.
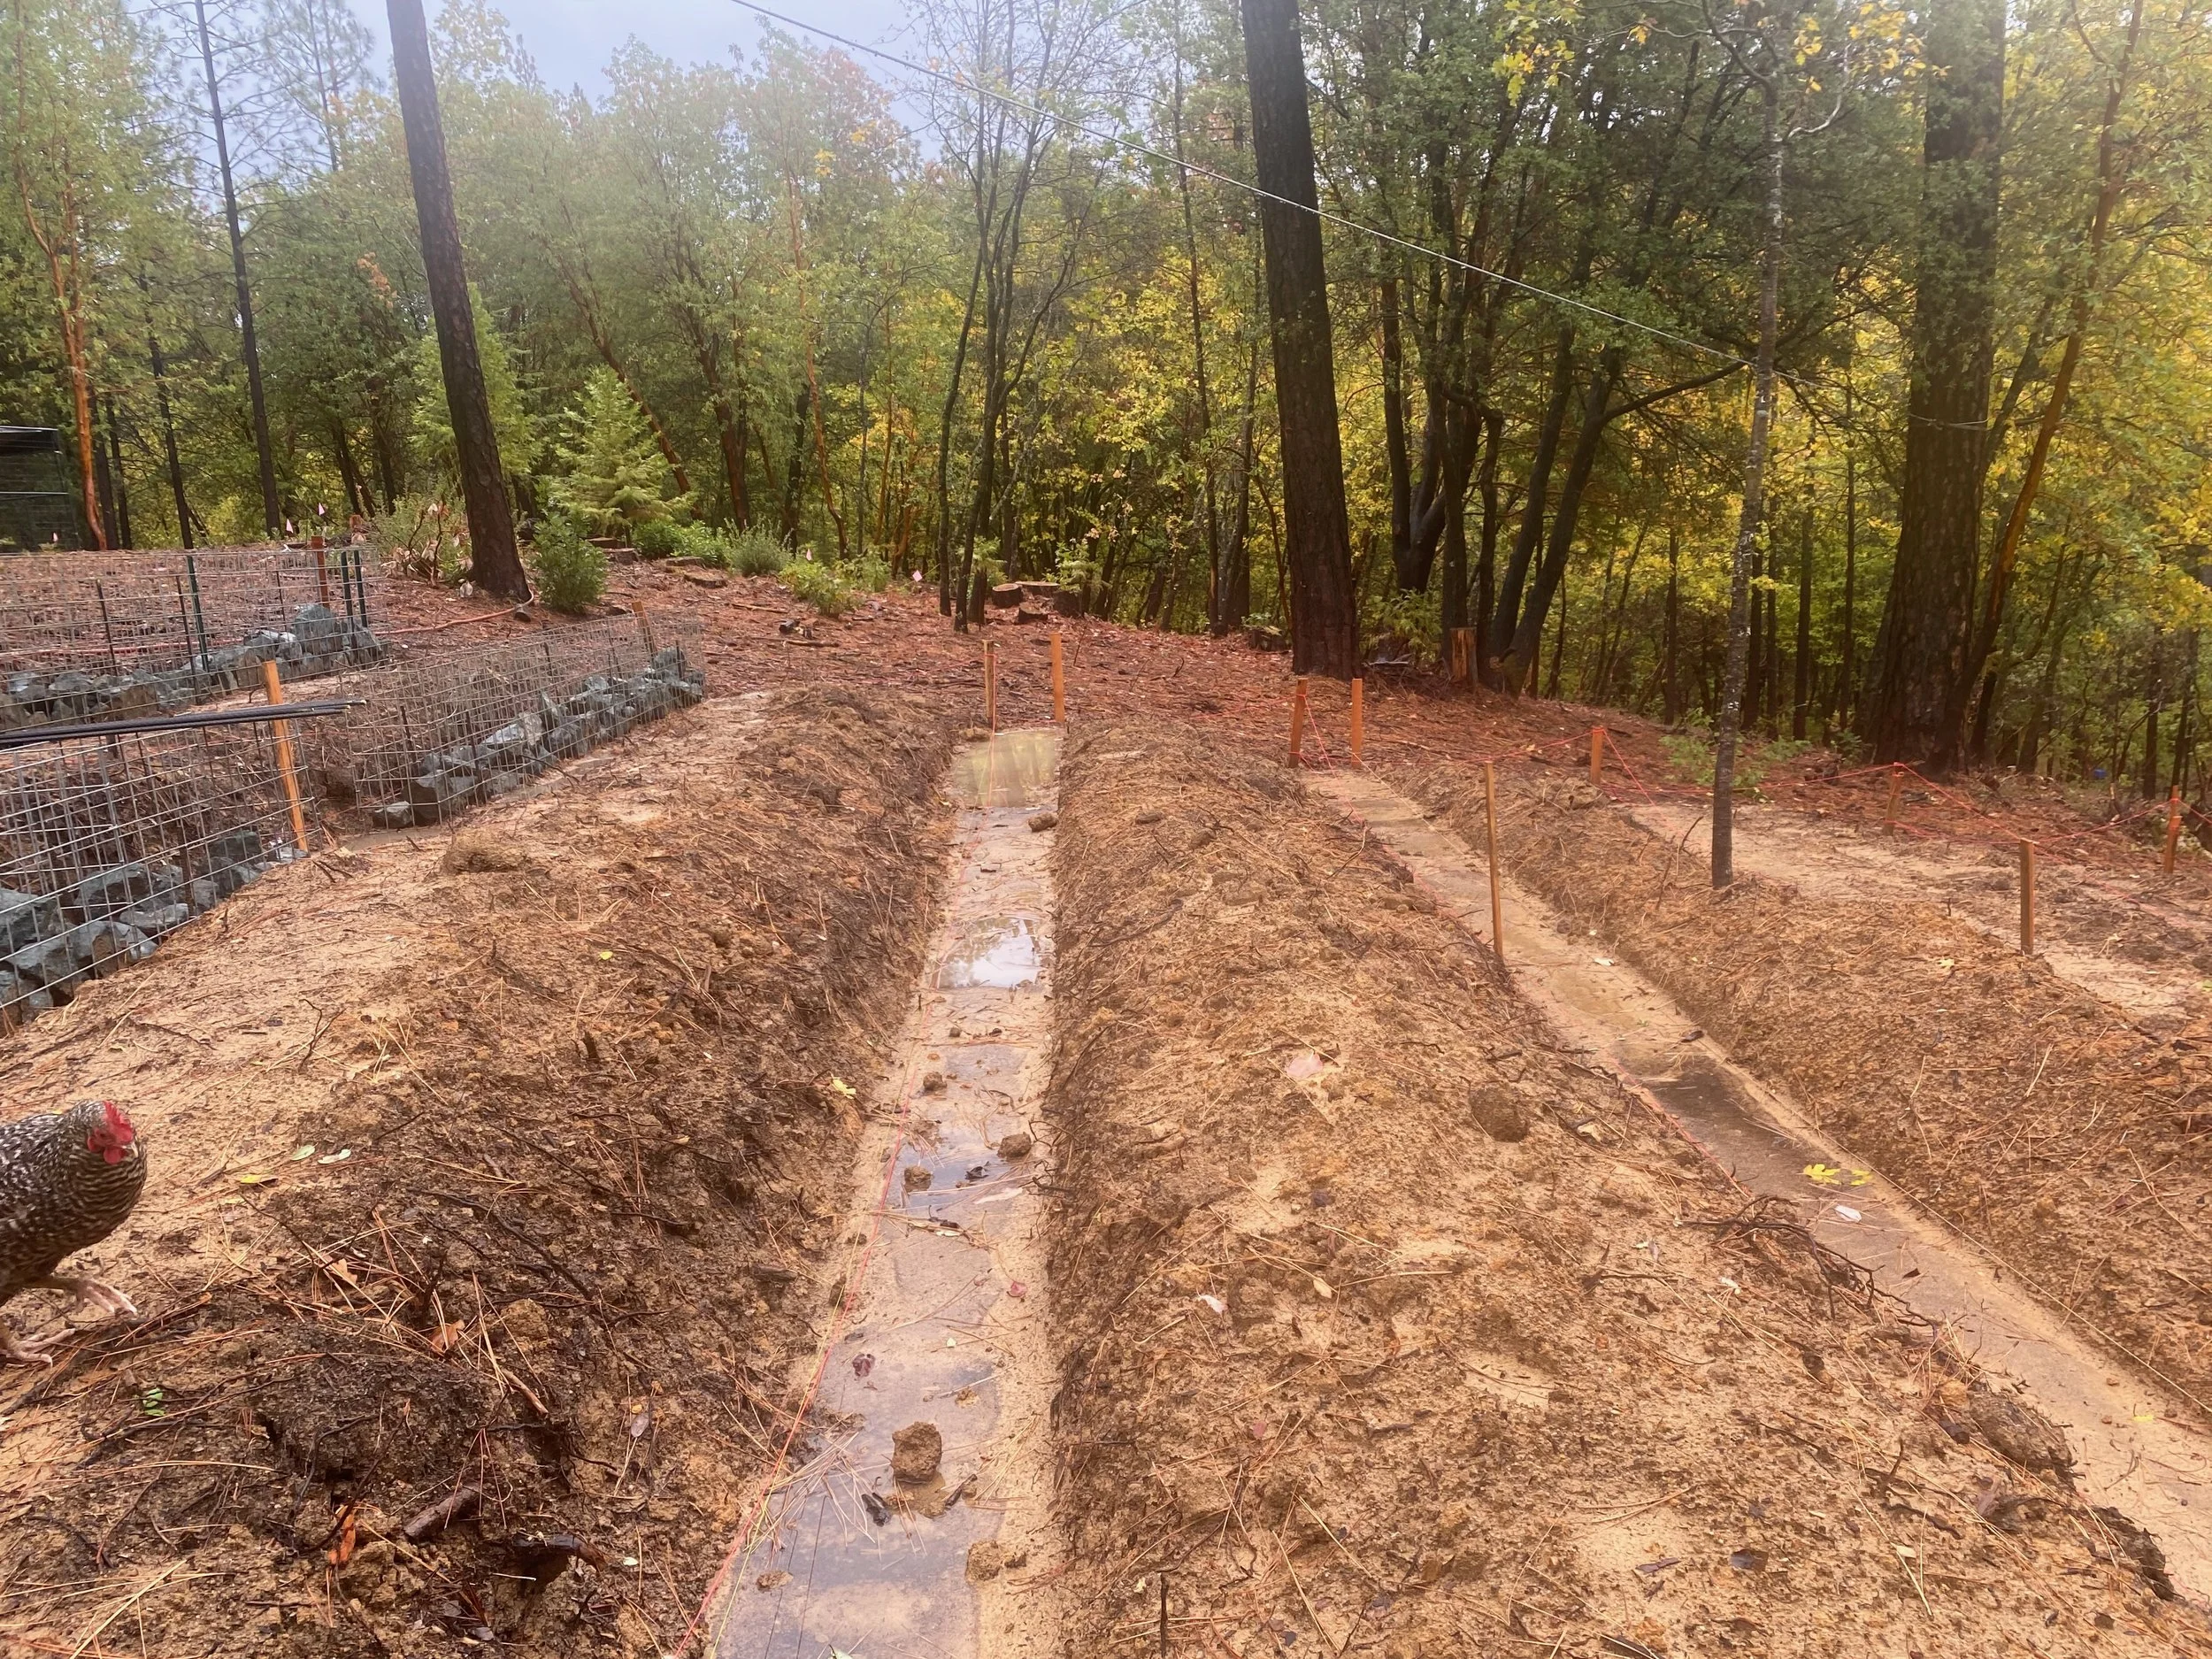
And so, back to the new garden on the new land. As mentioned, the garden site we selected was on a southwest-facing slope, a pretty steep slope. Before any planting could take place, we needed to terrace the slope and create flat garden beds. Without terraces, the water would simply run downhill. We hired Moose and Clyde (yes, those are their real names) to grade the slope into six terraces, each about forty feet long and seven feet wide.
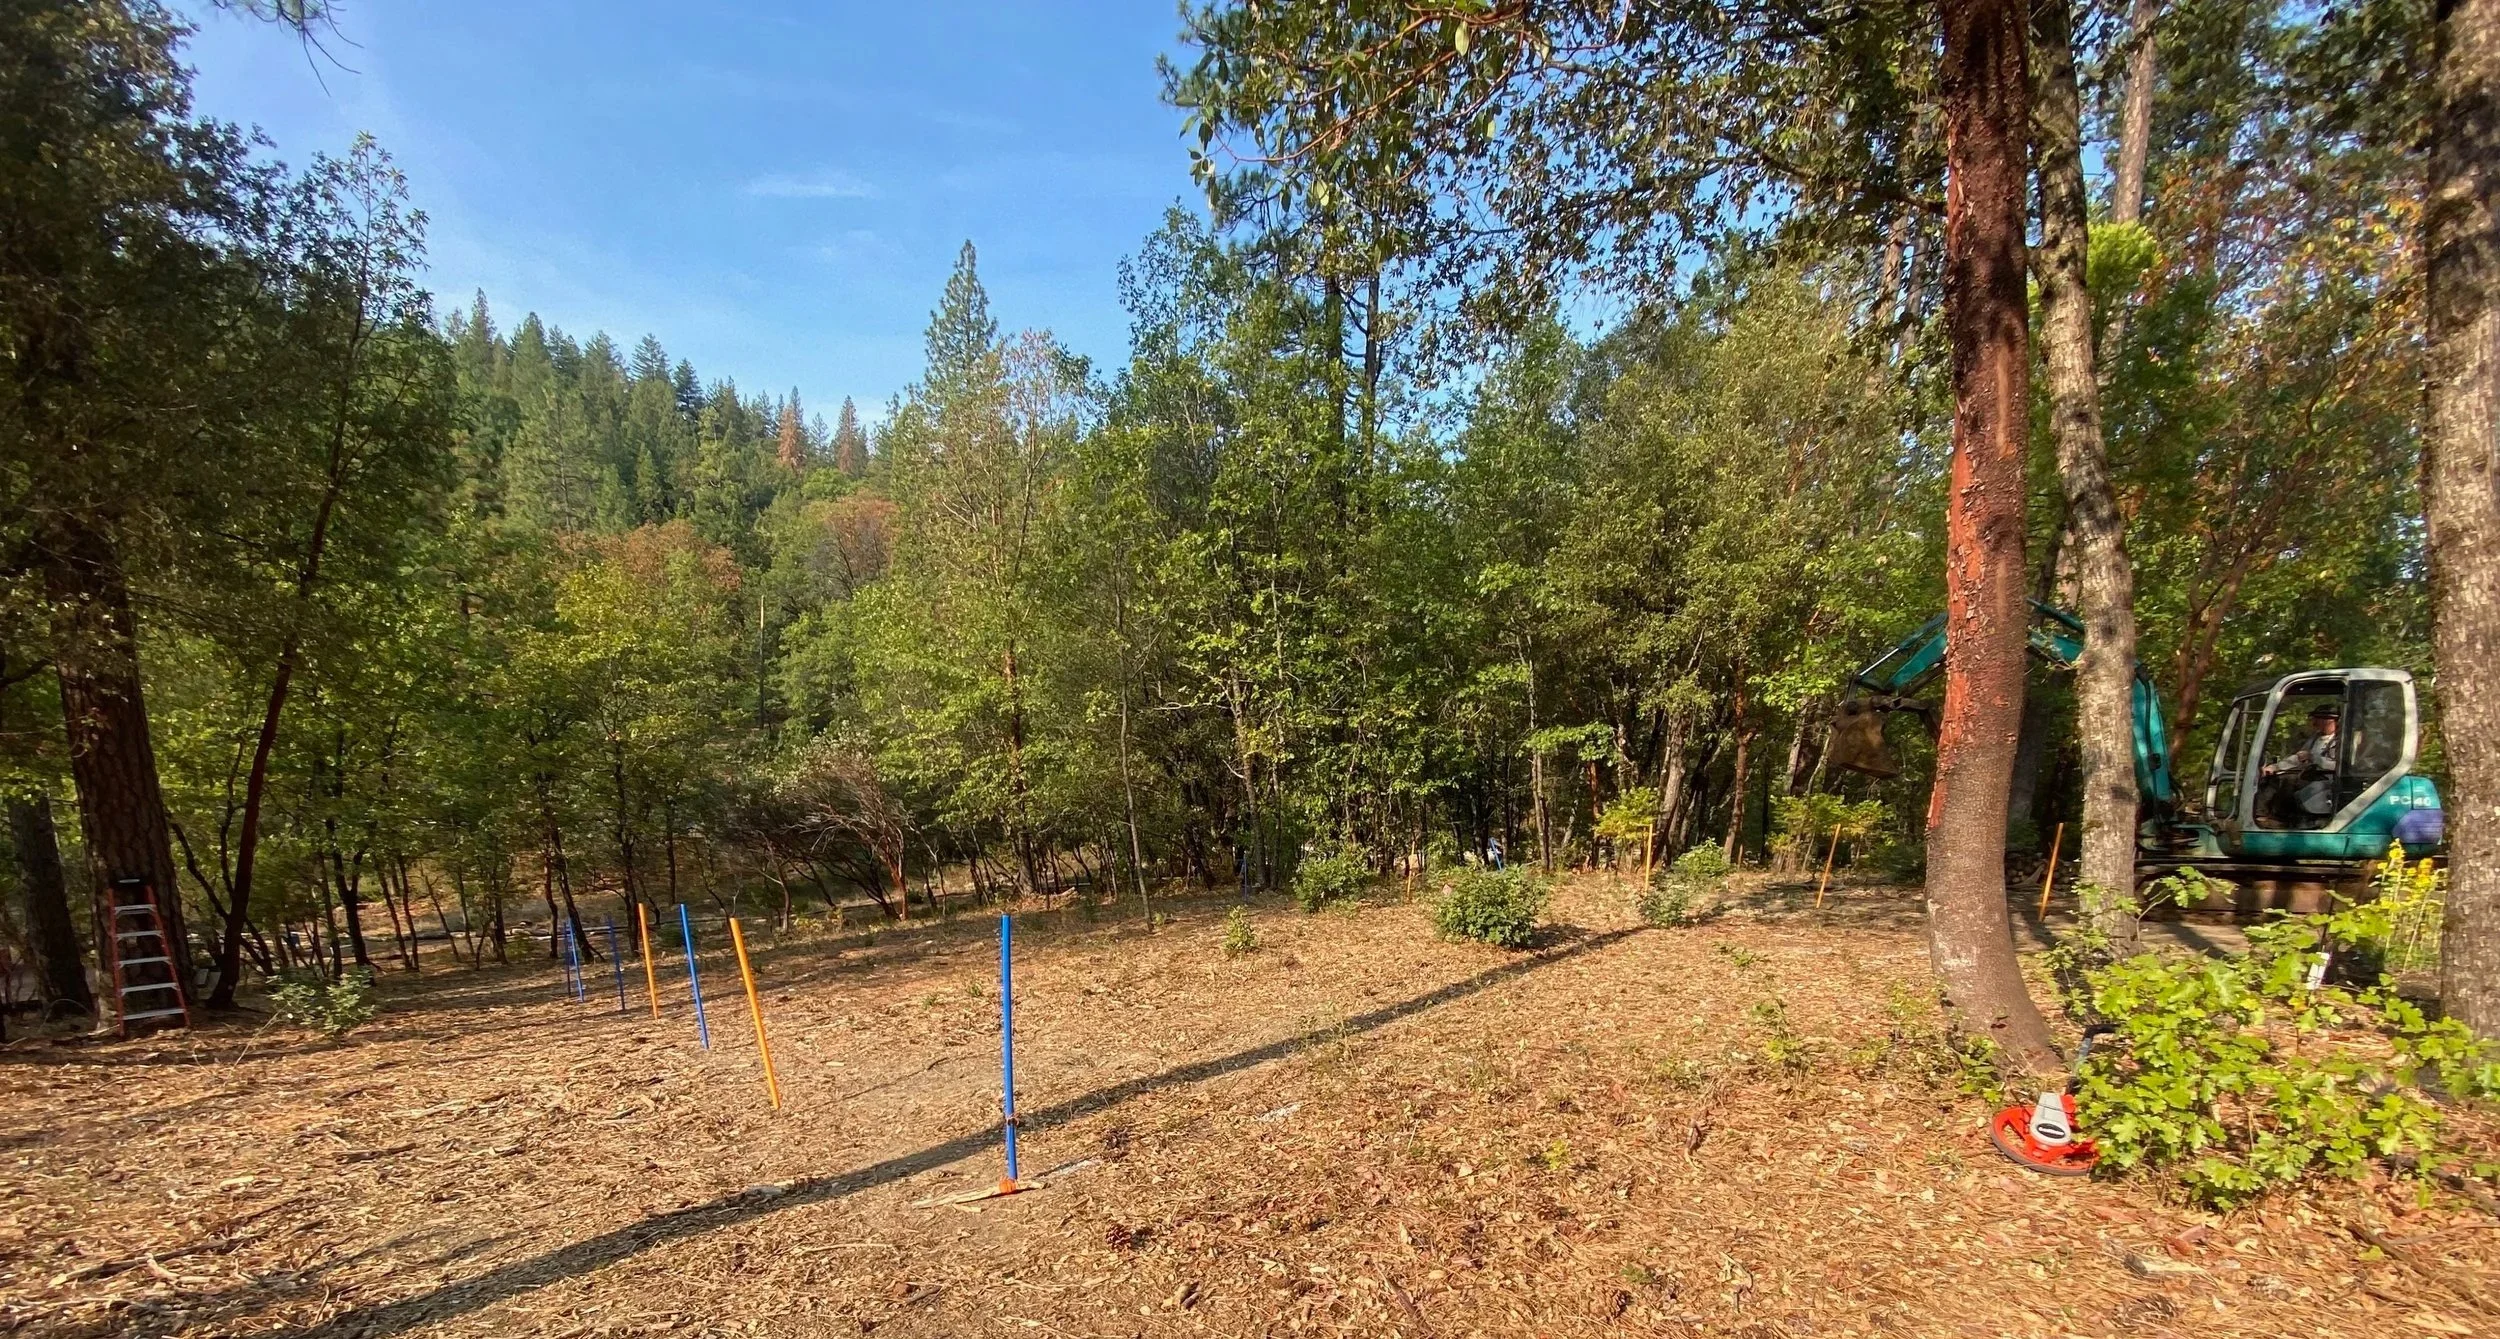
This is the slope on the morning of grading. The orange and blue stakes marked where the terraces were to go and you can see Clyde in the excavator ready to begin.
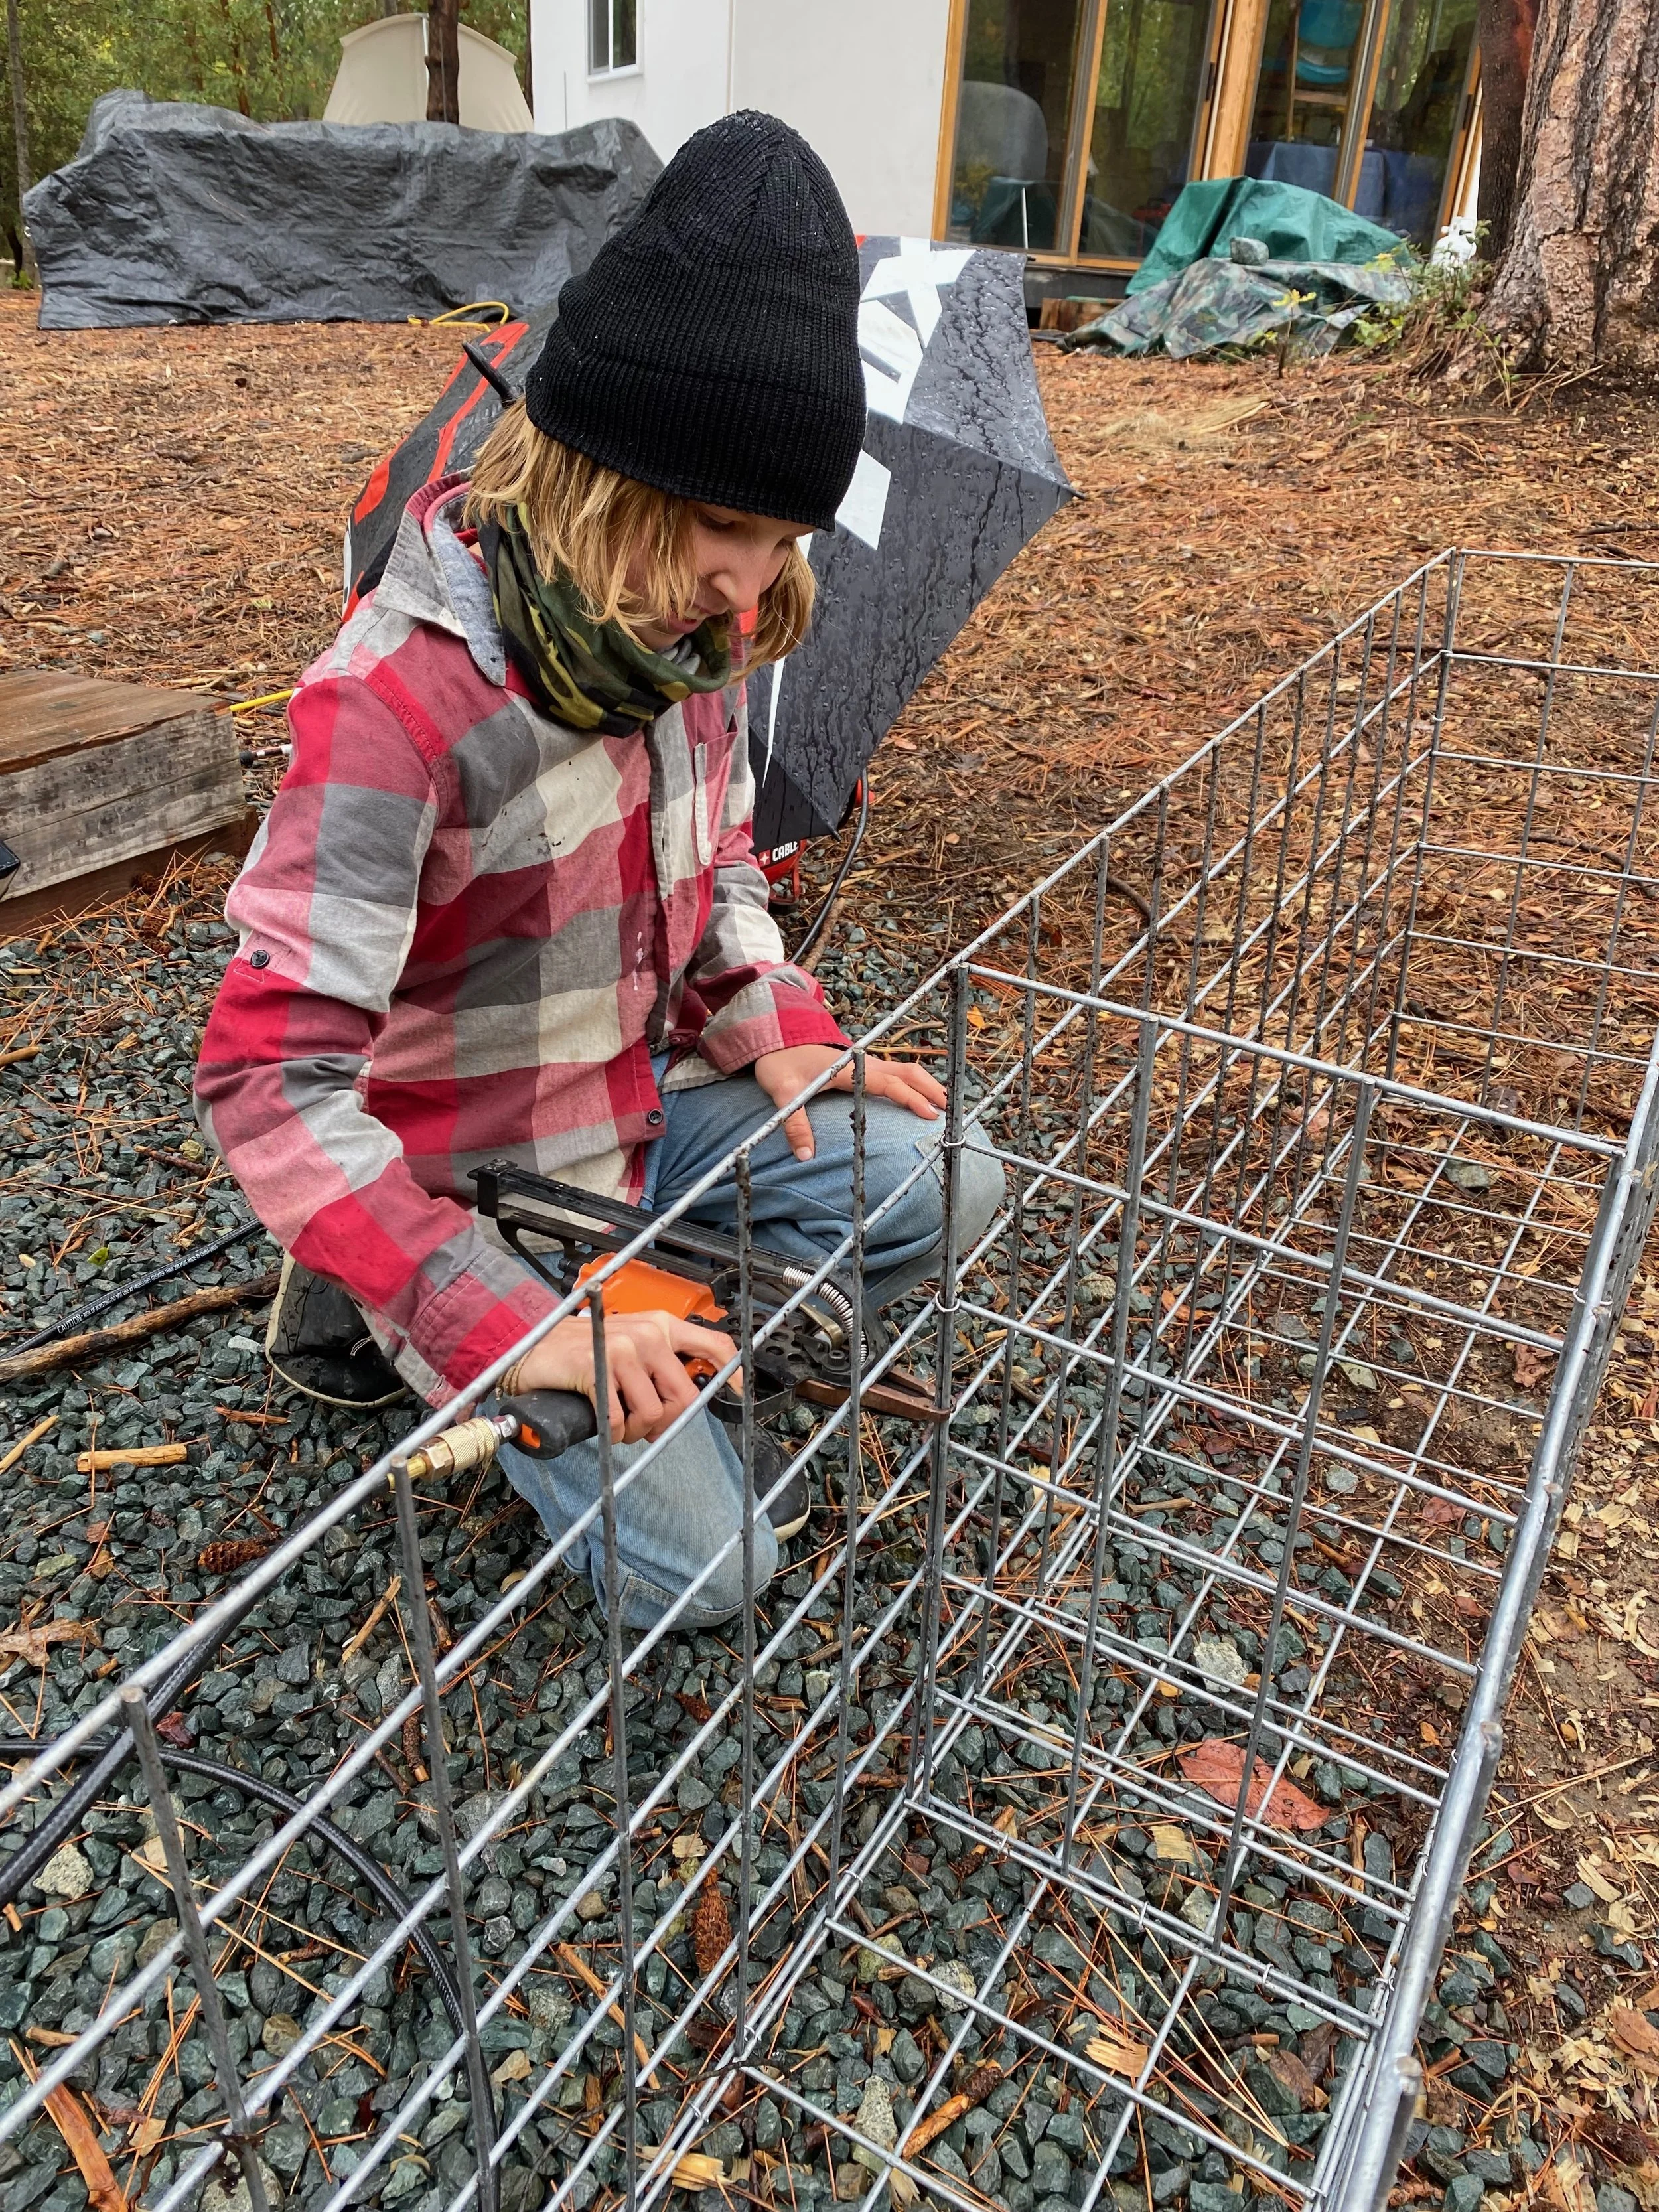
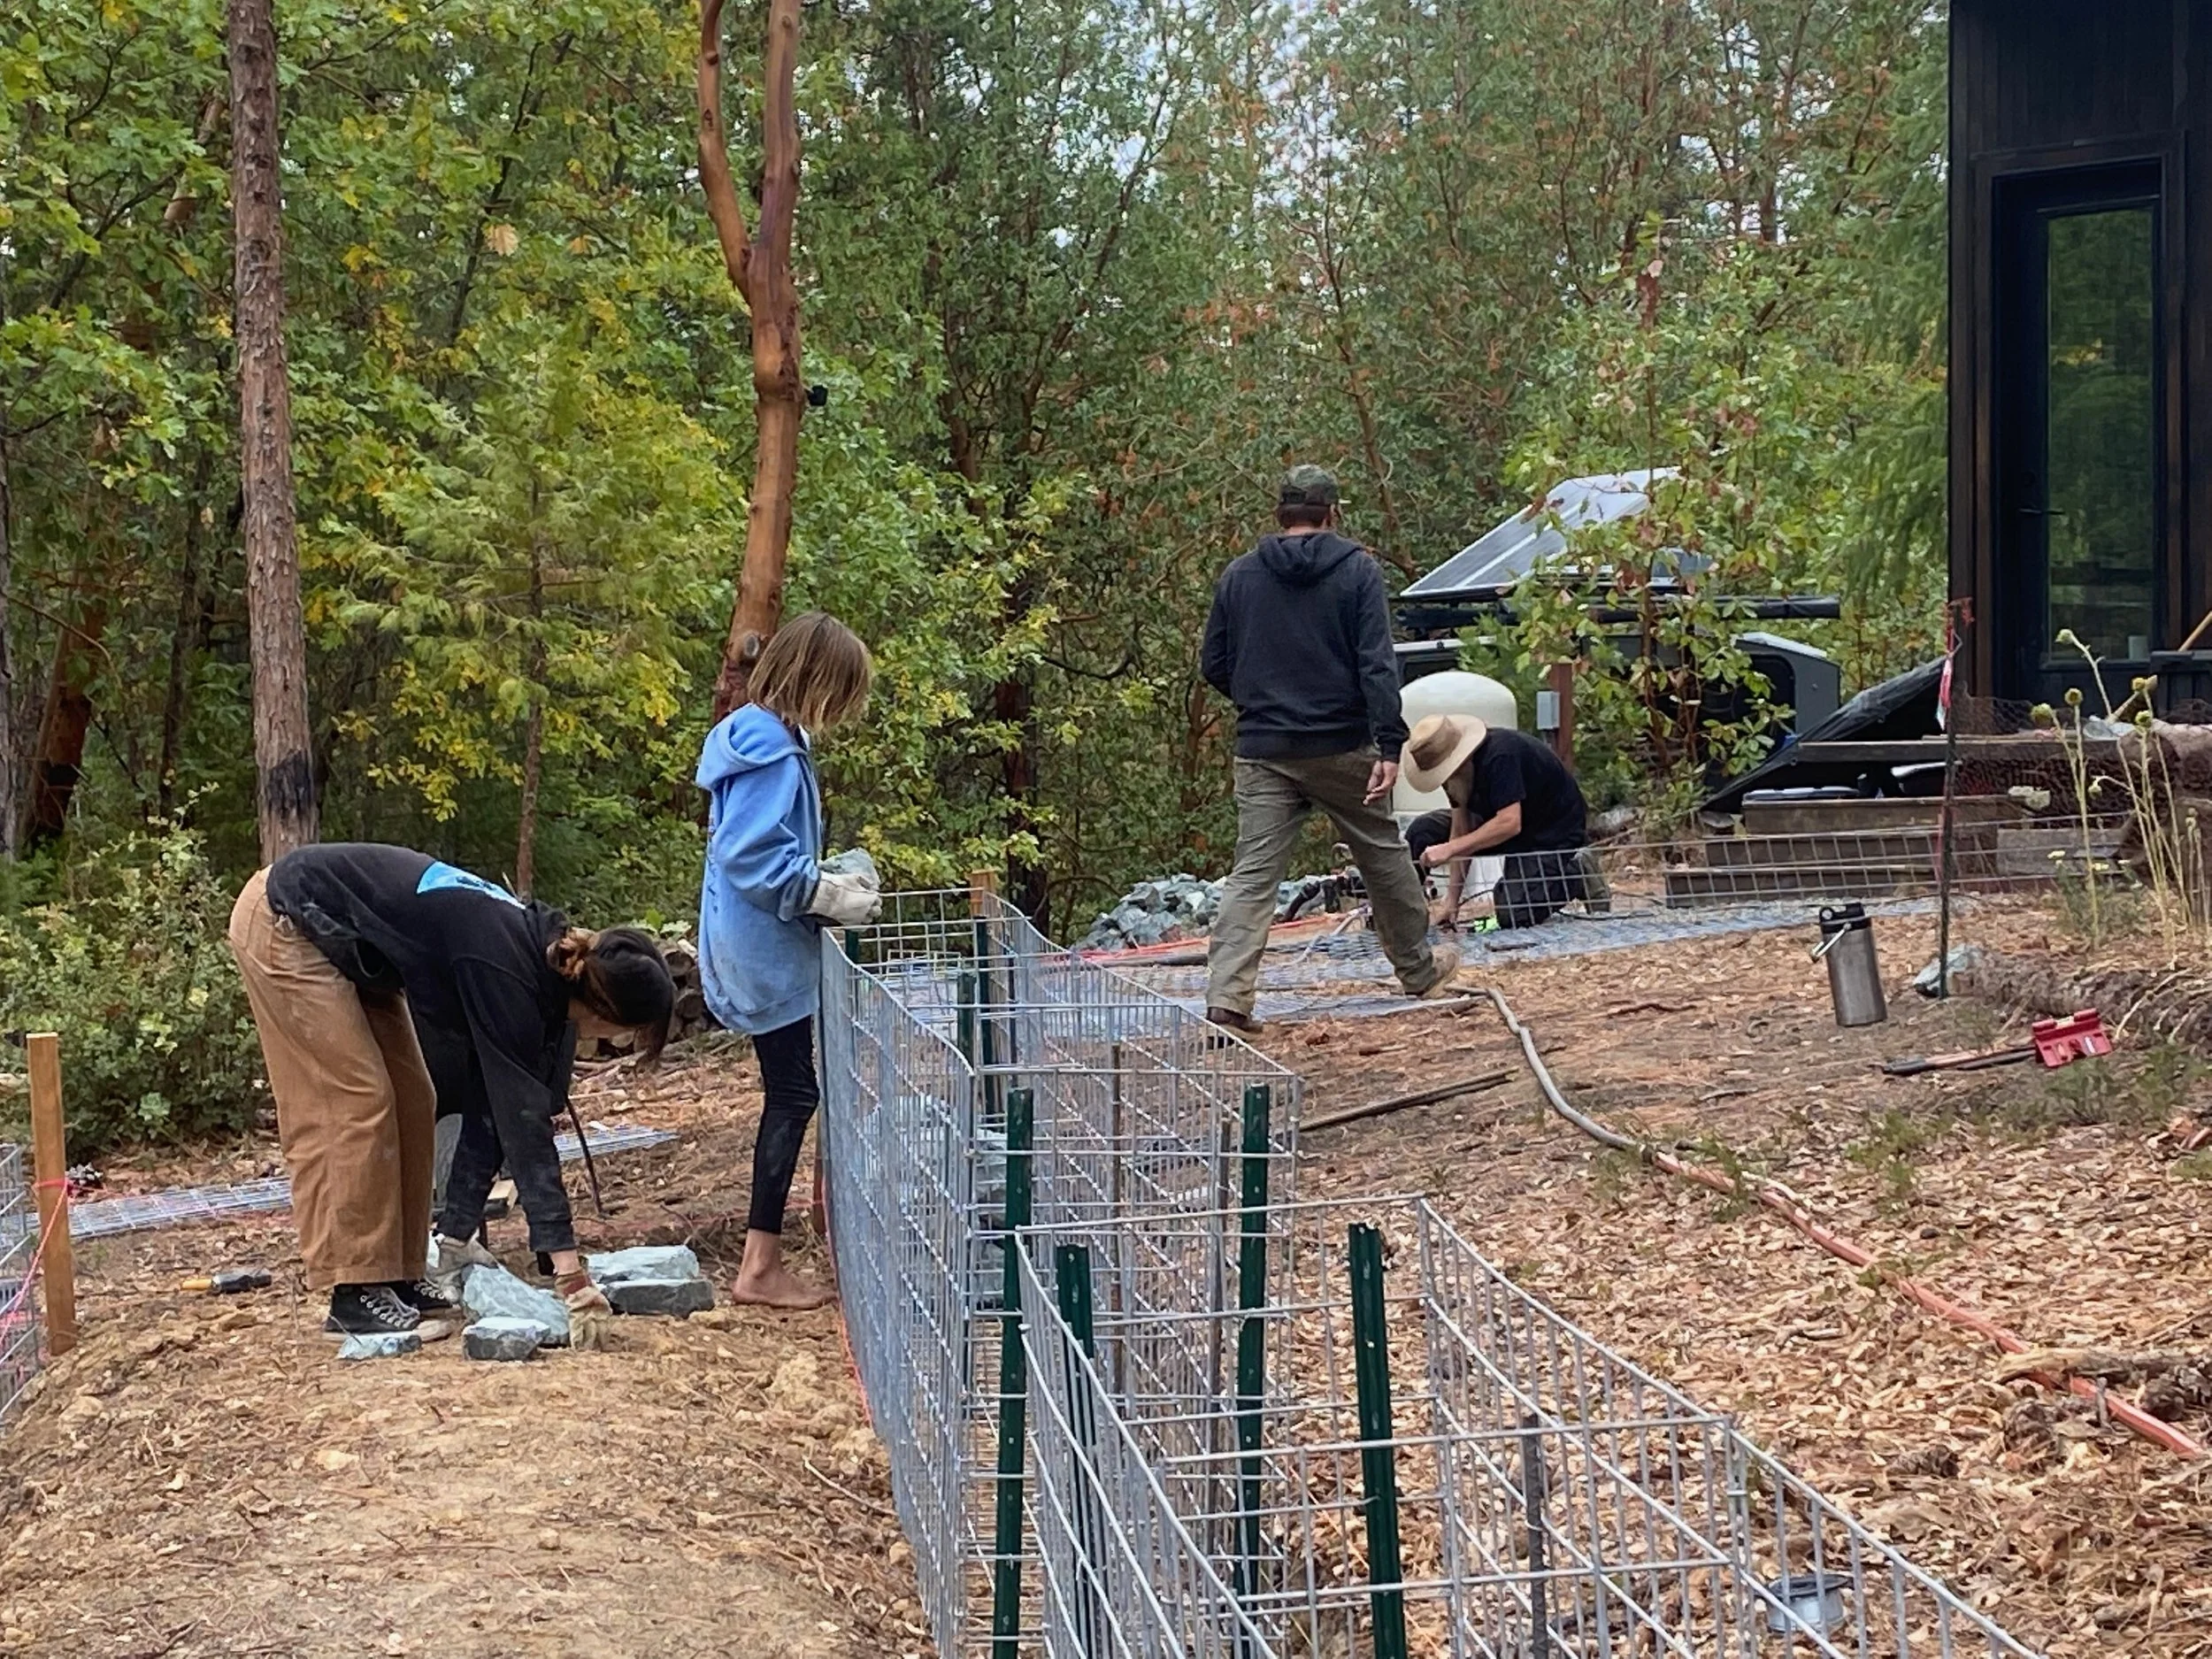
Each terrace would need a retaining wall. We decided to make gabion walls for our retaining walls. Gabion walls are wire cages with rocks in them. Each retaining wall required a two-foot wide by 6” deep trench dug by hand.
Although we had some help on this (thank you, Marcus), my family and I did a lot of the digging. Our “cages” were made of hog panels which had to be cut and then re-attached. In the photo, my daughter, Elly, is connecting the hog panels with a crimping tool.
Cages made. Then came the rocks. So. Many. Rocks. In one of the photos, Elly is filling one of the cages. She is barefoot! I don’t recommend doing this barefoot.
You might think that once you have the cage frame, you can just throw or drop the rocks in and let them land as they fall. But nope, not the case. Each rock needs to be carefully placed. You want to minimize the gaps between the rocks and, as such, sometimes a rock is placed and then replaced several times before it is “right”. This is the kind of work that makes one appreciate good leather gloves. Elly may not have worn shoes, but she did wear gloves.
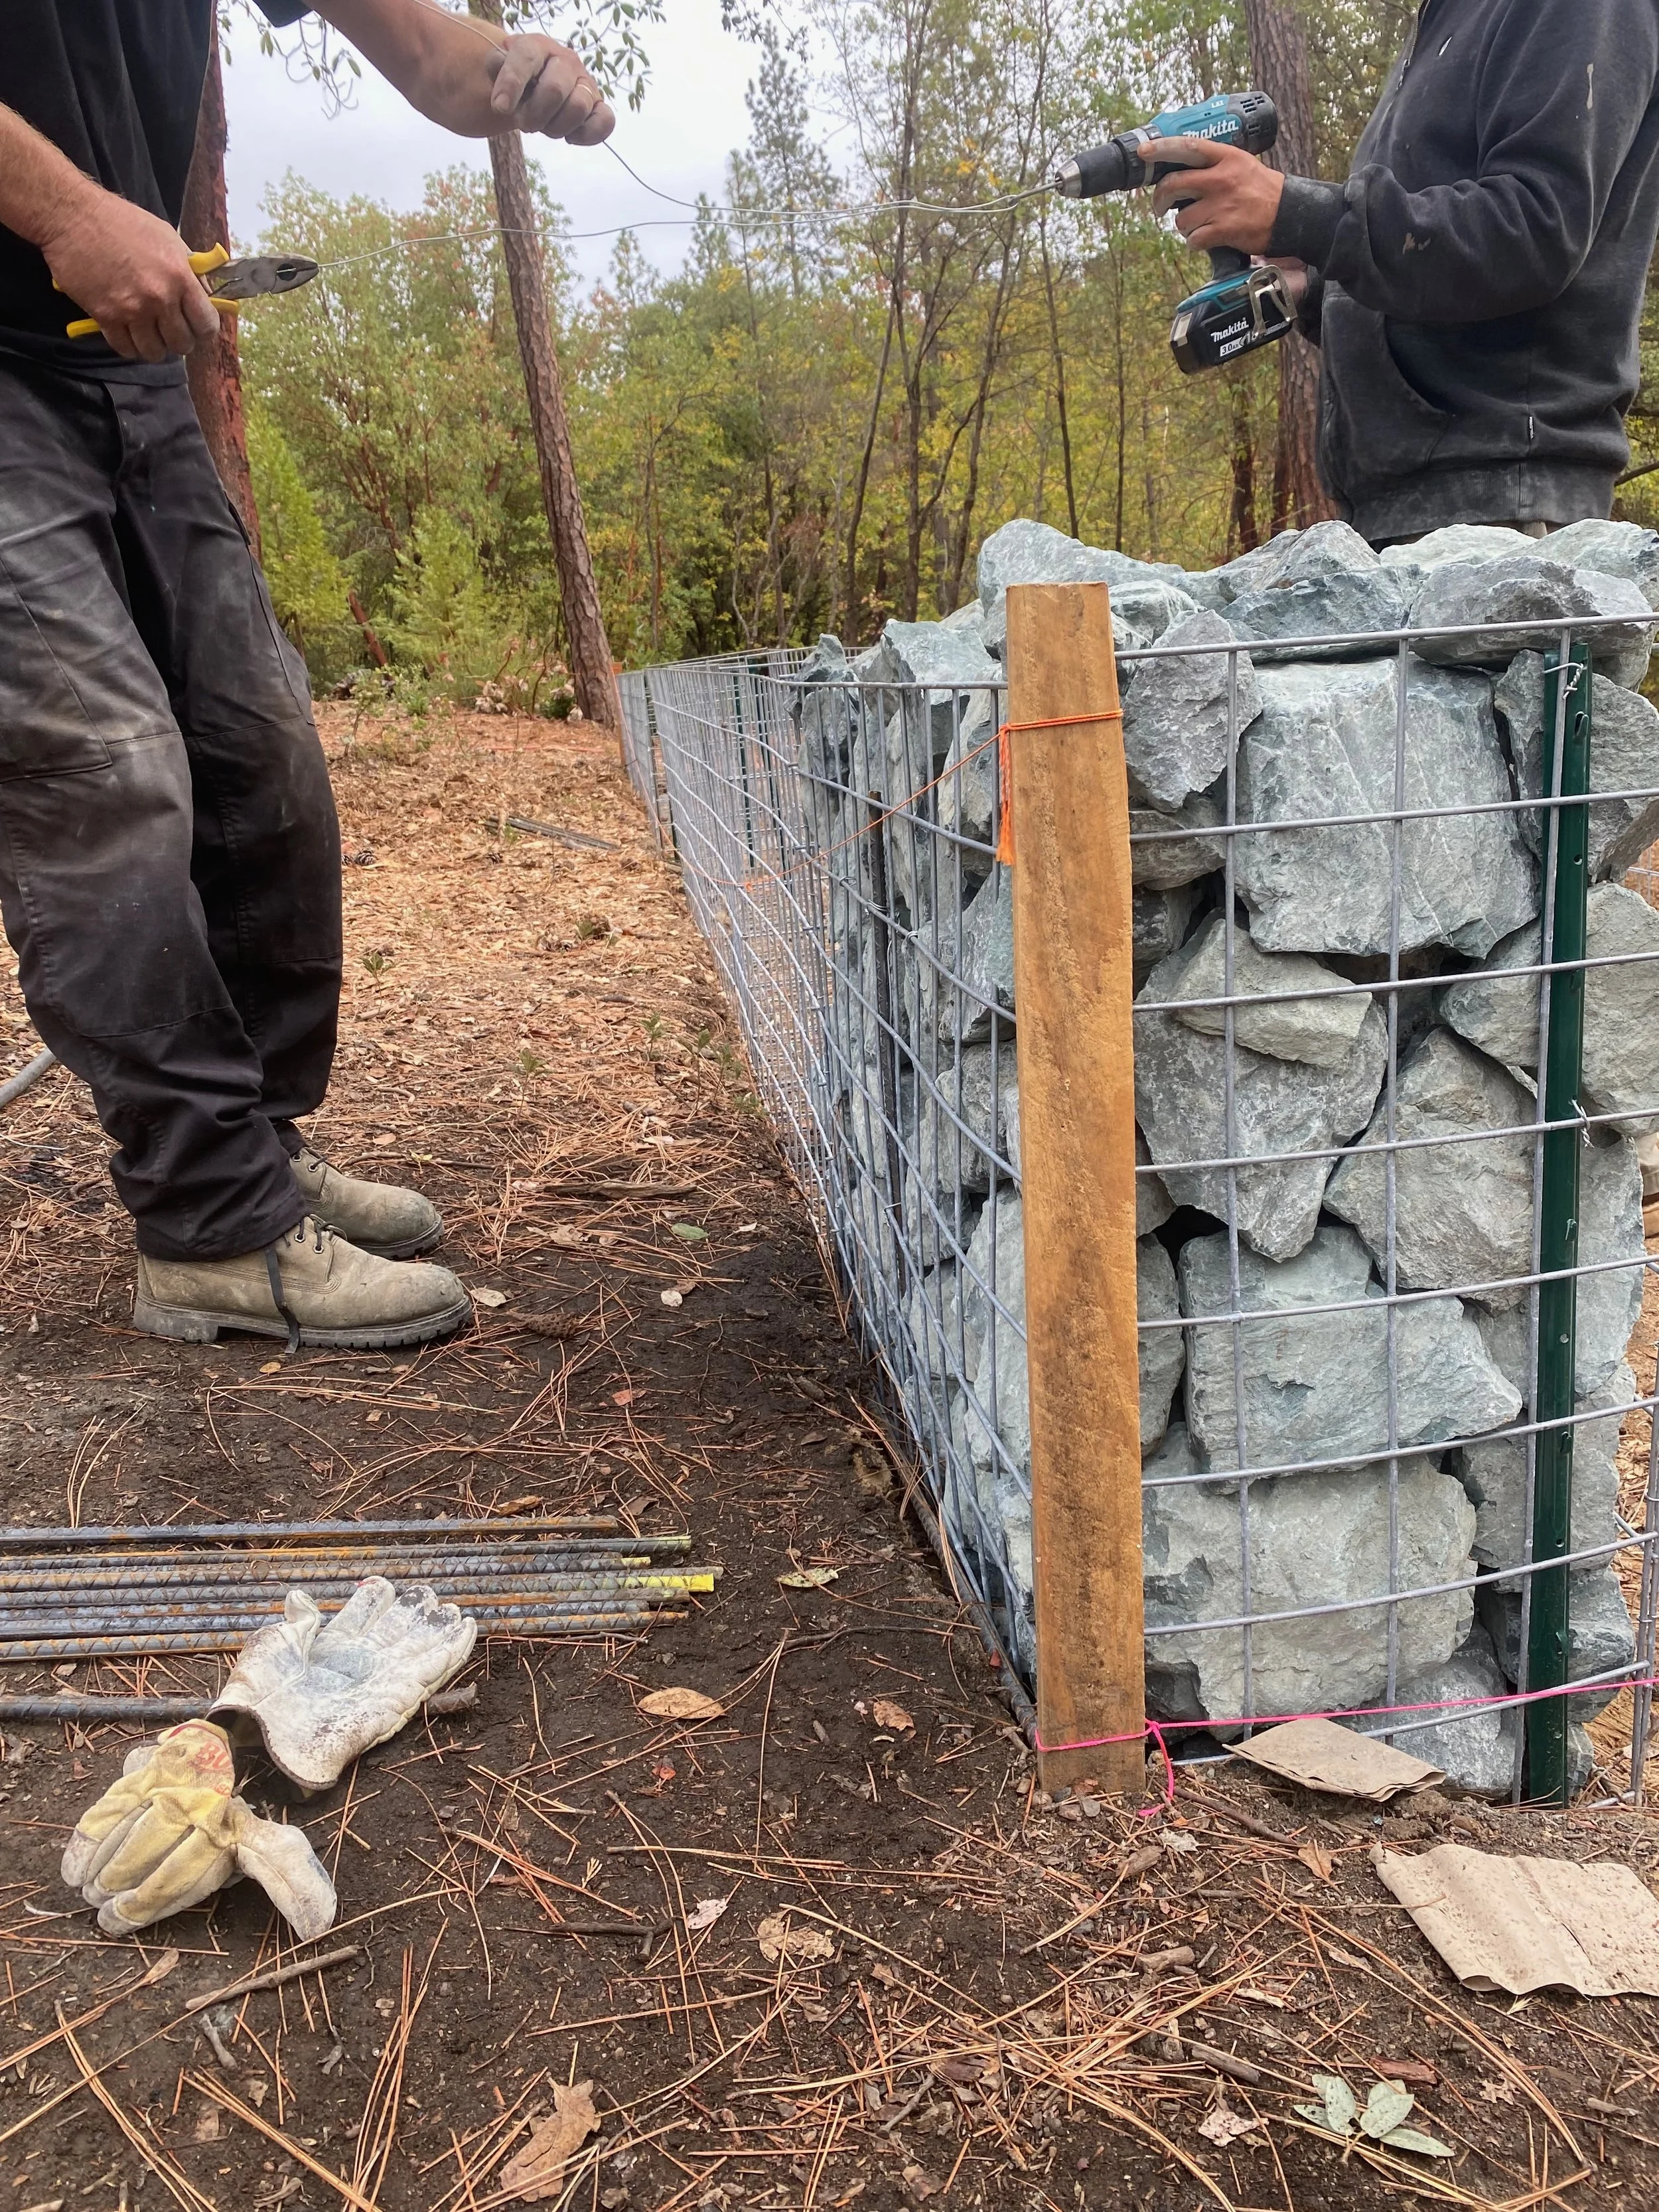
One of our helpers was a man named Steve. I think he liked puzzles and was probably good at them, because more than any of us, he was super selective in how he placed rocks. Due to his care, his rock cages also took much longer to fill. To this day, the sections Steve built are noticeably neater than the rest. I've often wondered whether the extra effort in placing the rocks makes for a better wall. From an aesthetic standpoint, the plants in the garden mostly cover the rocks now, so, there is no longer any visible difference between the walls he made and the other walls. Yet, I remain curious whether the carefully placed stones make for stronger walls. As of now, all the walls seem to be doing an equally adequate job of retaining. Yet, time will tell if the meticulously created walls are stronger. As a former architect, I intuit that there is a difference and his walls will out perform the others…but again, only time will tell.
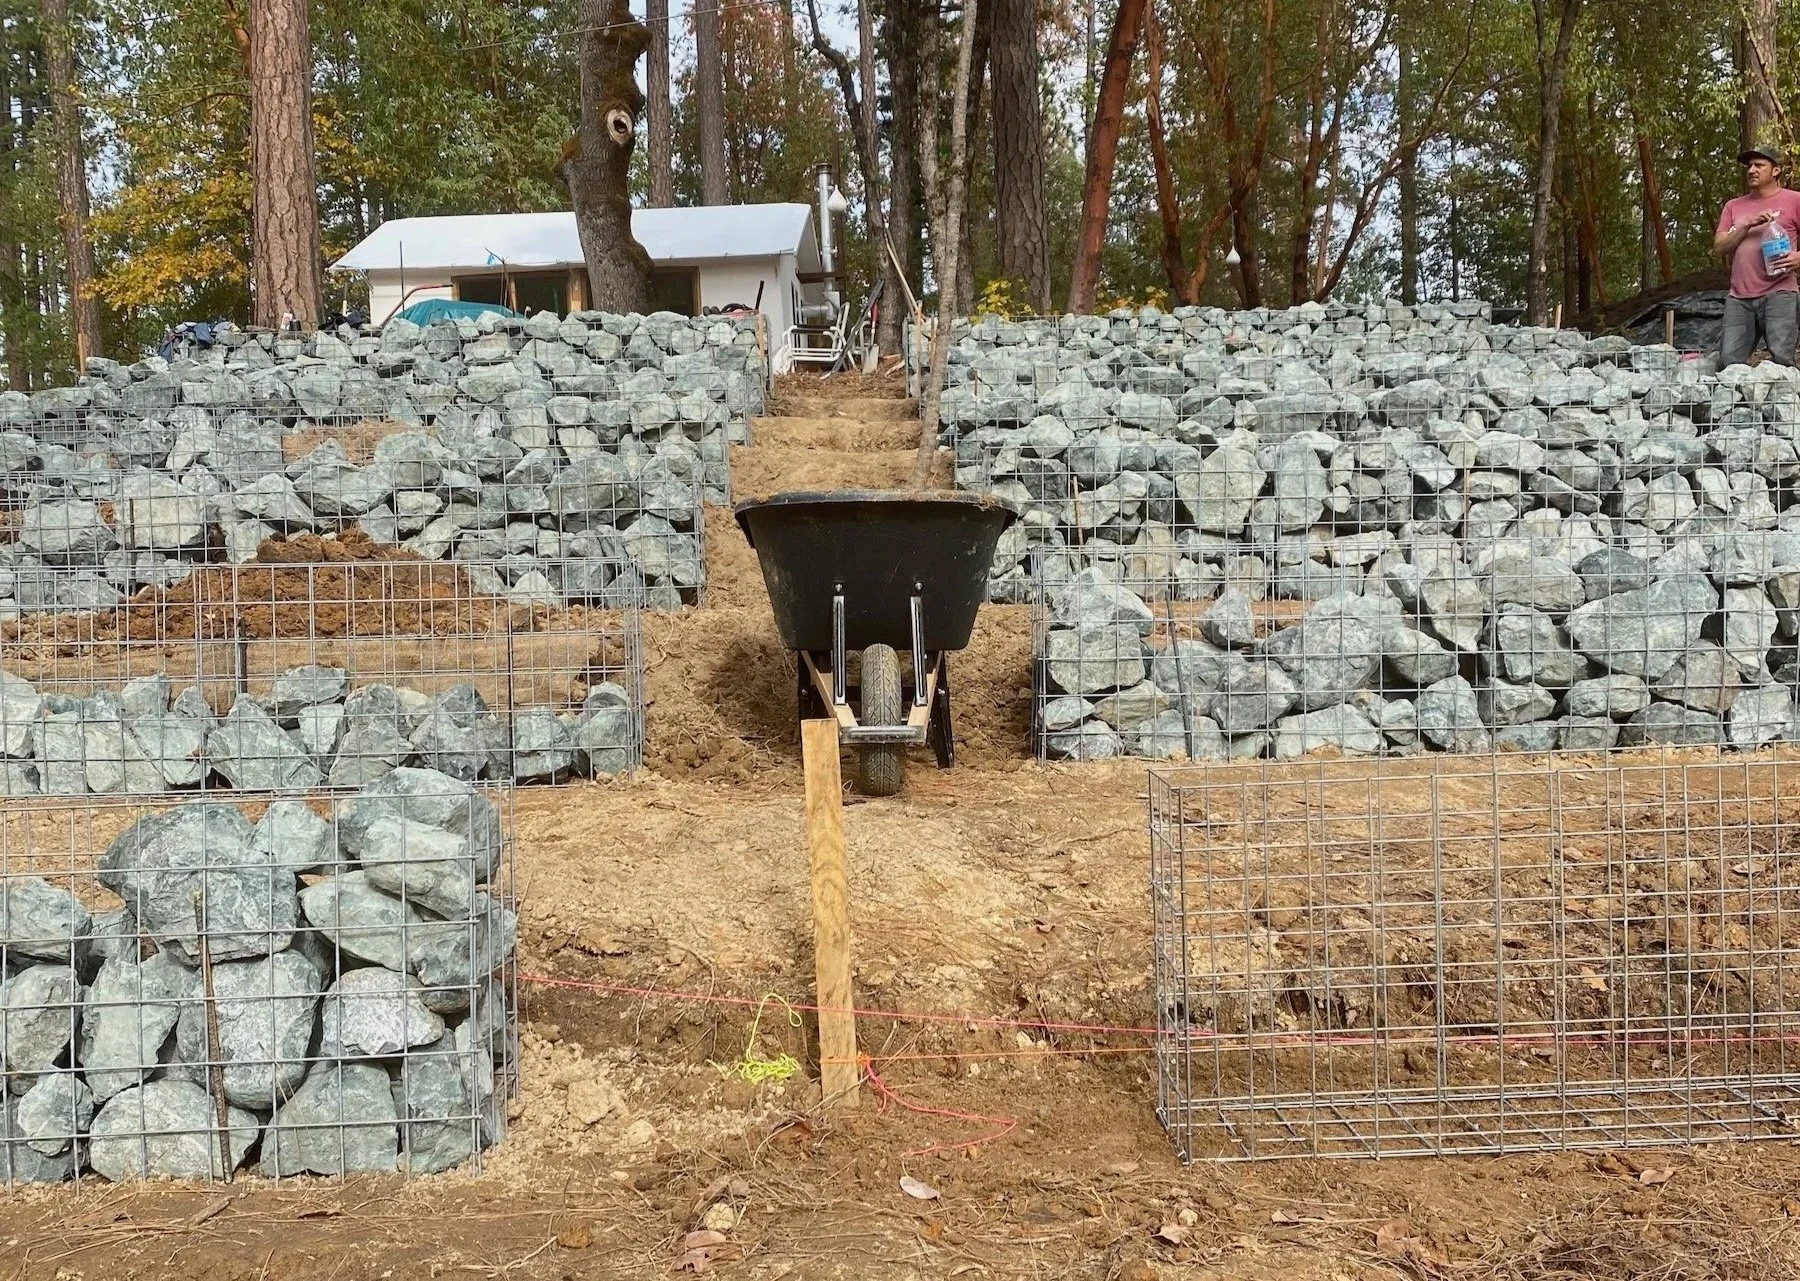
The walls are nearly finished. Can you tell which ones Steve made?
Retaining walls complete. It was time to think about soil. That, it turns out, was where I think I made a mistake. I received a lot of advice about the soil. Some people said. "Build your native soil. It'll take about five years. Don't import soil." Others recommended I mix our clay-rich native soil with imported compost. Others suggested I only use imported soil and top the native soil with 12+ inches of rich compost.
My native soil did not look like typical garden soil. It was orange. It was not black like the garden soil you see in bags in stores. And, honestly, the thought of five years to build soil seemed long. Like a really long time. Too long. So, I ordered compost. Lots of it!
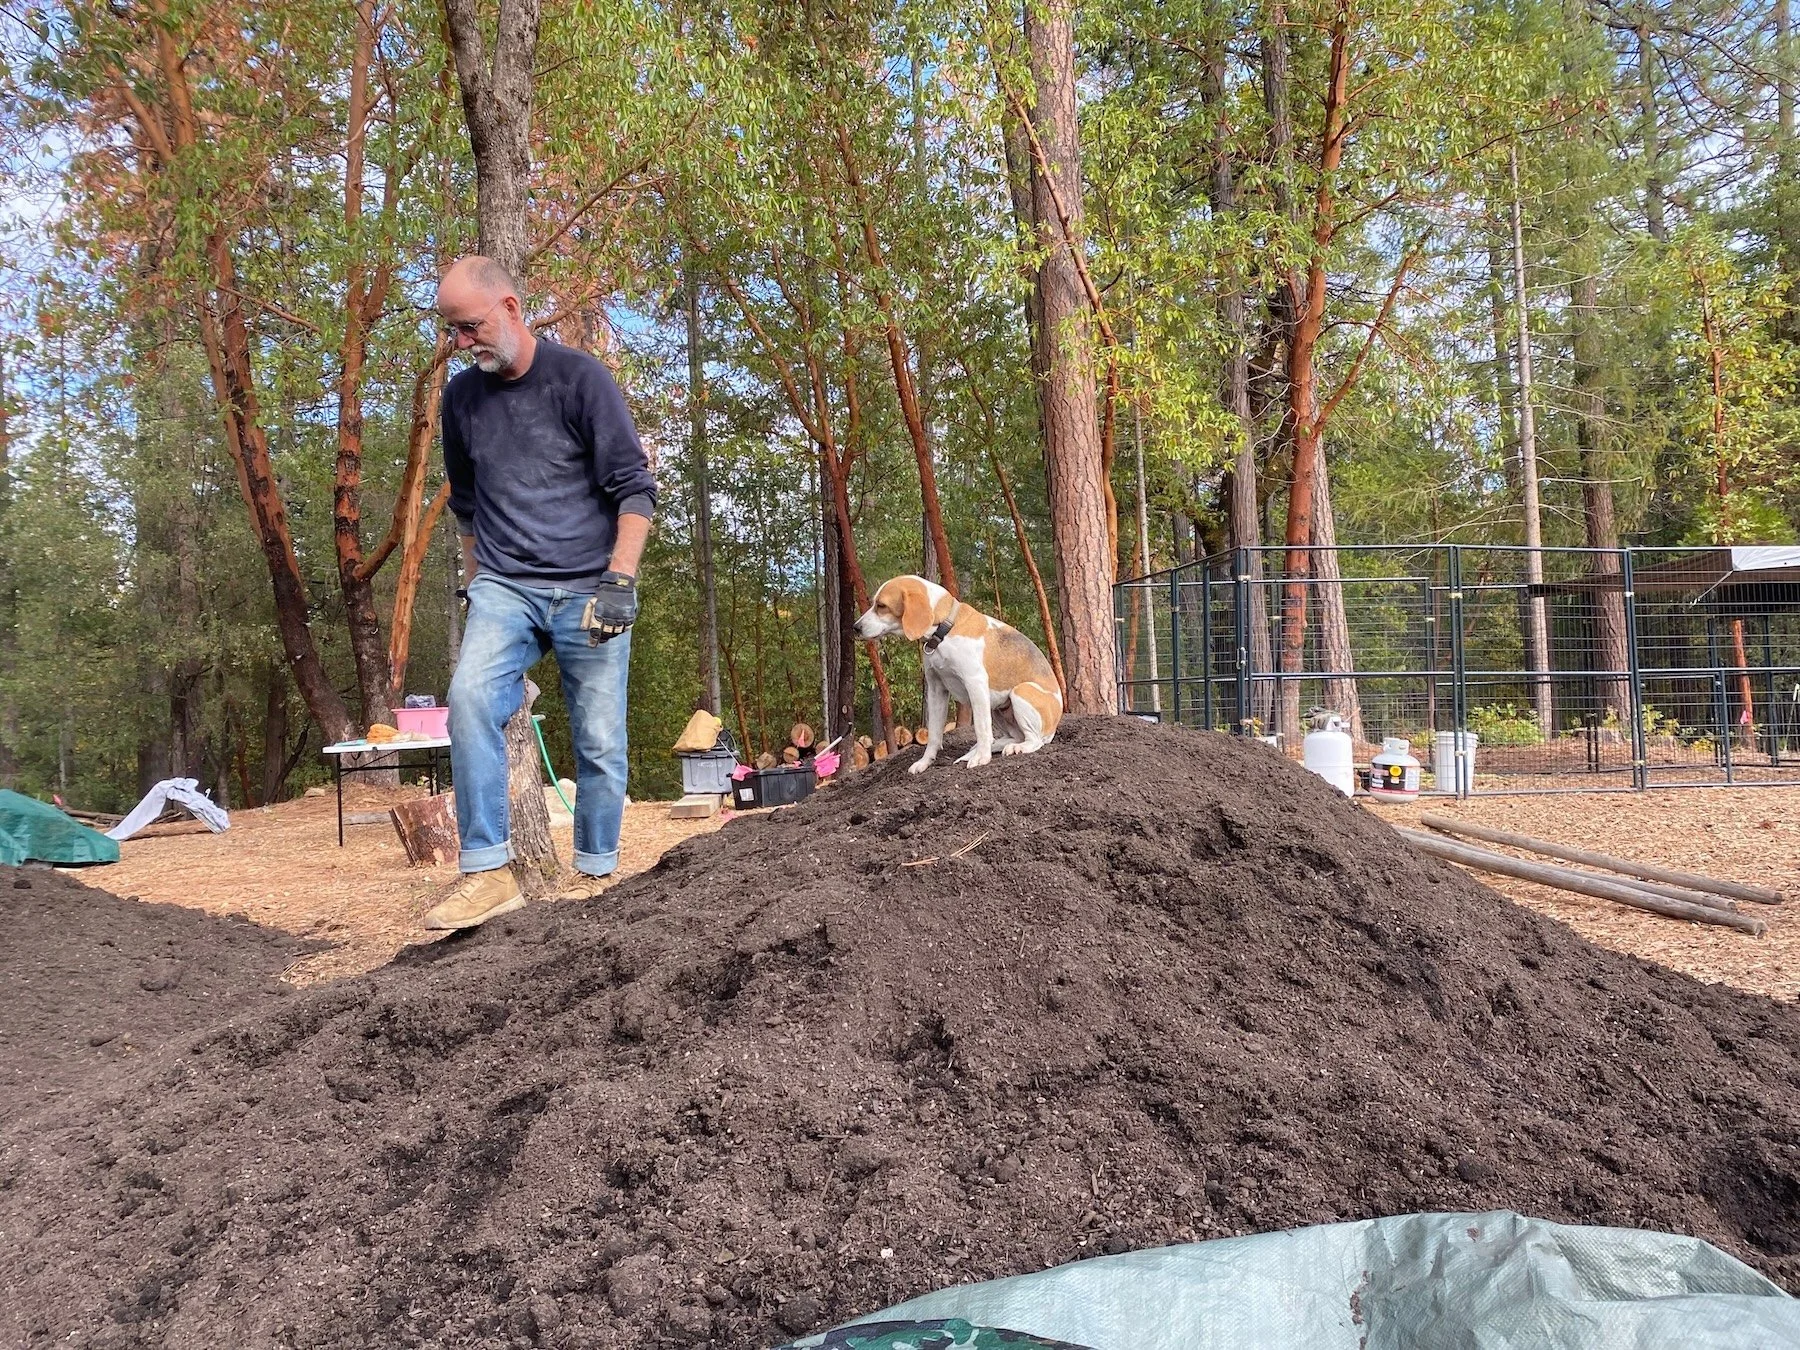
Truckloads of beautiful black compost arrived.
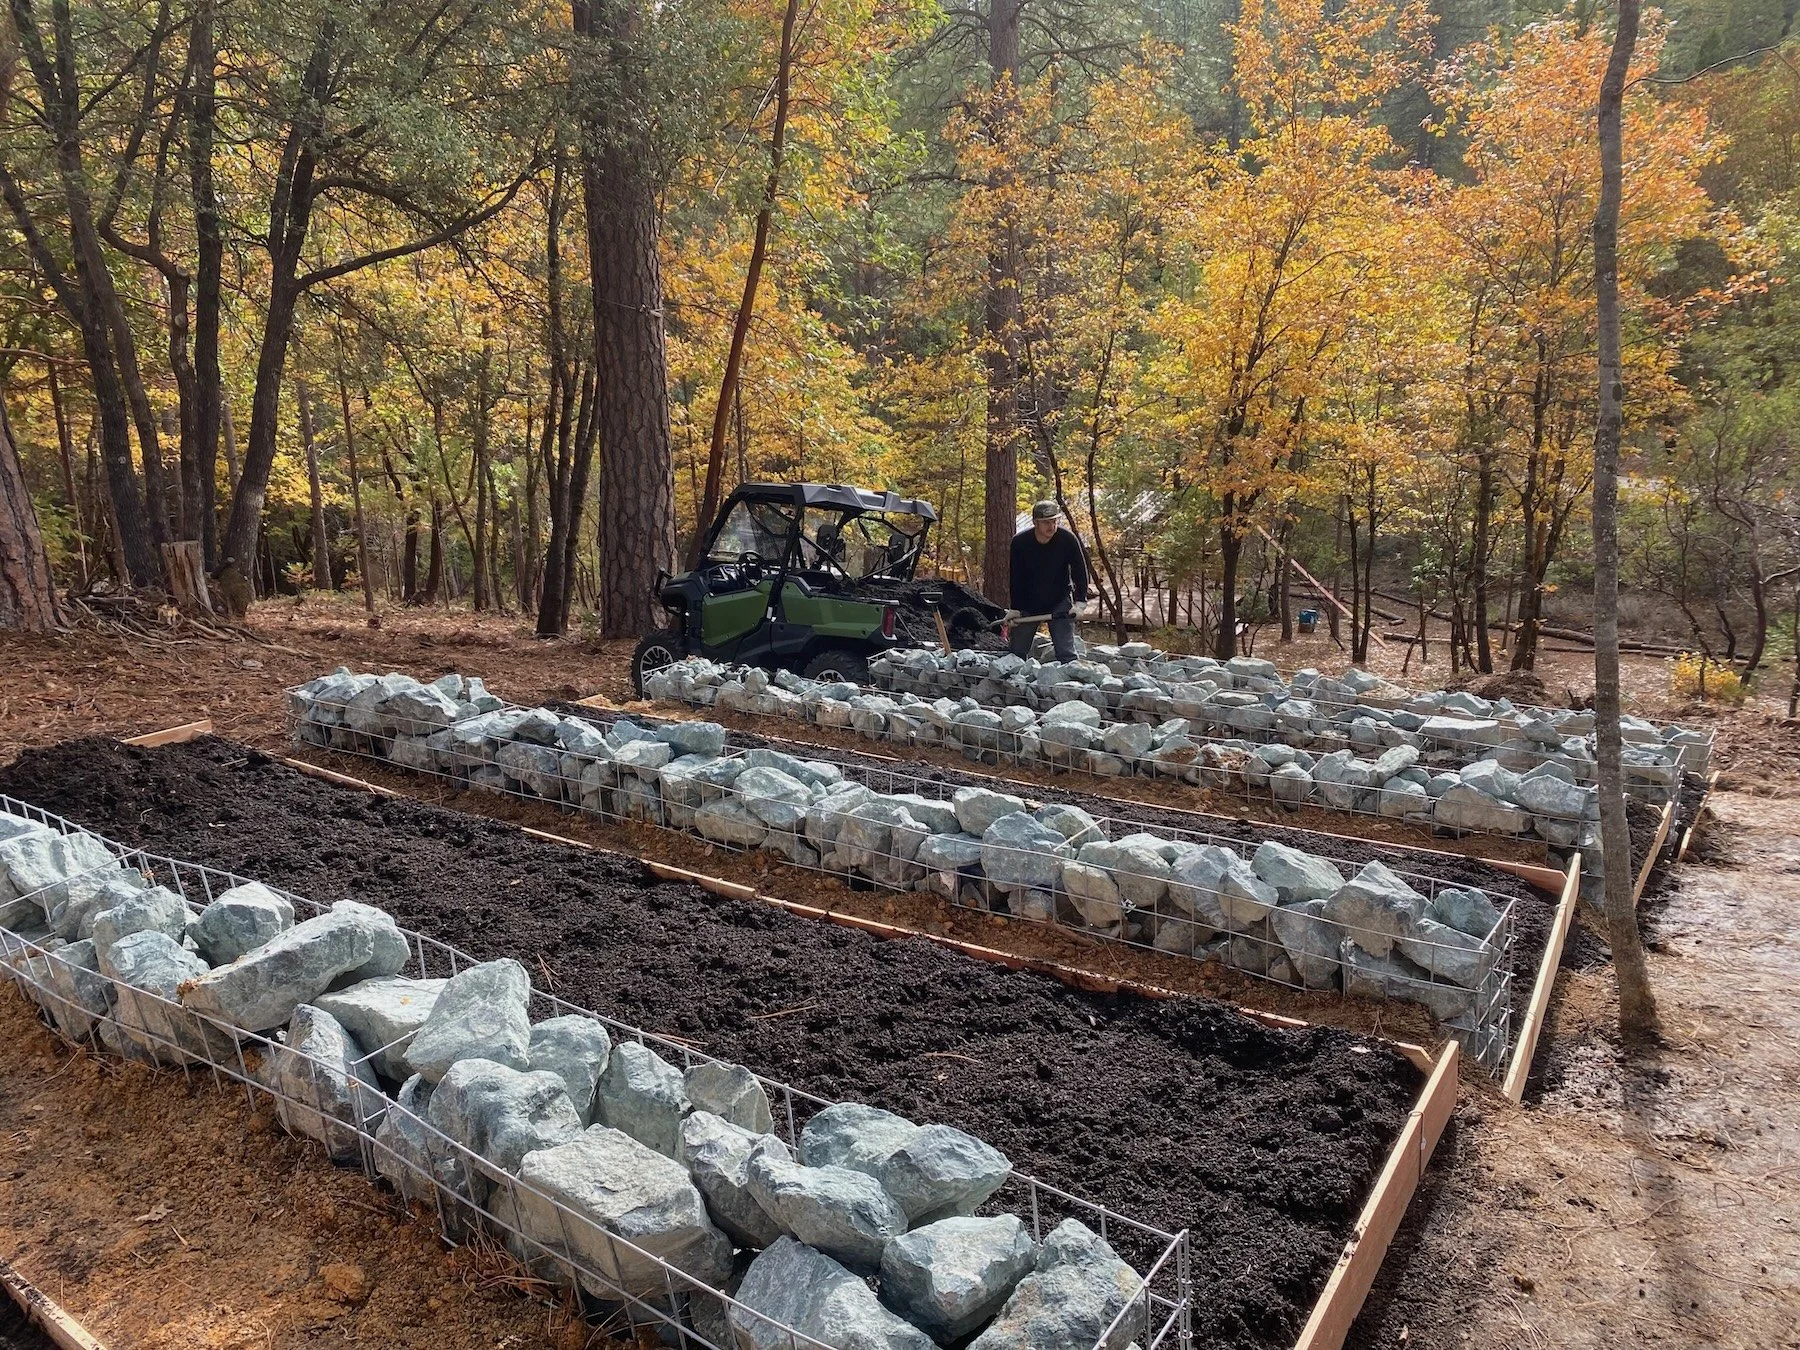
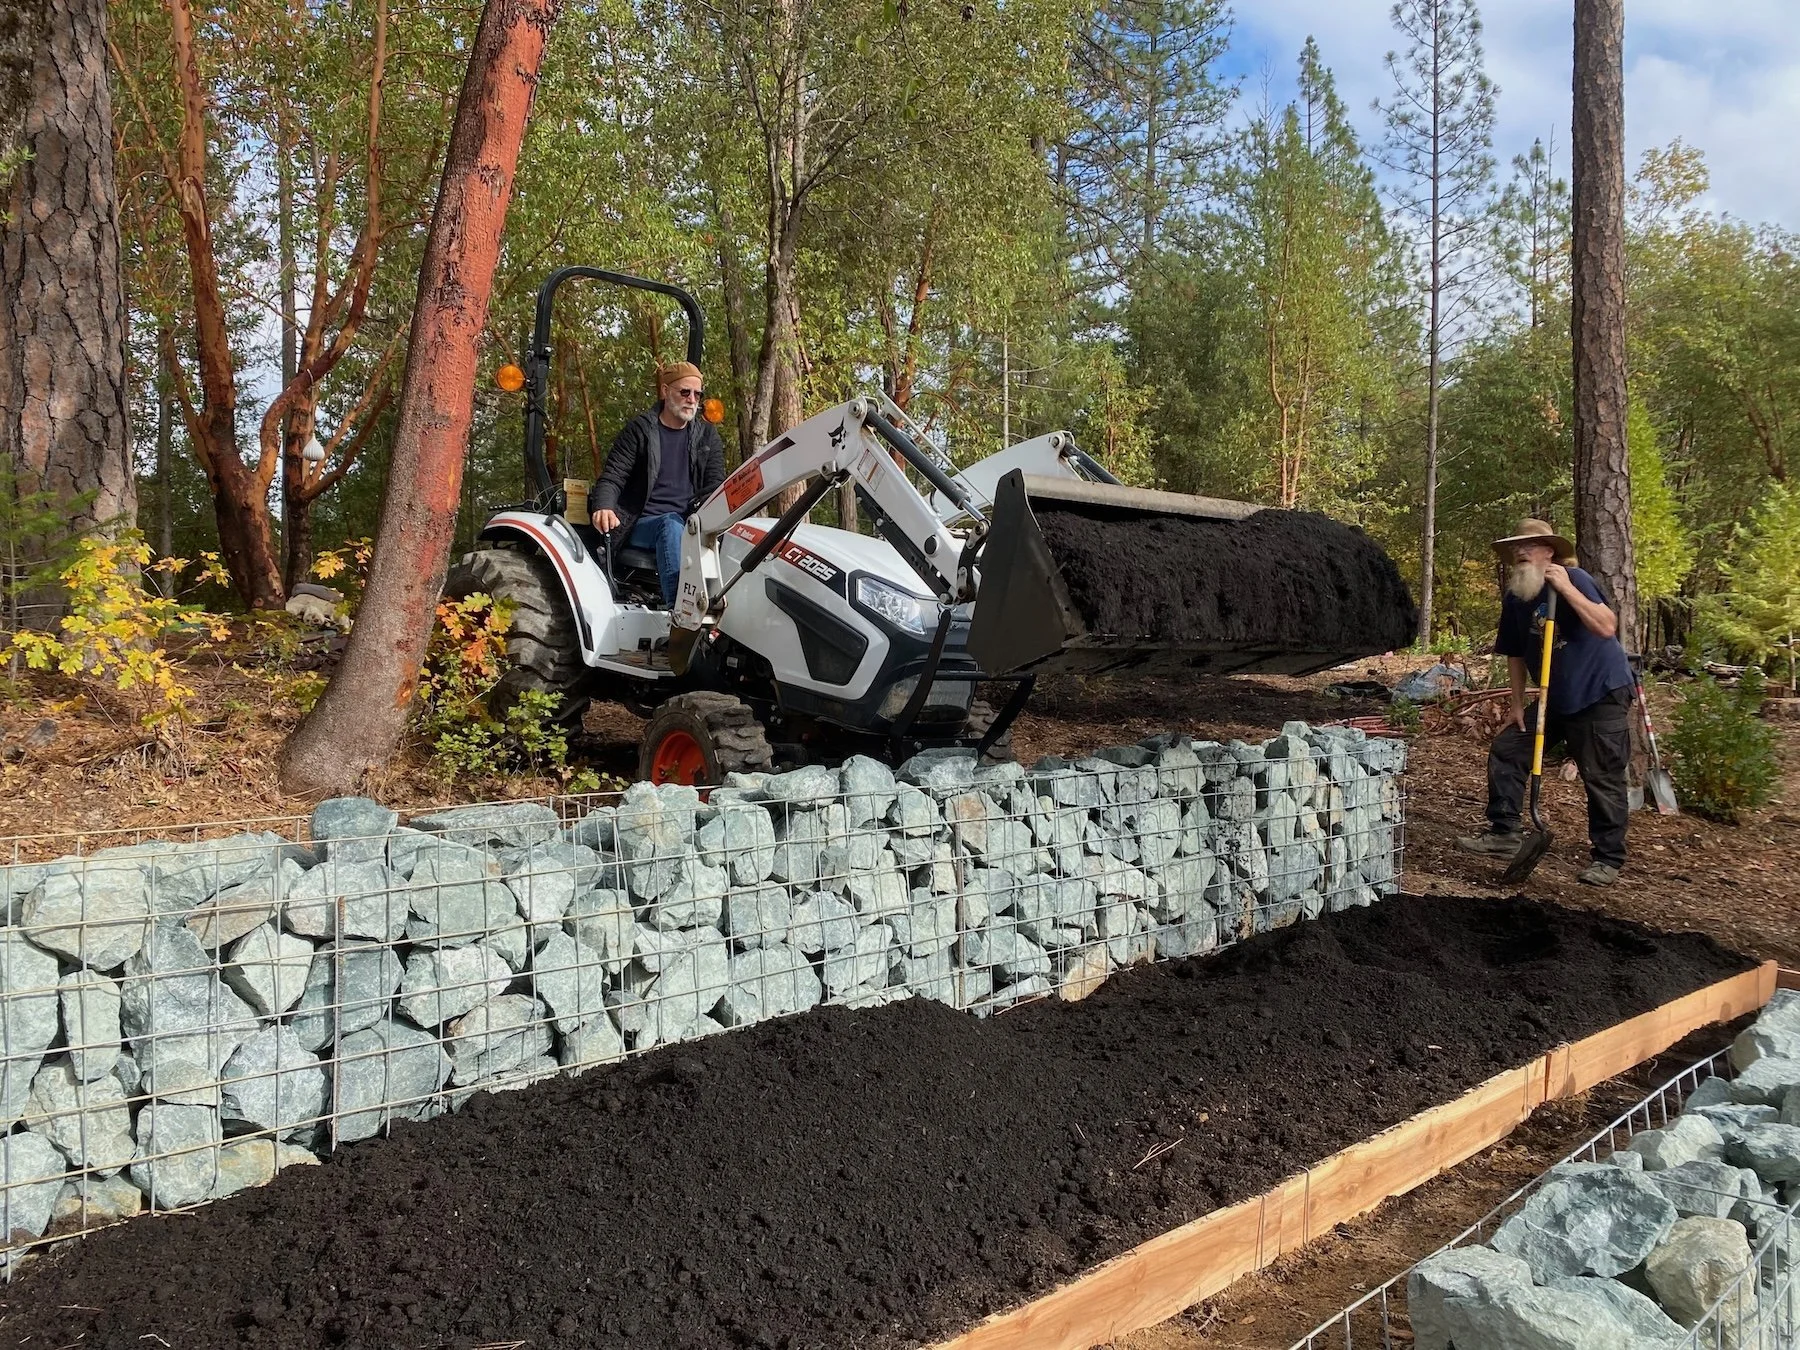
As soon as it arrived, using shovels and rakes, we spread the compost across each garden bed.
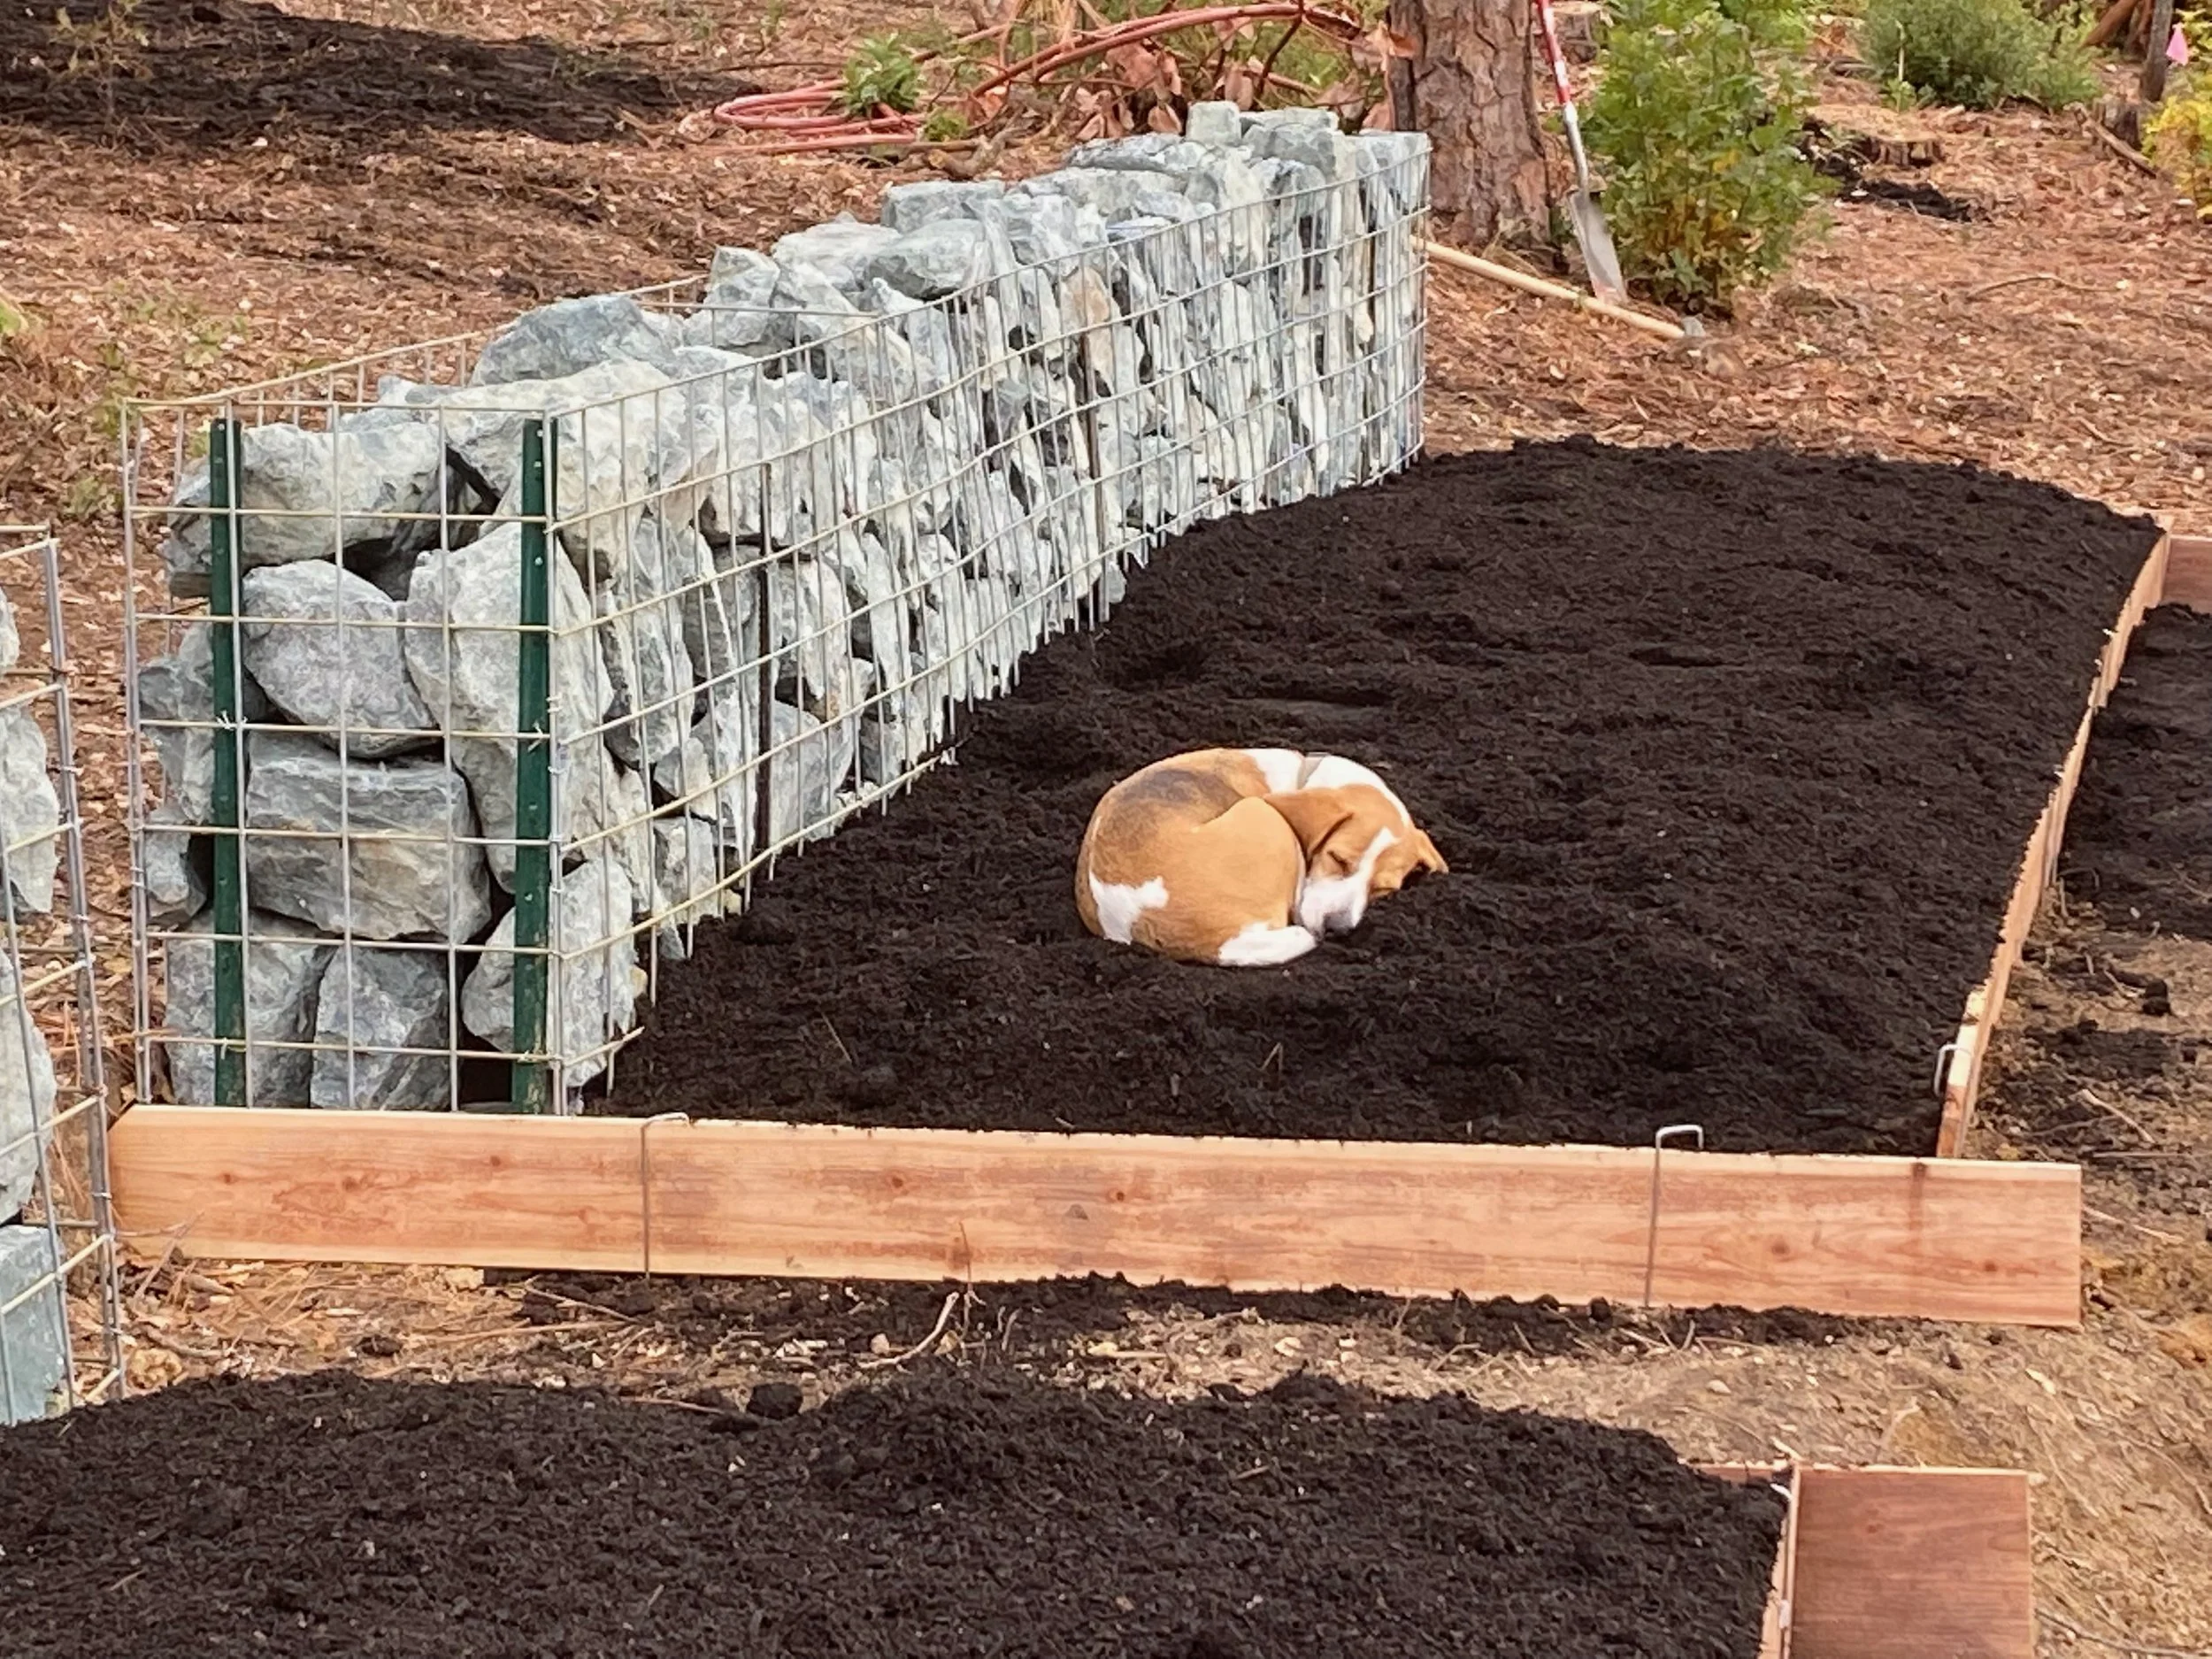
This photo shows Daisy the Beagle napping on the nice soft and warm soil. This is the very same Daisy who is the protagonist in many of my stories.
Layering six to eight inches of imported soil on twelve garden beds, each sixteen feet long and four feet wide was no small task.
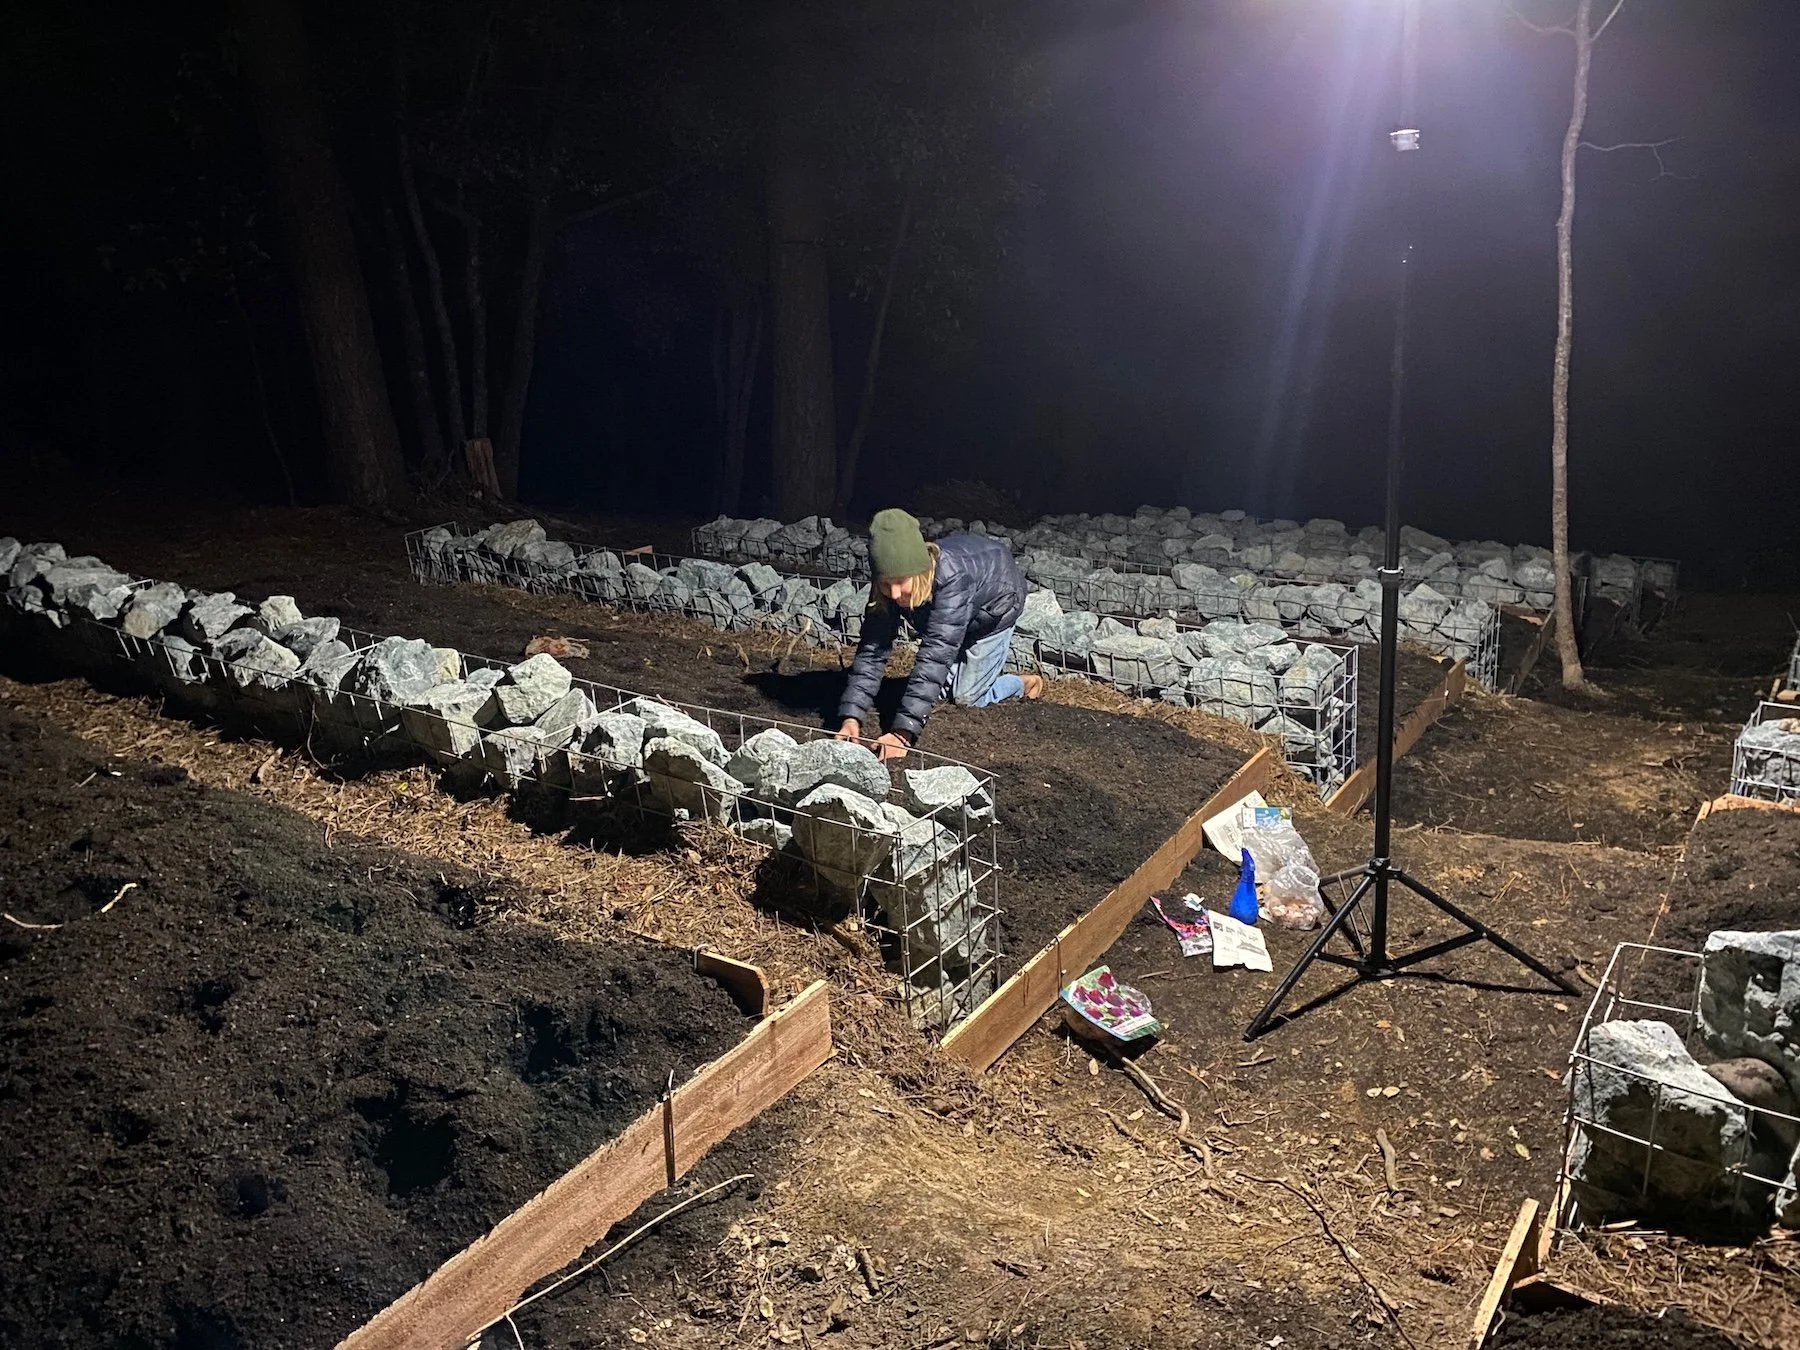
Elly is planting tulip bulbs in her garden bed on the night of a new moon.
By November 1st, the garden was finally ready to be planted. But, I wasn’t quite sure what to plant. After all, it was November and Nevada County was entirely new to me. The microclimates in this area vary dramatically. One neighbor, about a mile away, can grow citrus while another, a mile the other direction wouldn’t dream of growing citrus.
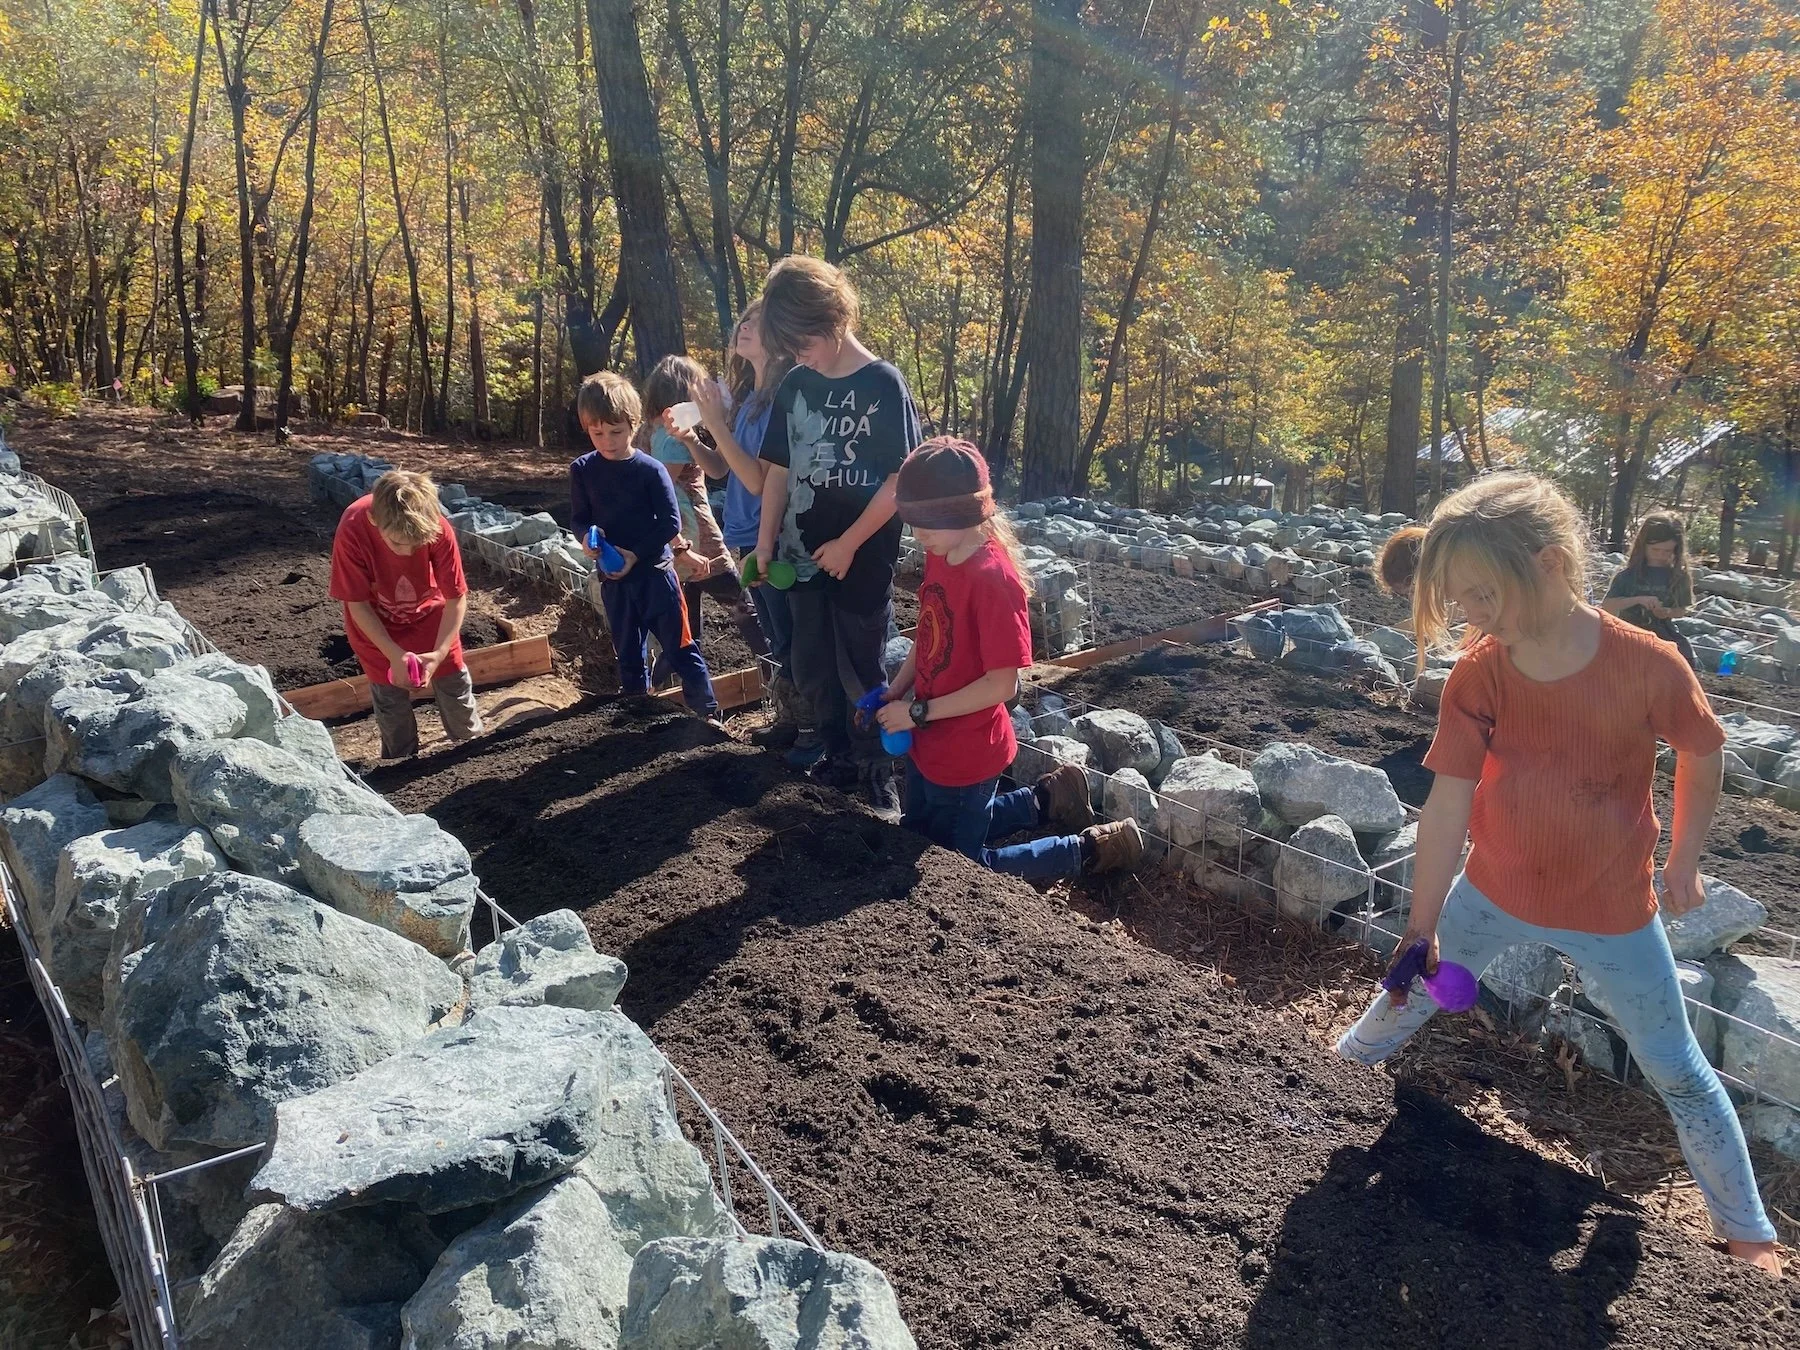
On the evening of November 1st, under the light of a new moon, in accordance with biodynamic principles, my daughter and I planted our garden. The next day, the nature school kids planted more.
We planted a wide variety of seeds. We planted soil builders and ground covers like buckwheat, Renee's cover crop mix and peas. We also planted lettuce and a variety of root vegetables.
The beautiful, delicate buckwheat emerged first. Soon came a hard frost. Goodbye, buckwheat.
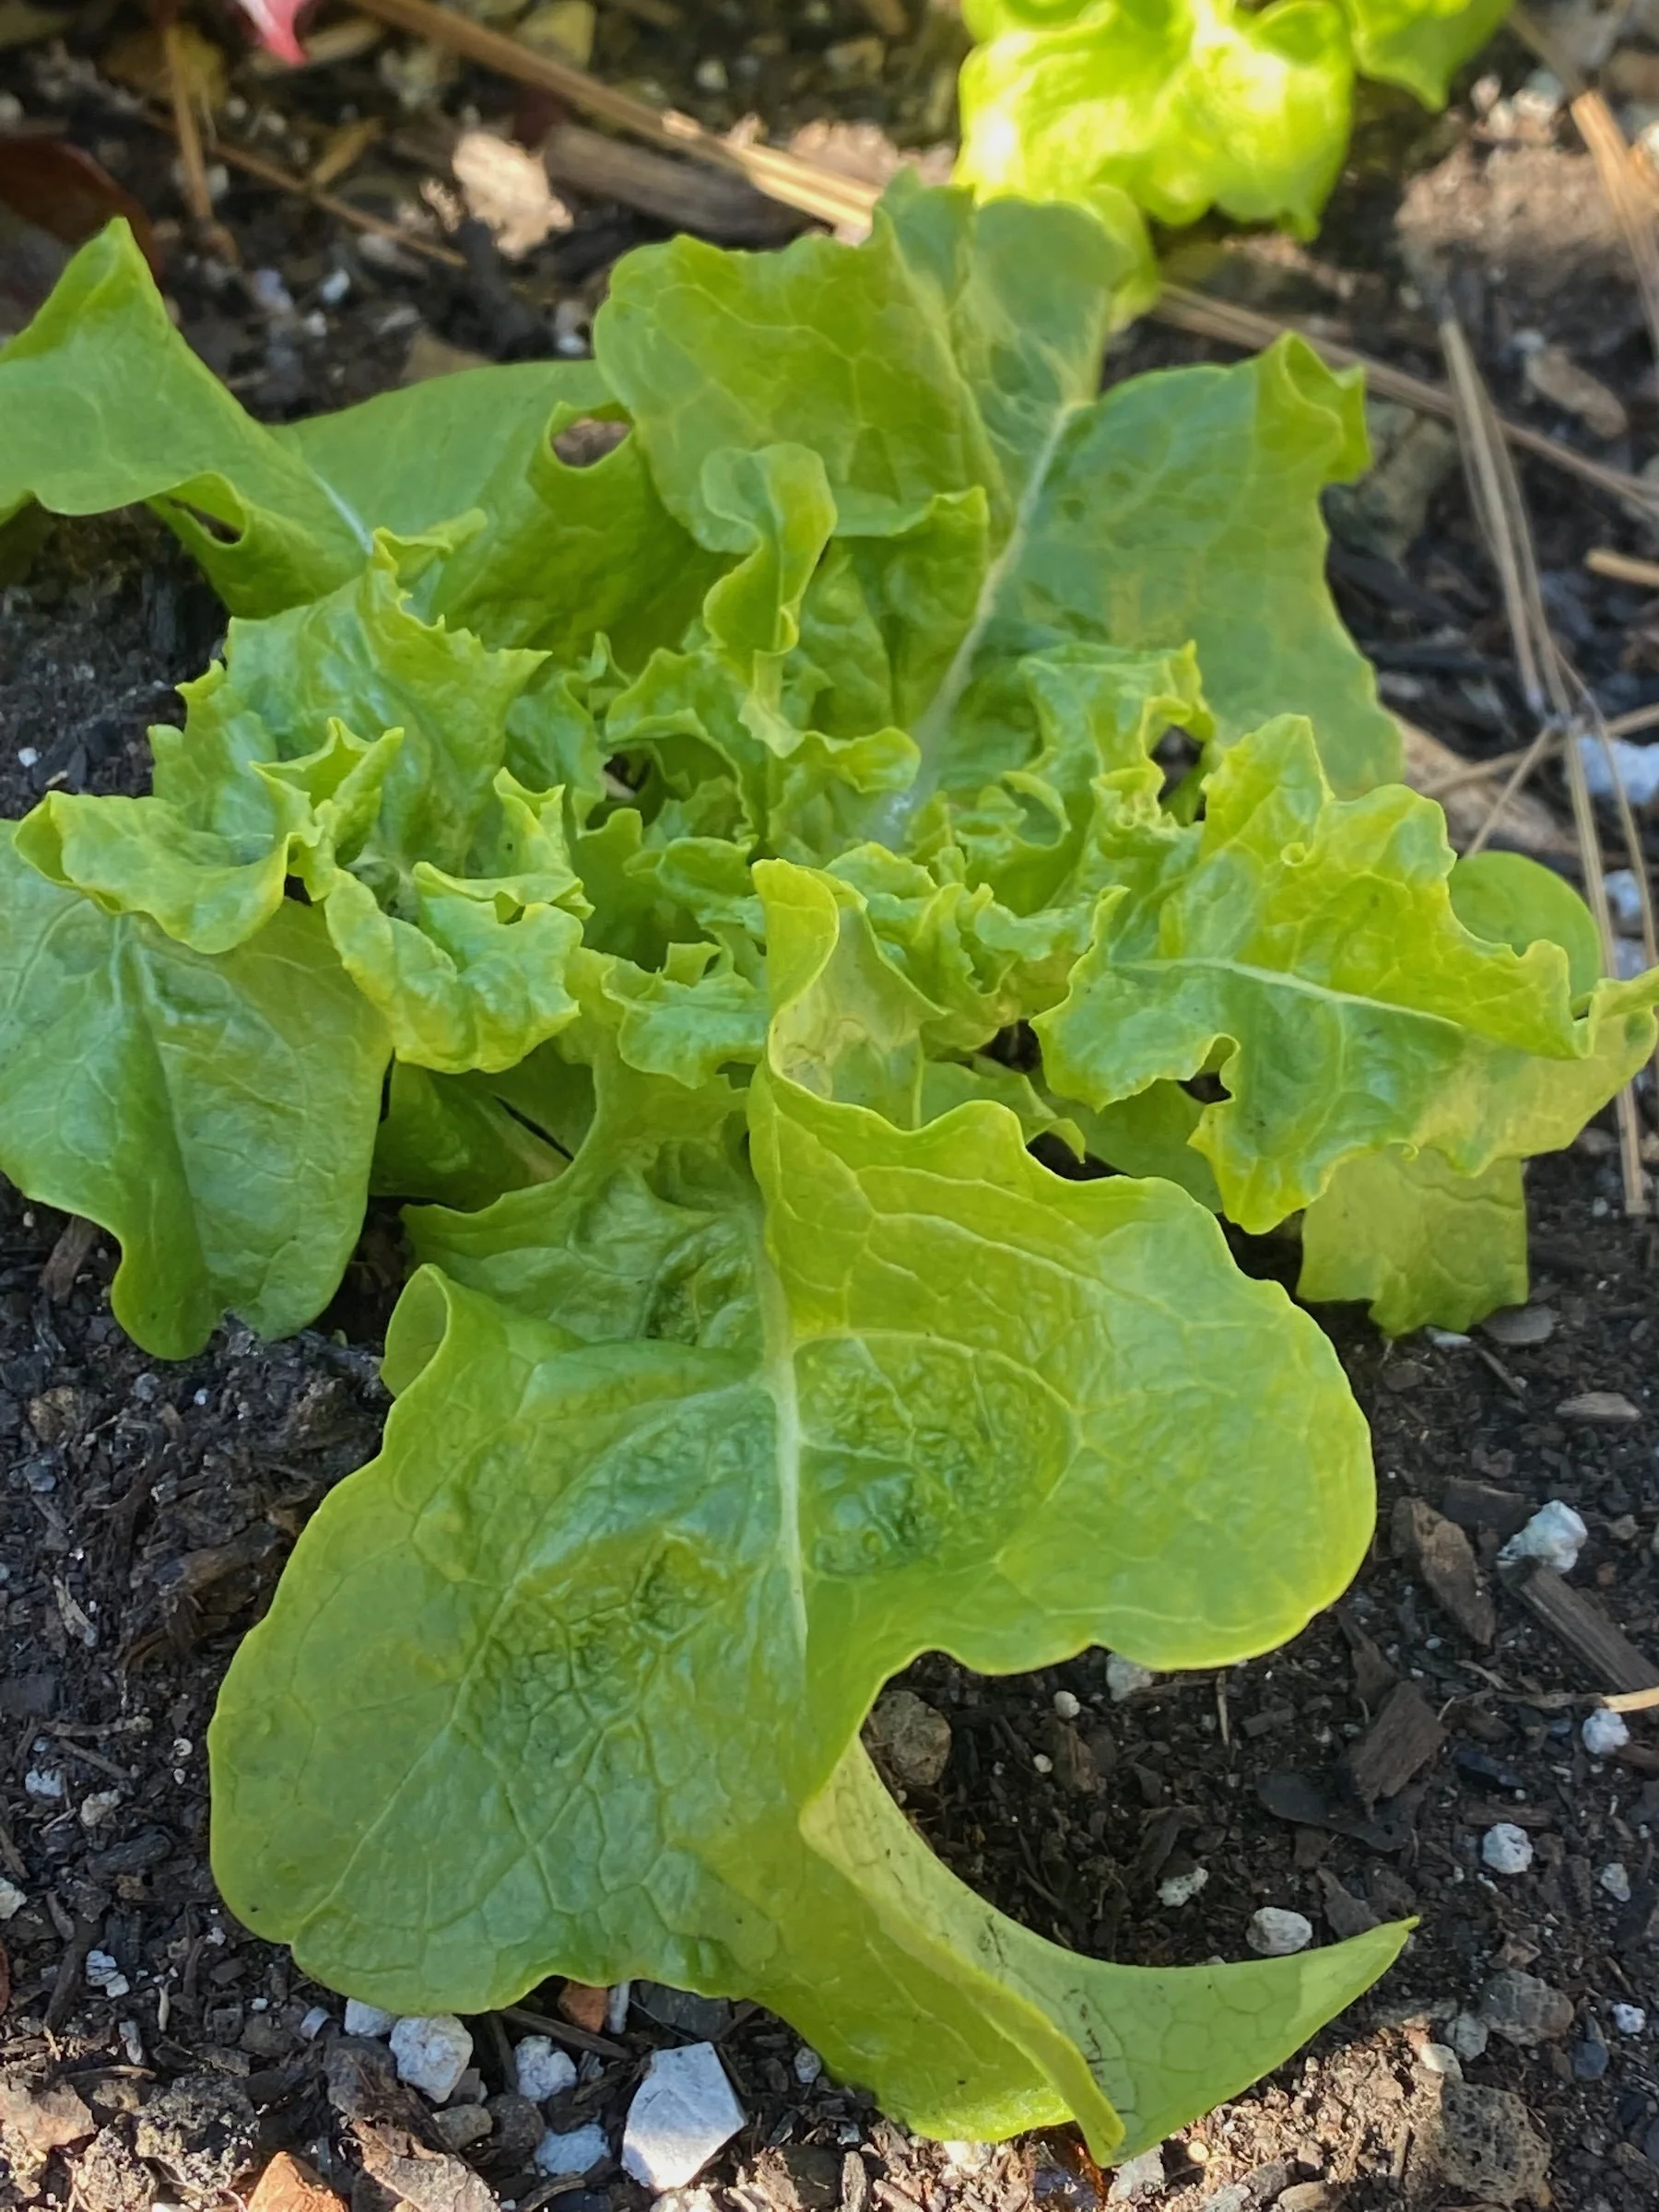
The lettuce popped up too and it surprised me by hanging on, even in the snow.
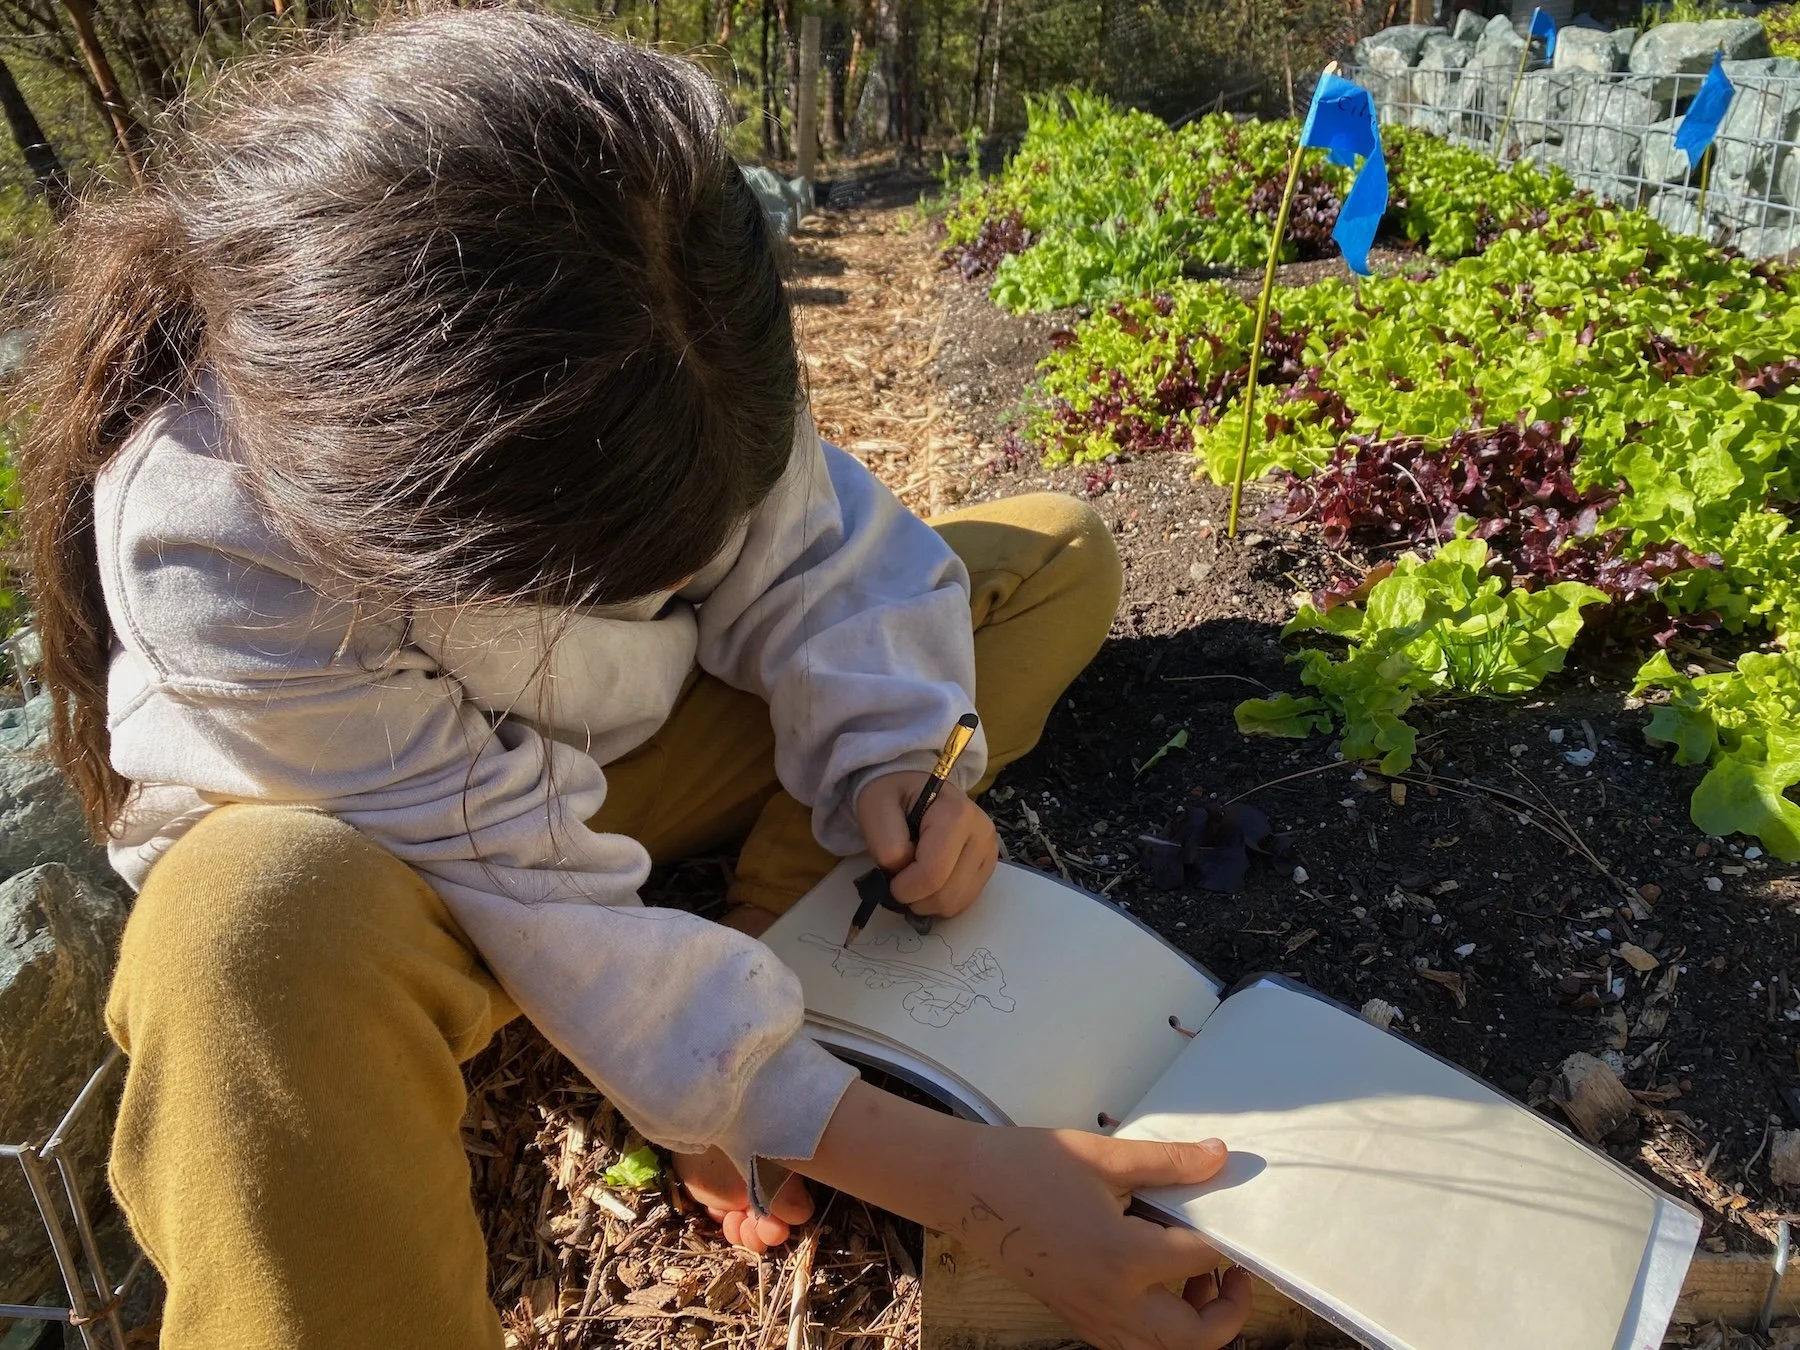
In spring, we harvested peas in abundance. A few weeks later, we planted tomatoes, cucumbers, zucchini, pumpkins, watermelon, and more.
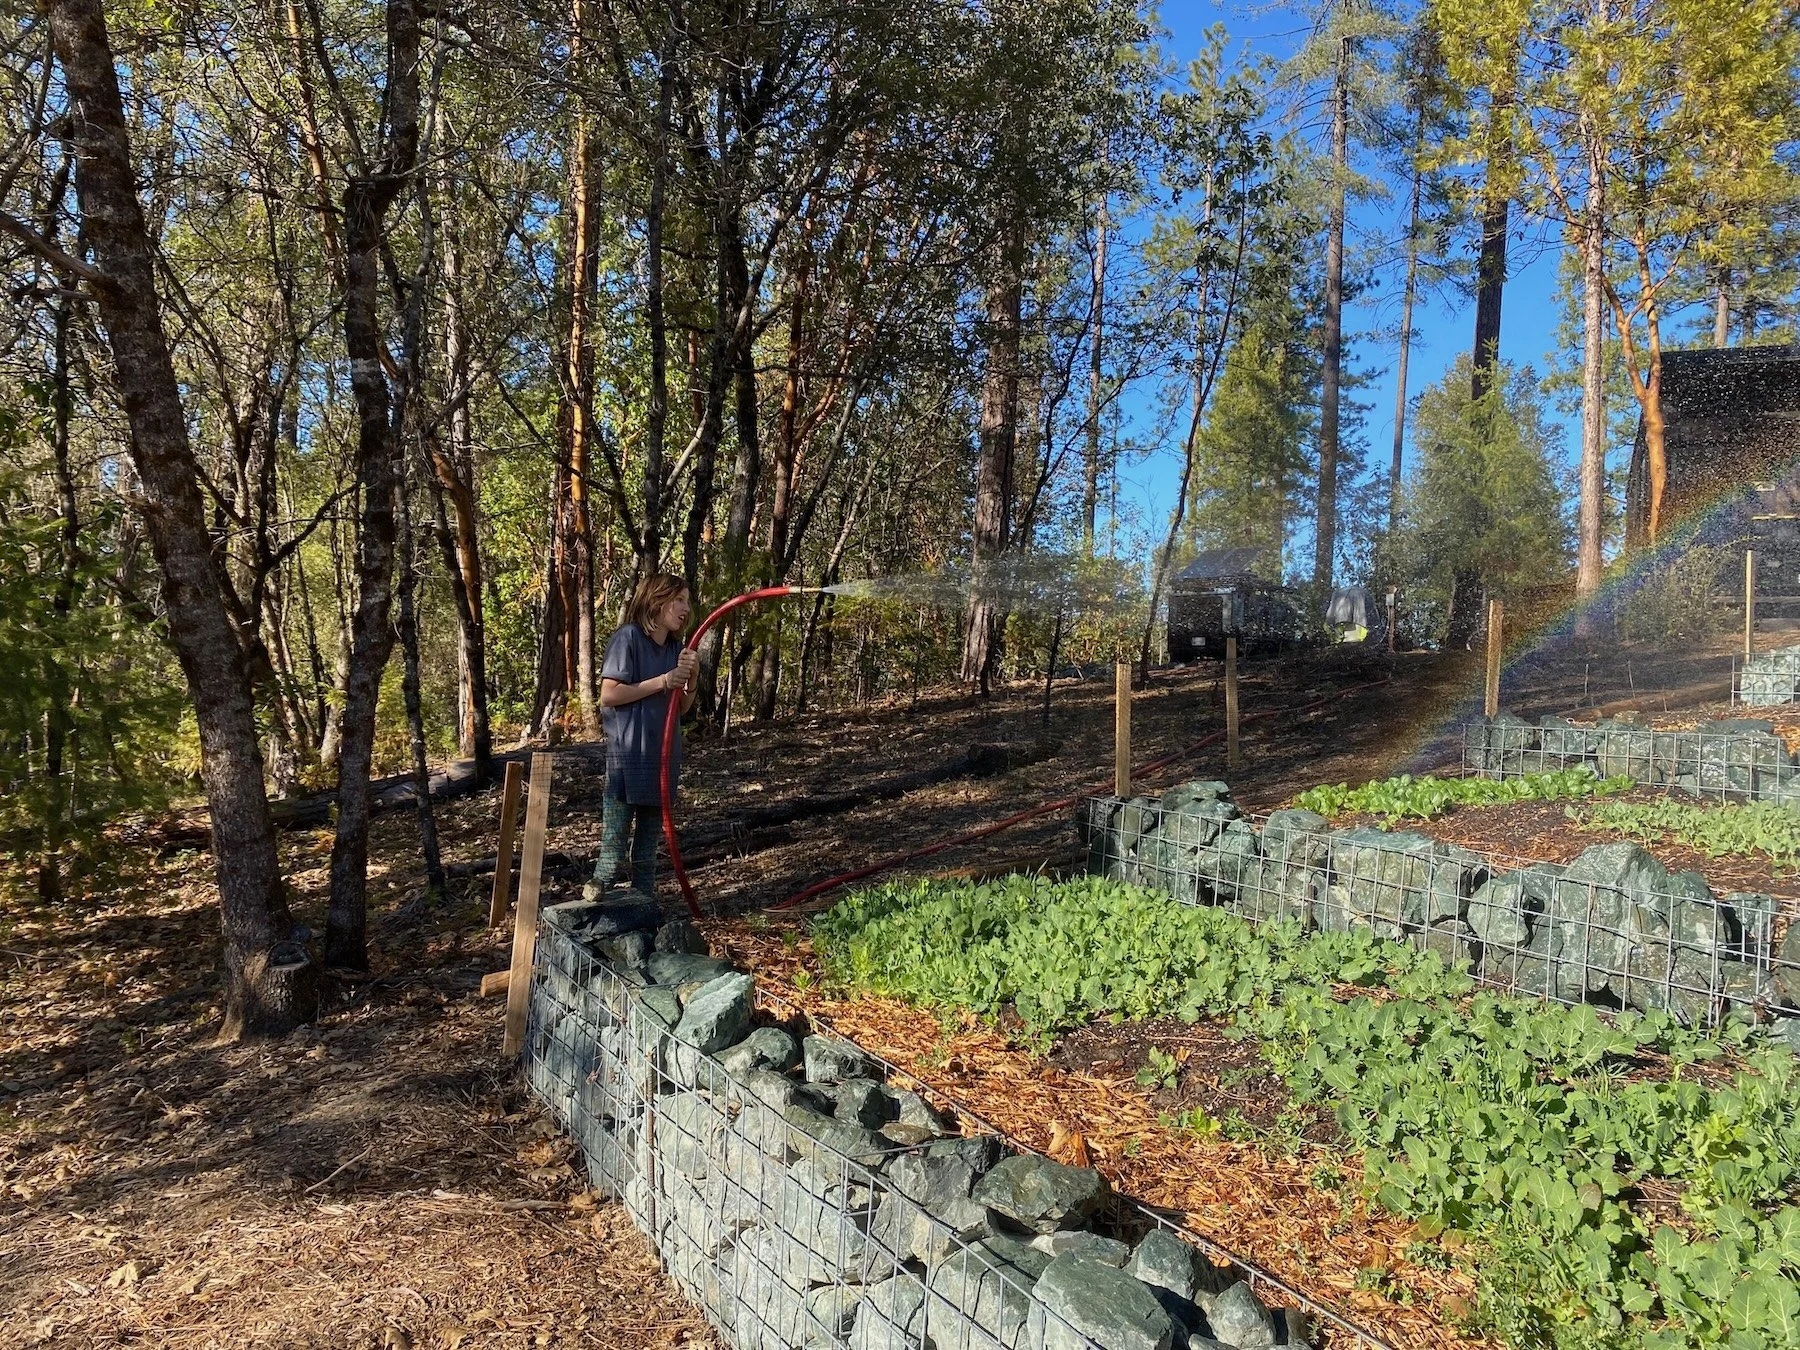
Summer arrived, temperatures rose and I watered. Every day. Yet, the water never seemed to soak in past an inch or so. Uh..oh…The soil was hydrophobic. No matter how much I watered, the water wouldn’t soak in. And so, the plants struggled. The harvest that summer and fall was at best, OK.
Fast forward a few months to winter. Determined to improve the garden, I added wine cap mushrooms to introduce mycelium into the soil. I spread chicken coop compost, (straw, chicken droppings, and dirt) and covered everything with fresh straw and mulch. We used mulch from my neighbor Jim that had been sitting for years and was greatly decomposed, almost compost, and riddled with mycelium. YUM. I also planted daikon radishes in late fall, hoping their deep roots would loosen and mix the soil naturally.
Spring arrived and with it came veggie planting season. Ugh…despite all my efforts, the soil was still hydrophobic. So, before planting, I borrowed a broadfork to pull up some of our clay-rich native soil and blend it into the imported compost. Unfortunately, the broadfork reached only about as deep as the imported soil itself. The hard native clay beneath remained stubbornly out of reach. So, I did the next best thing. I dug native clay from elsewhere on the property and sprinkled on the garden beds by hand. And I added more chicken compost.
The second summer was better. The wine cap mushrooms were delightful. The harvest improved. But the soil was still frustratingly hydrophobic.
At the farmers market, I asked several experienced growers what they would do. More than one smiled and gave essentially the same answer. "It takes about five years to build good organic soil."
So, I patiently kept going. Each spring and fall I added compost from the chicken coop. Each year I spread another layer of straw and mulch. I planted flowers to invite pollinators and because gardens should be beautiful. One year, the students and I made biochar.
The wine cap mushrooms disappeared after the second year, but beneath the surface, to this day, beautiful threads of mycelium remain. The perennials quietly settled in: the mint flourished, collards became a mainstay and thyme, oregano, rosemary, lemon balm, and irises all grew stronger with each passing season.
An elderberry shrub volunteered. It grew in the middle of a garden bed. Not exactly where one would plant a tree (although it is technically a shrub, it looks like a tree). Seeing that the elderberry shrubs I planted elsewhere on the property were barely surviving, I happily let it stay in the garden. How can one argue with an elderberry? Sometimes, most of the time, plants, especially an elderberry, know better than we.
And now...this summer marks year five. For the first time, the soil is no longer hydrophobic.
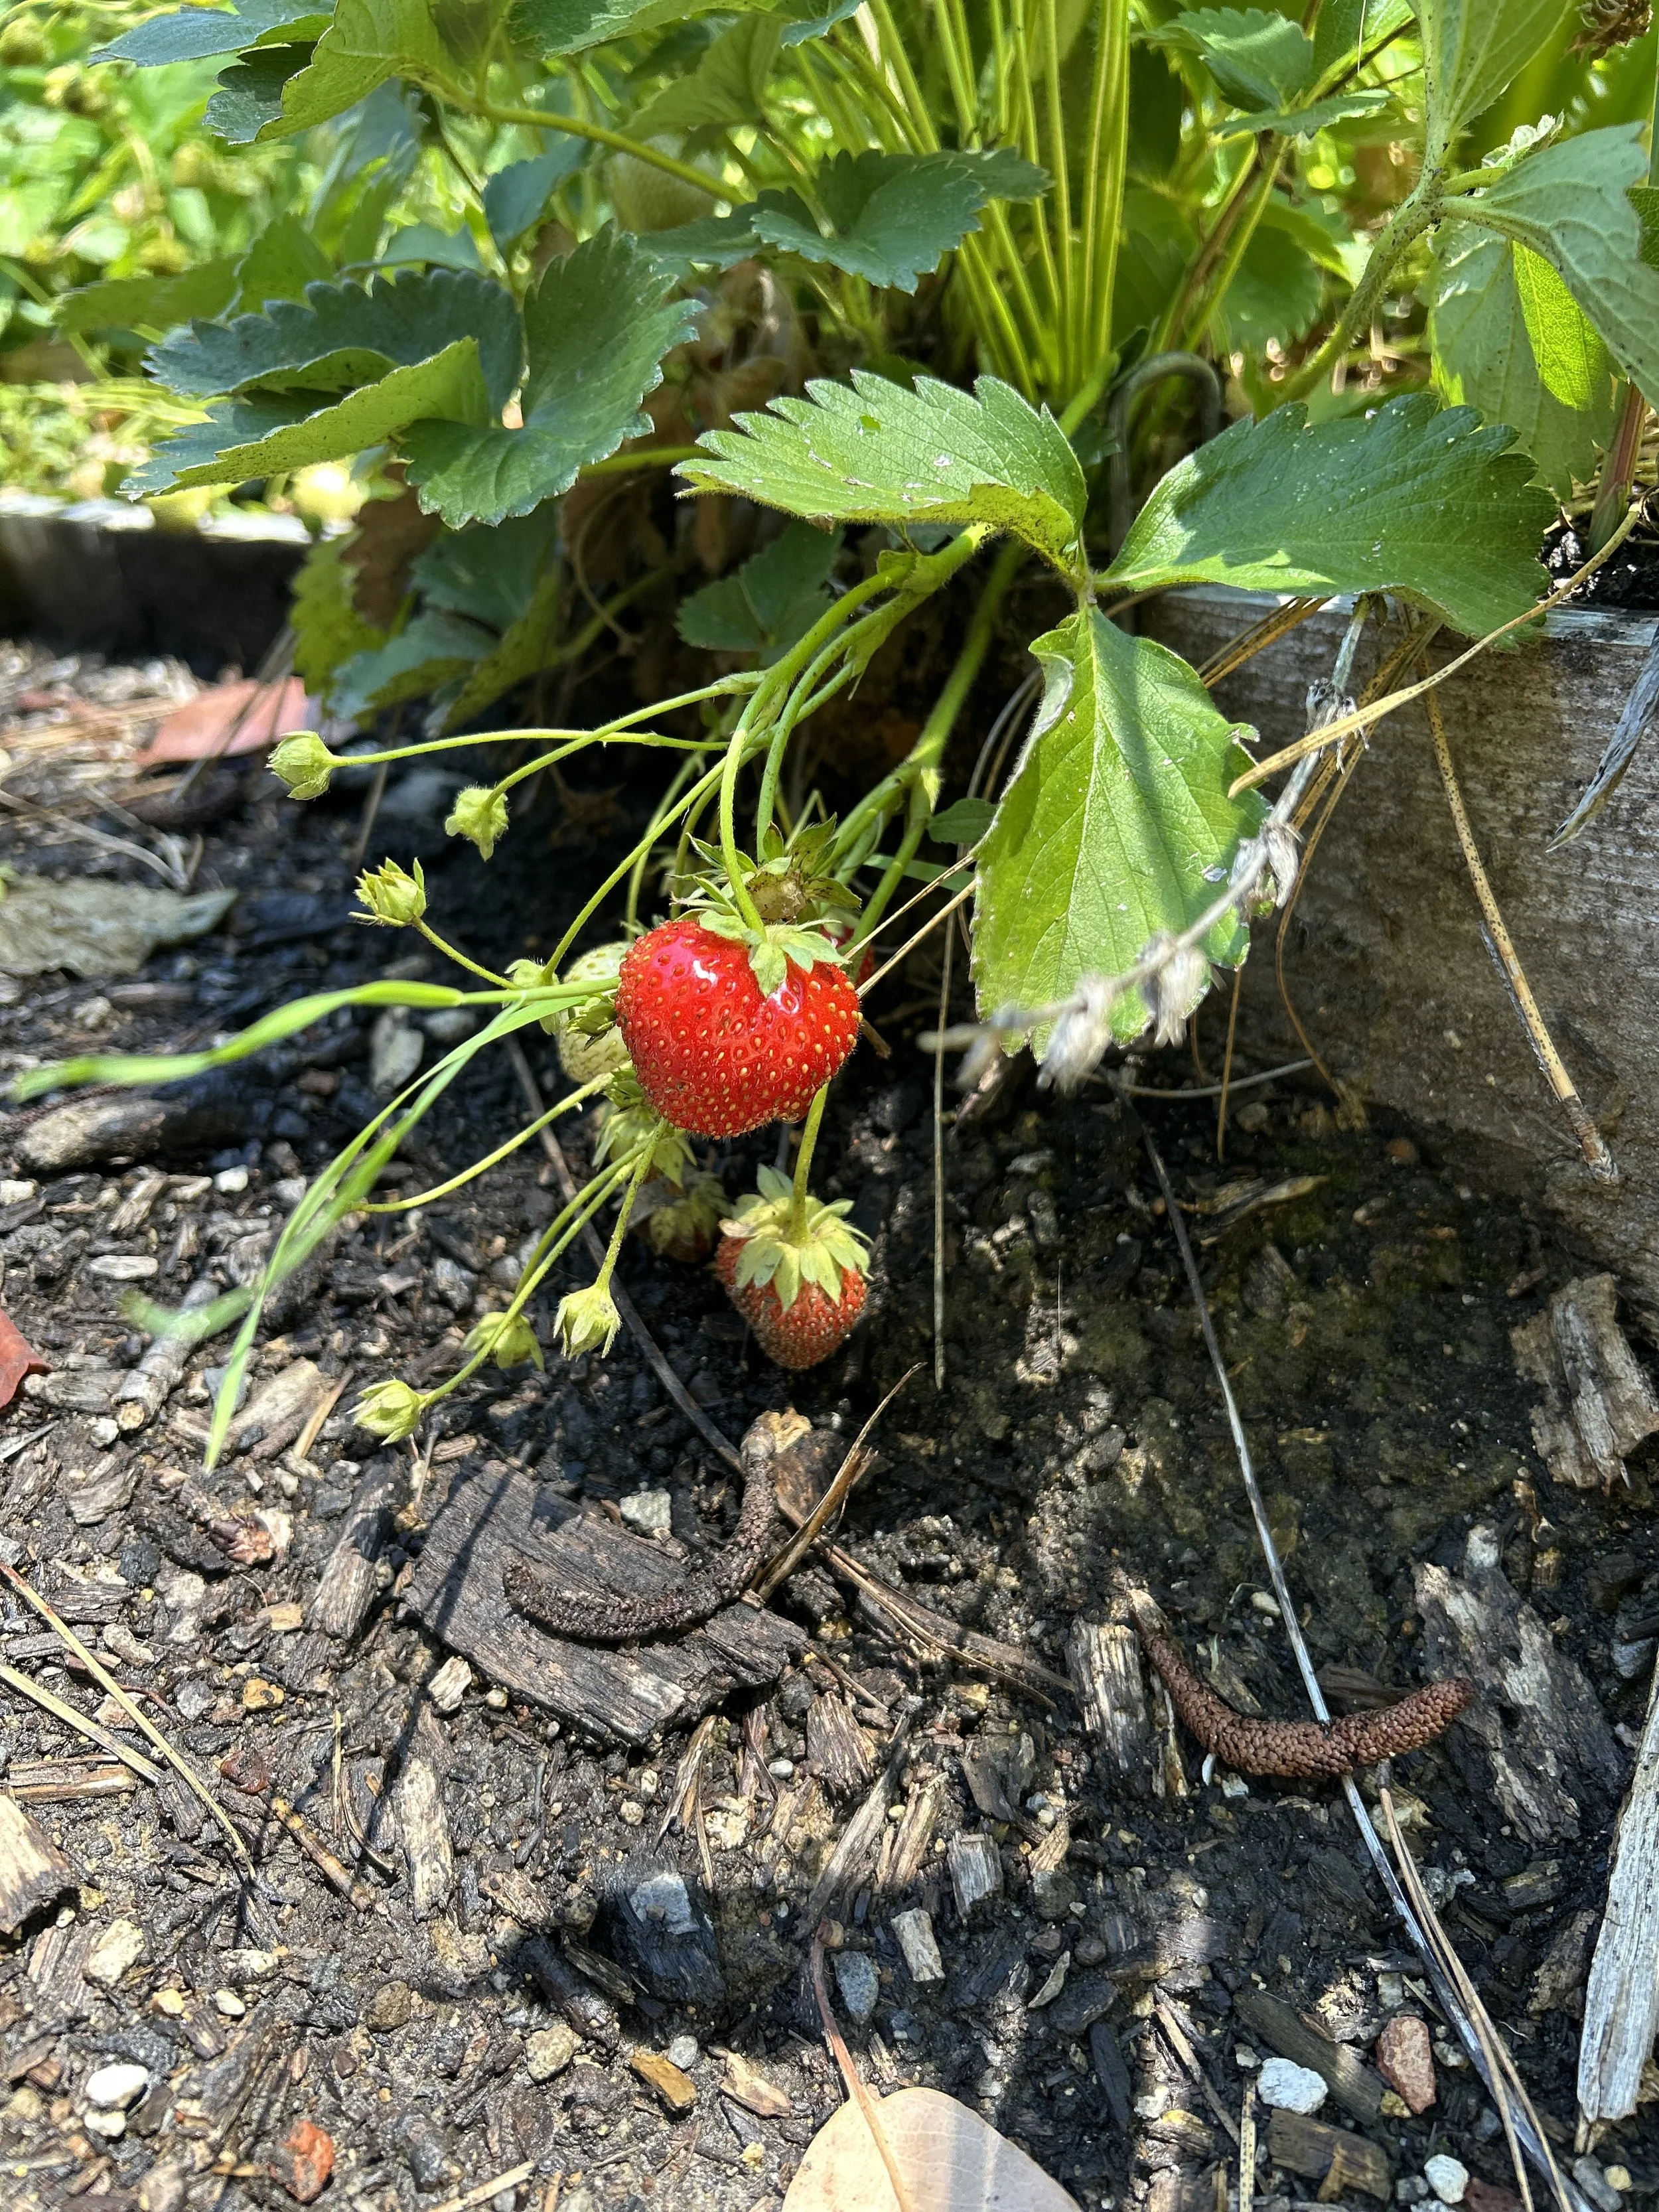
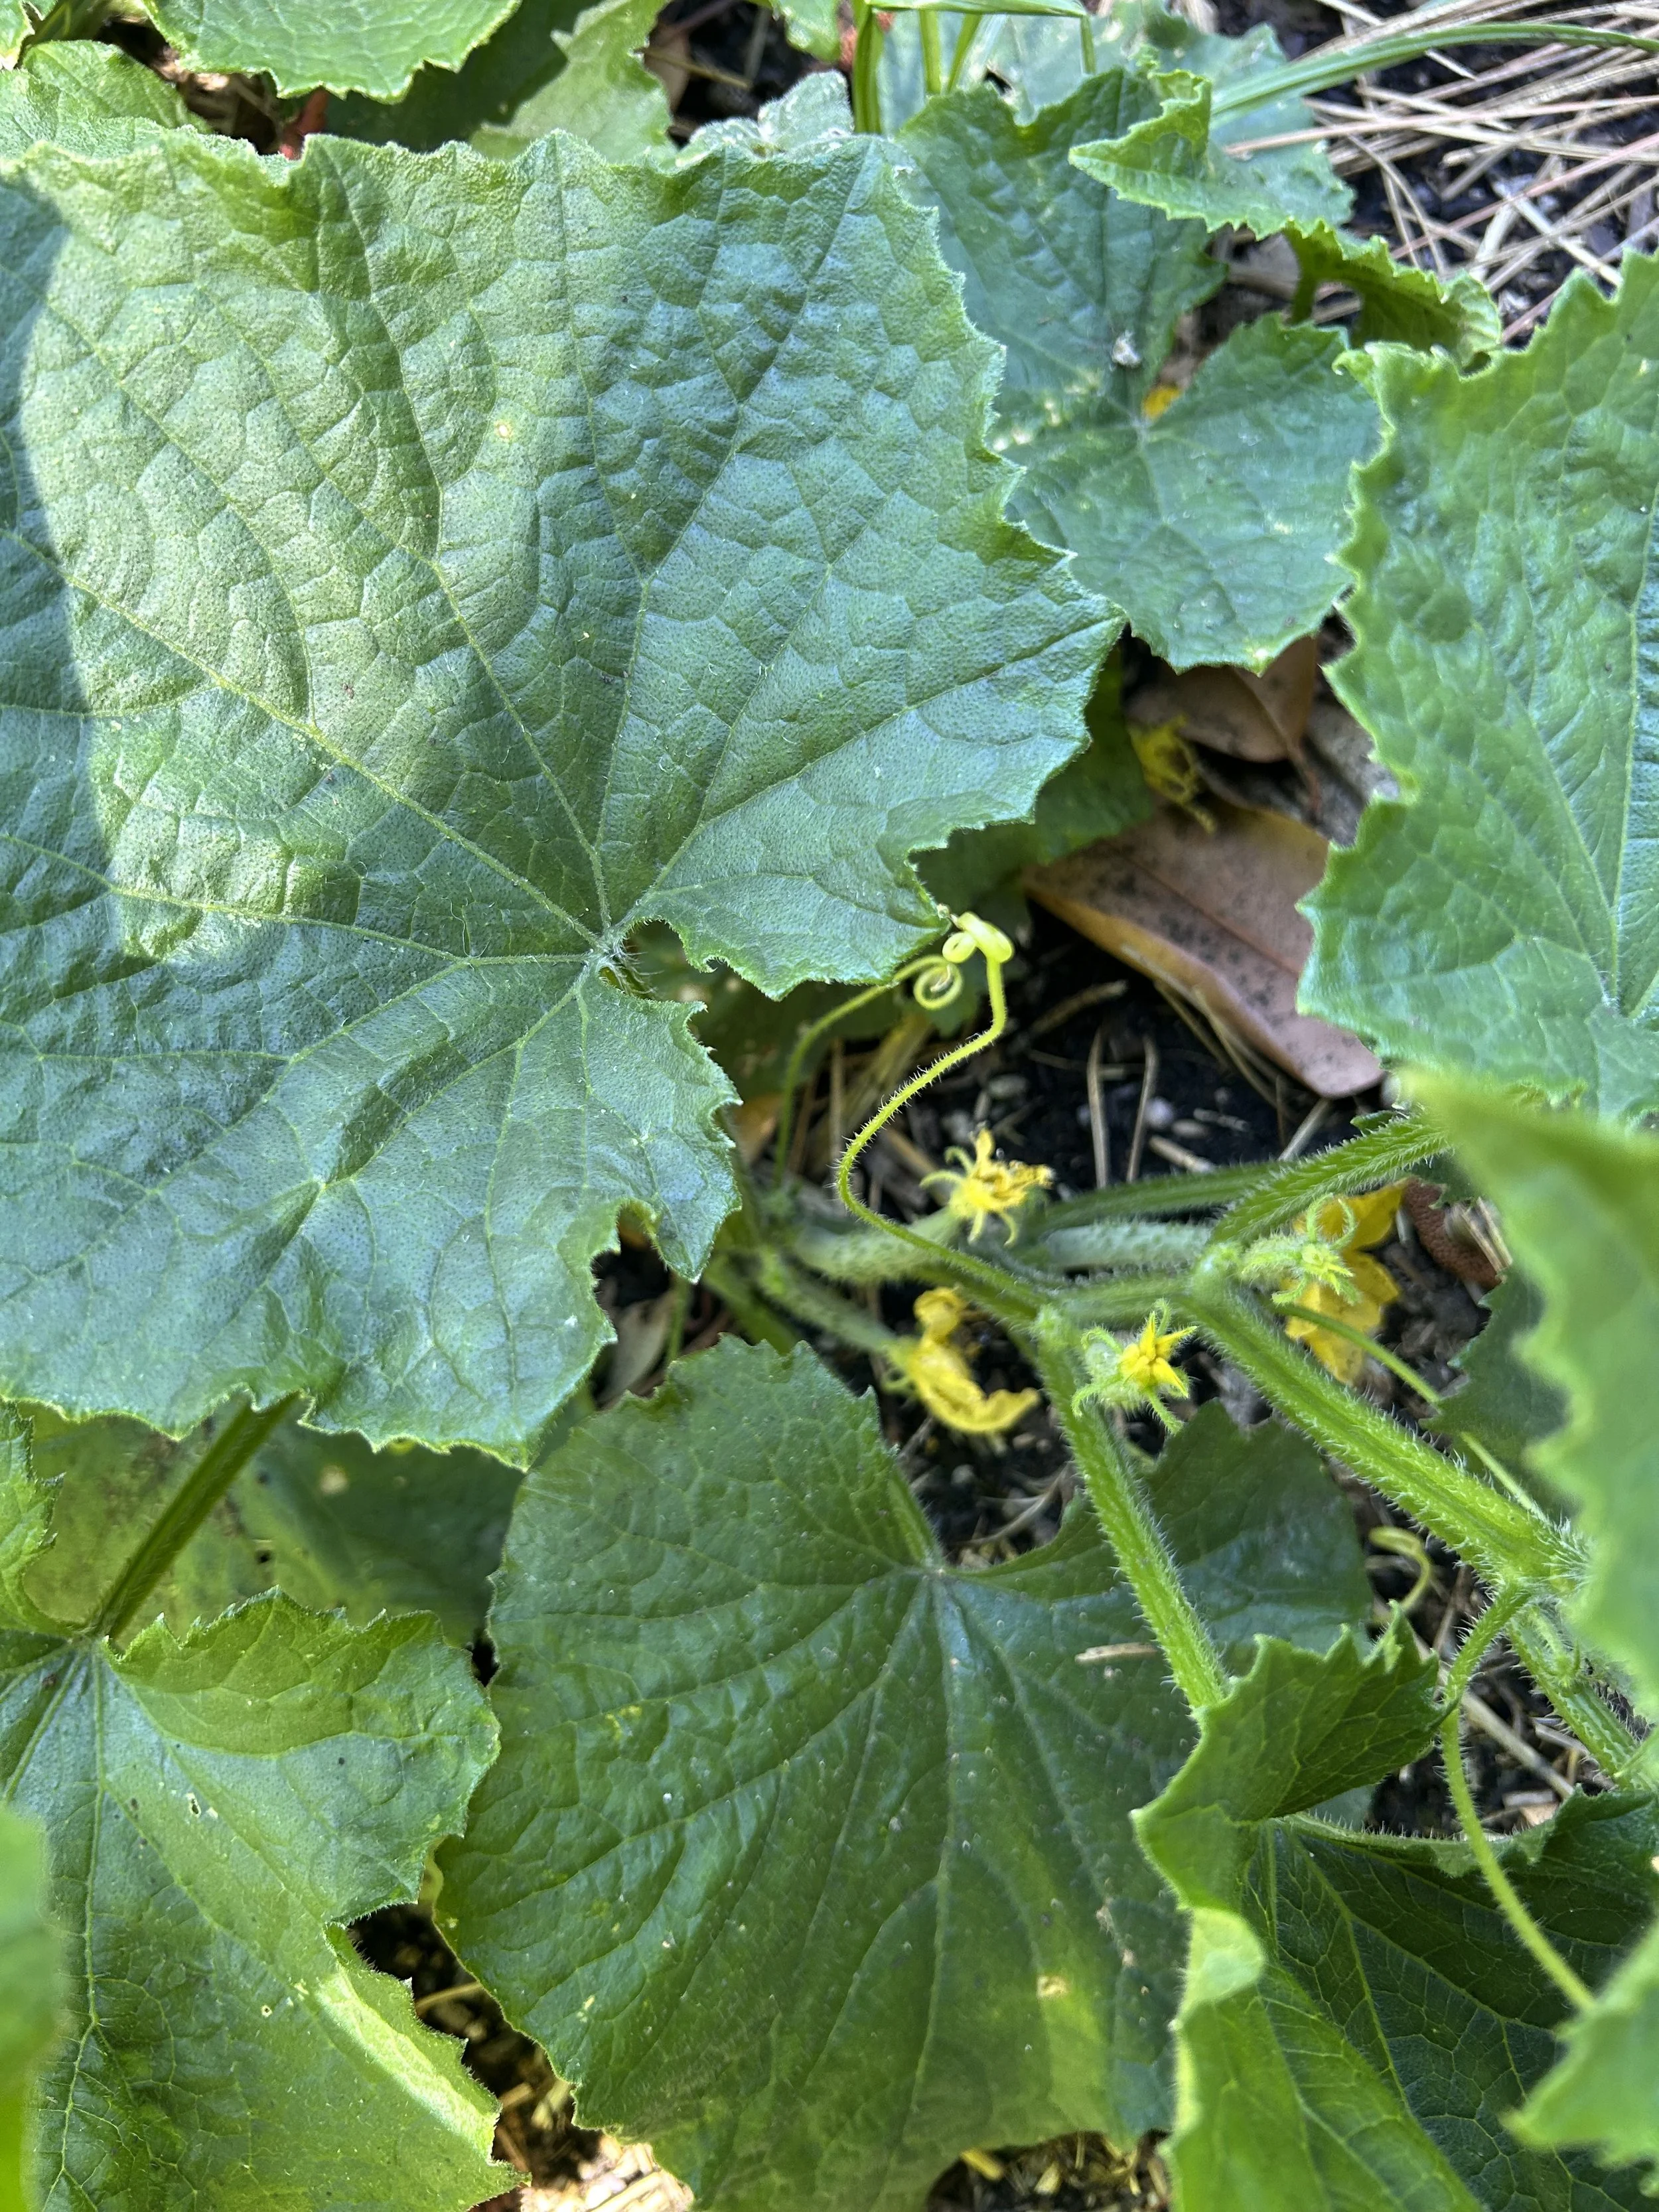
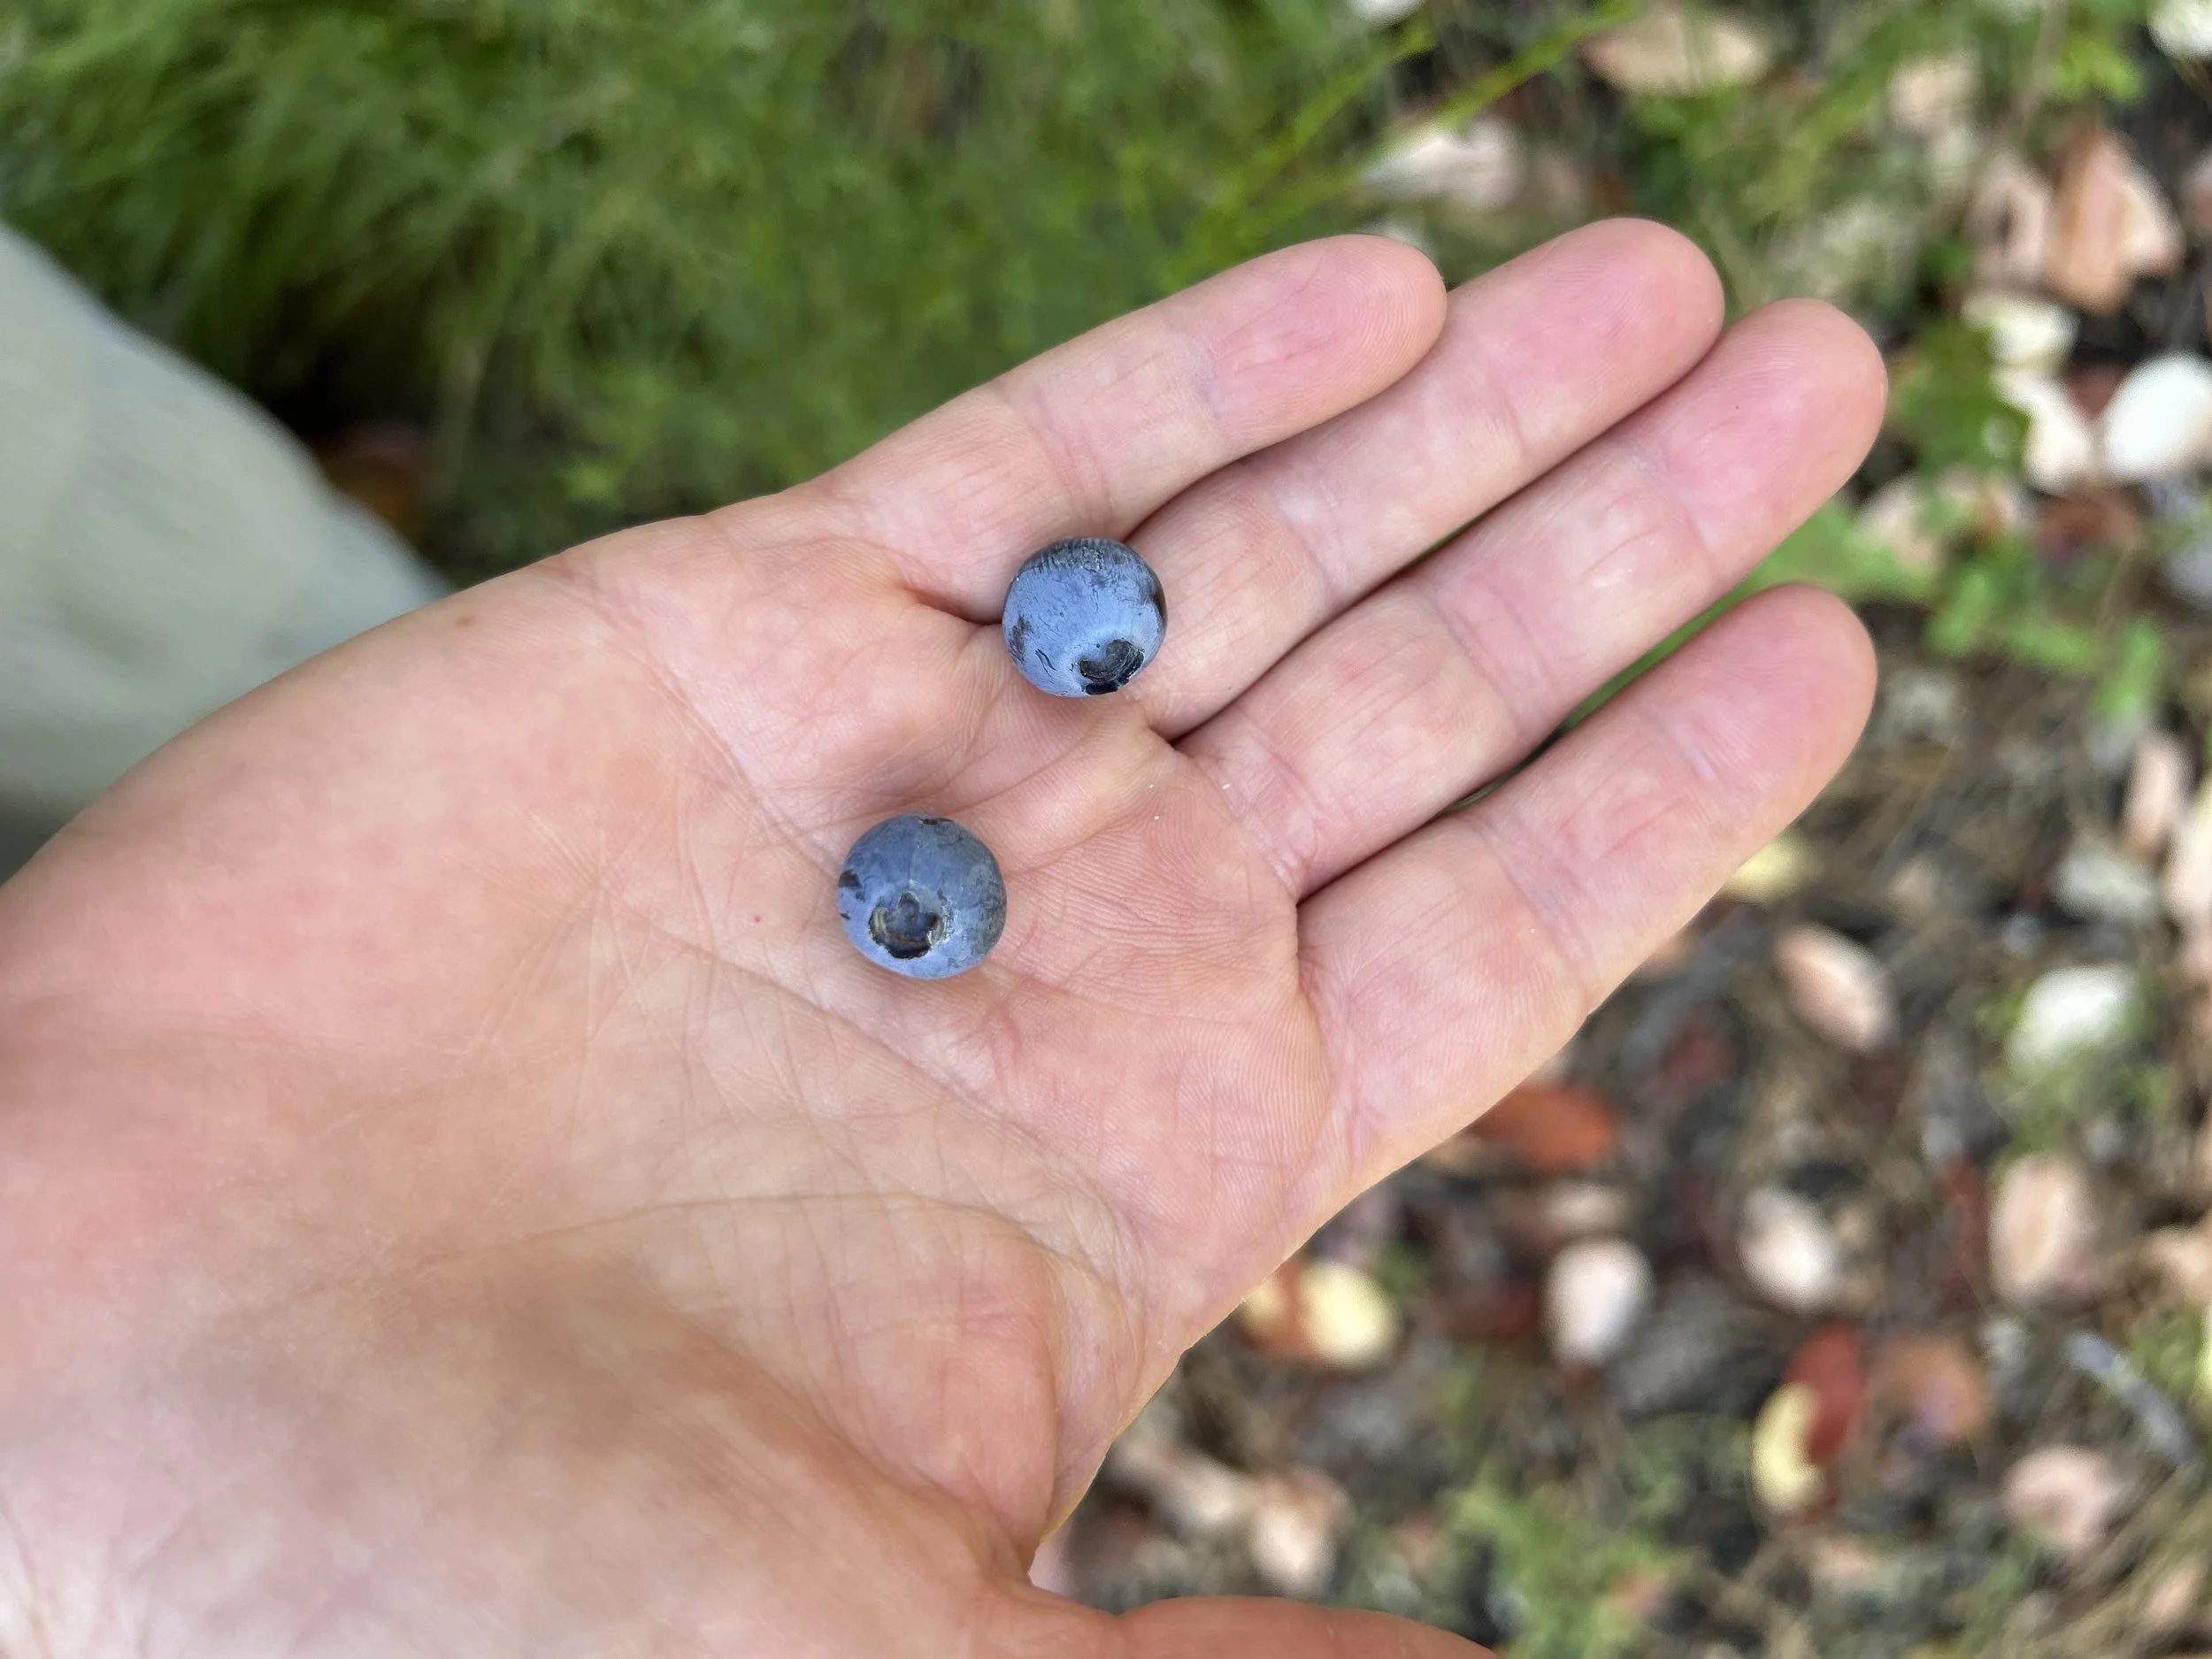
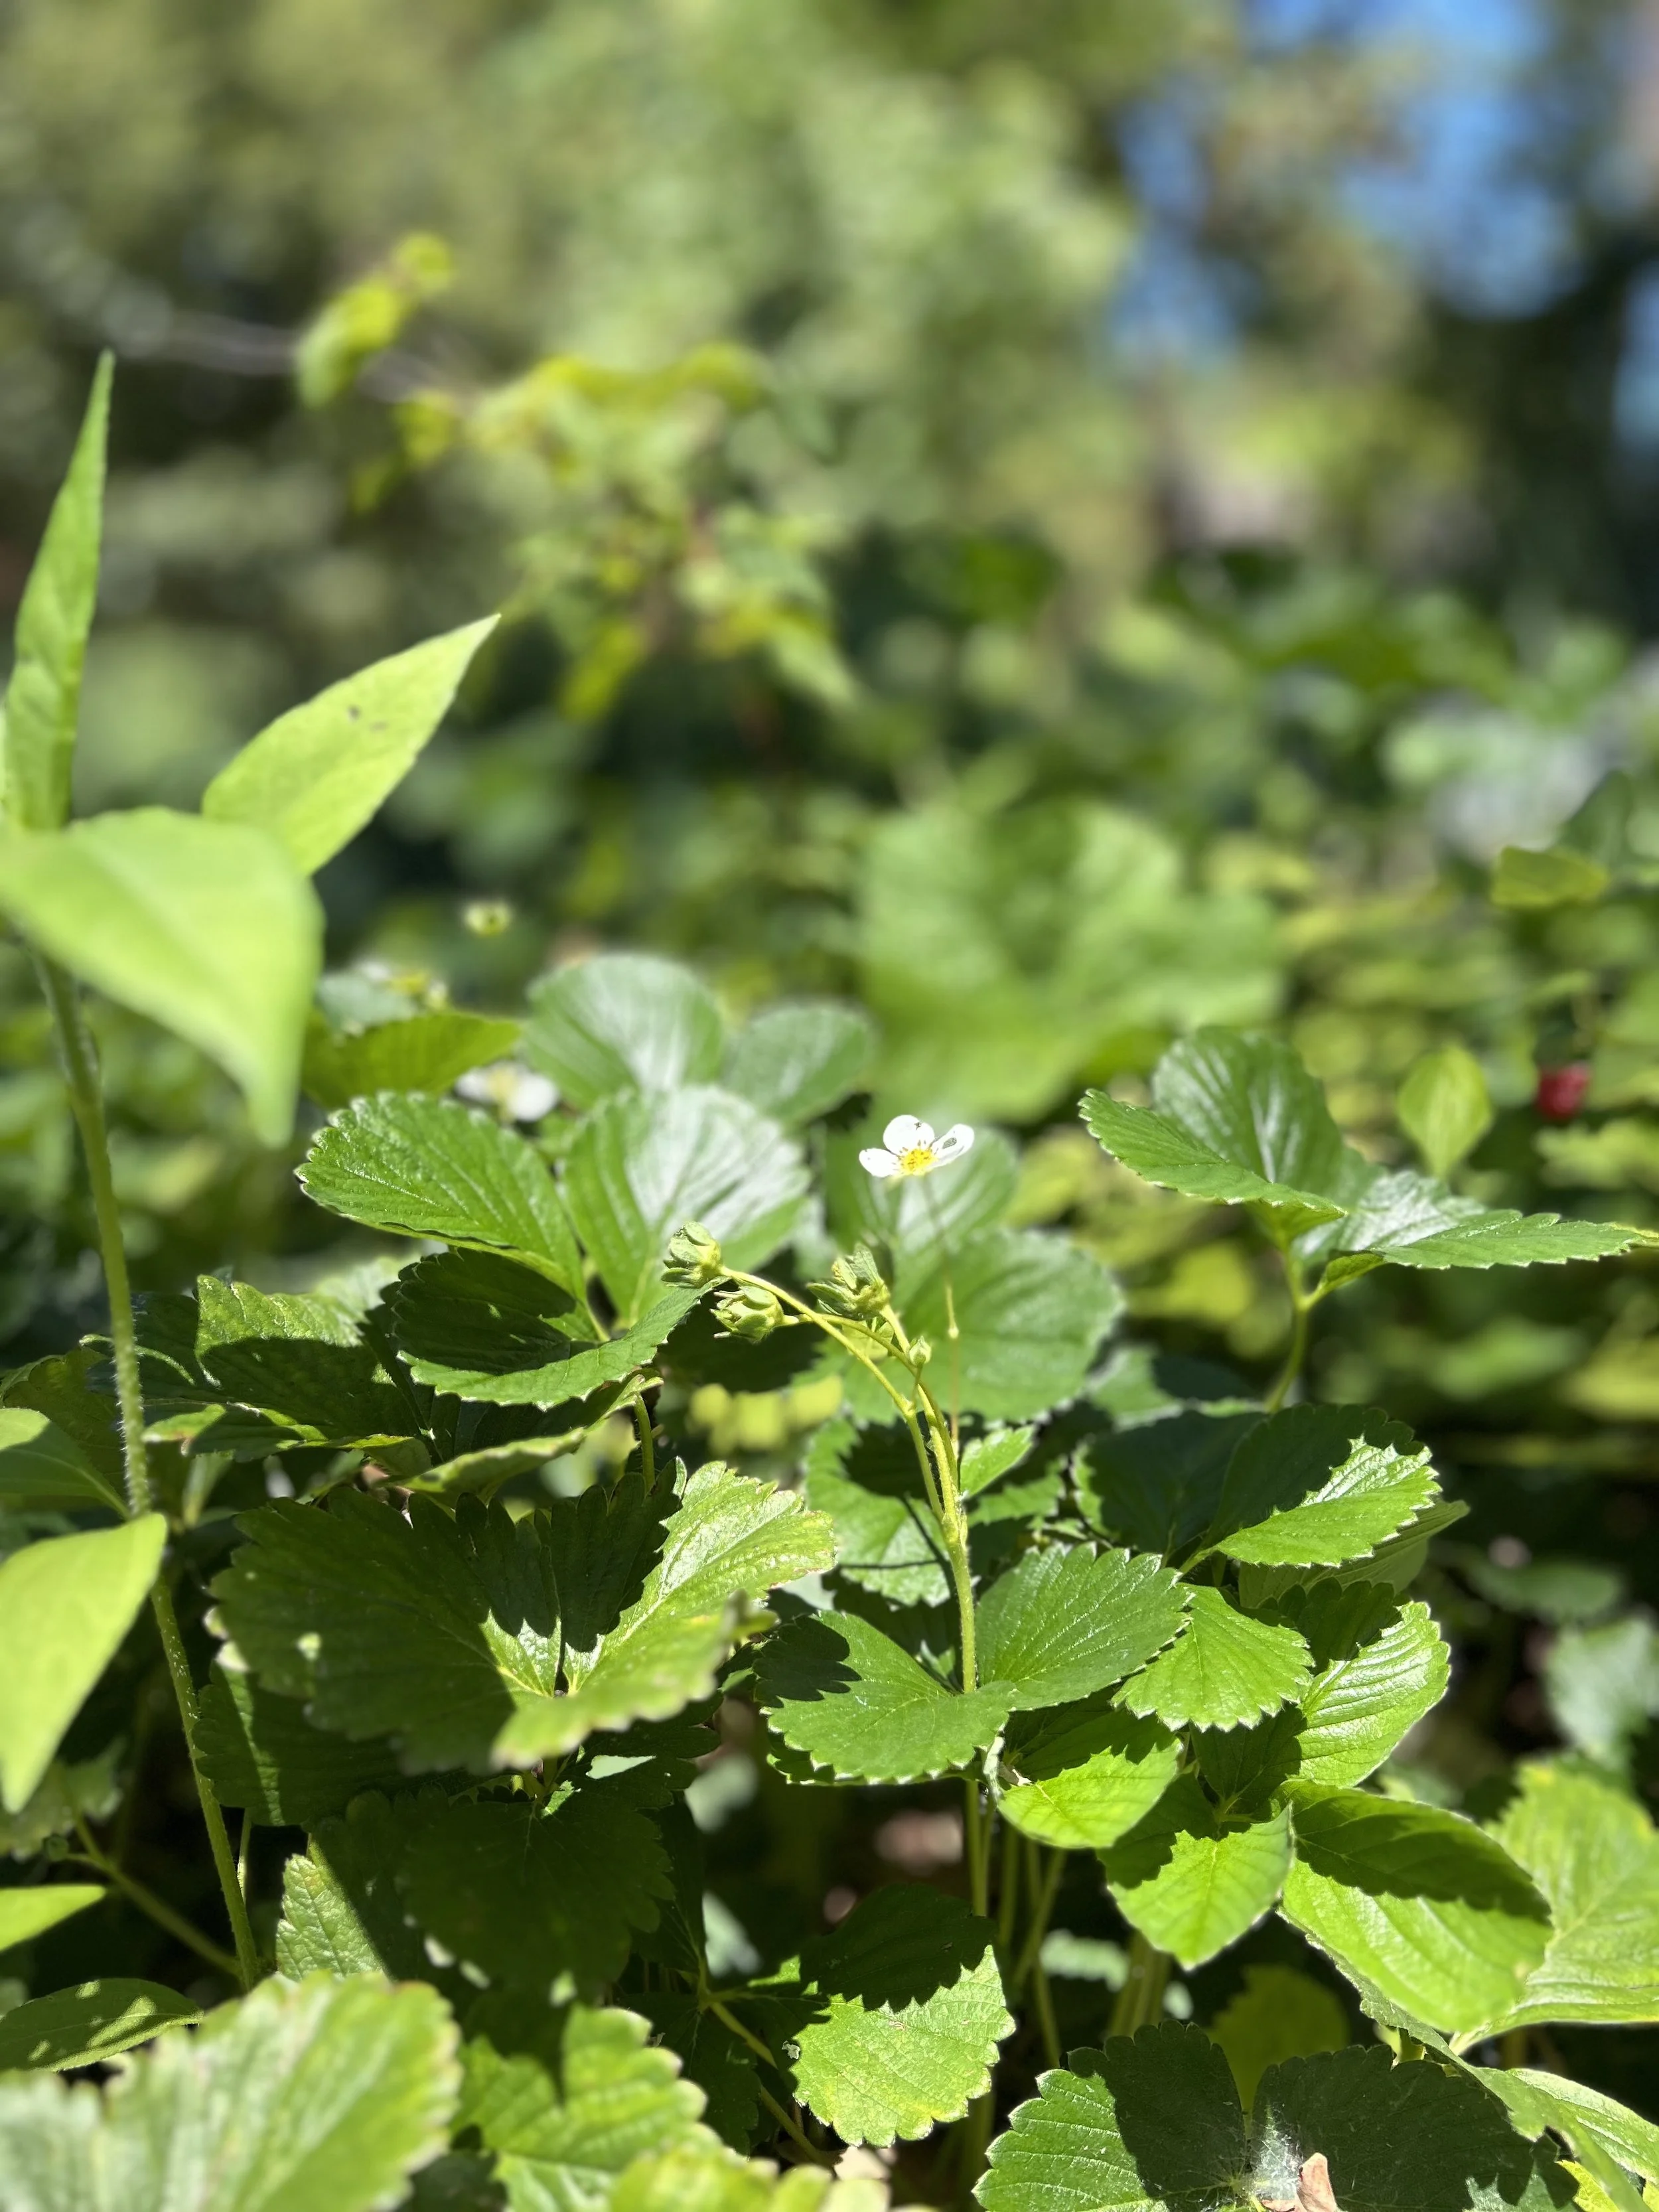
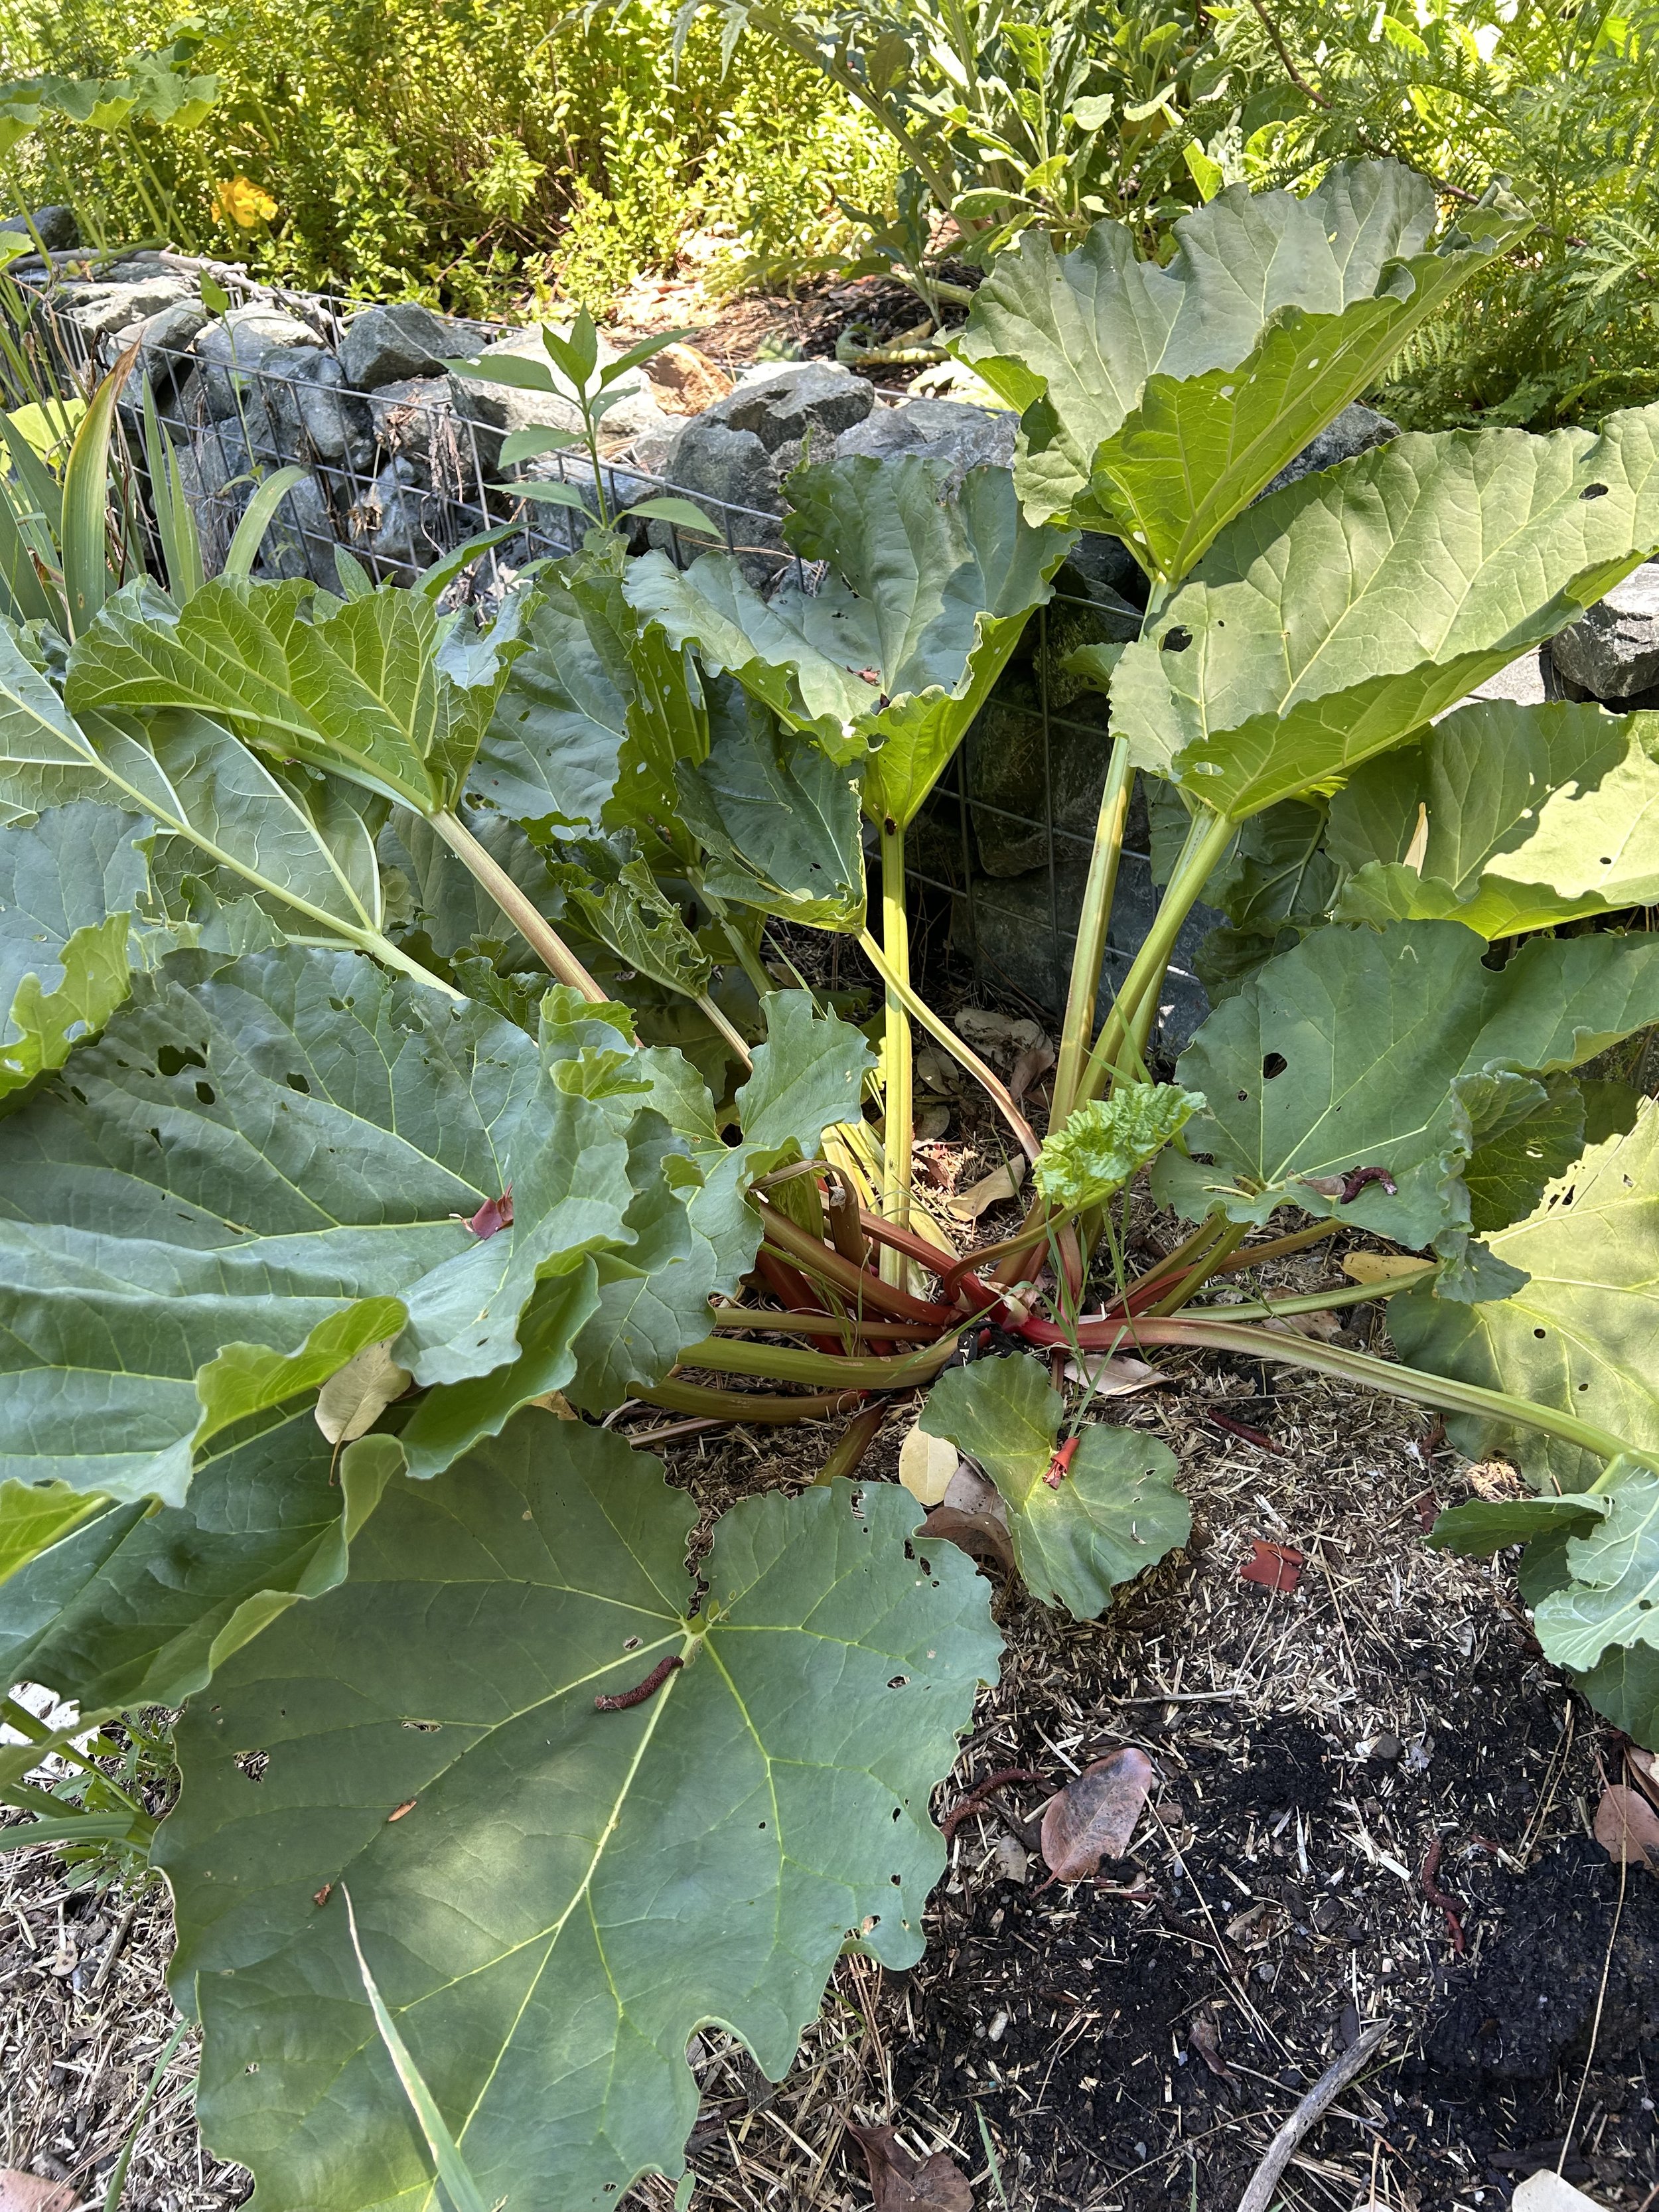
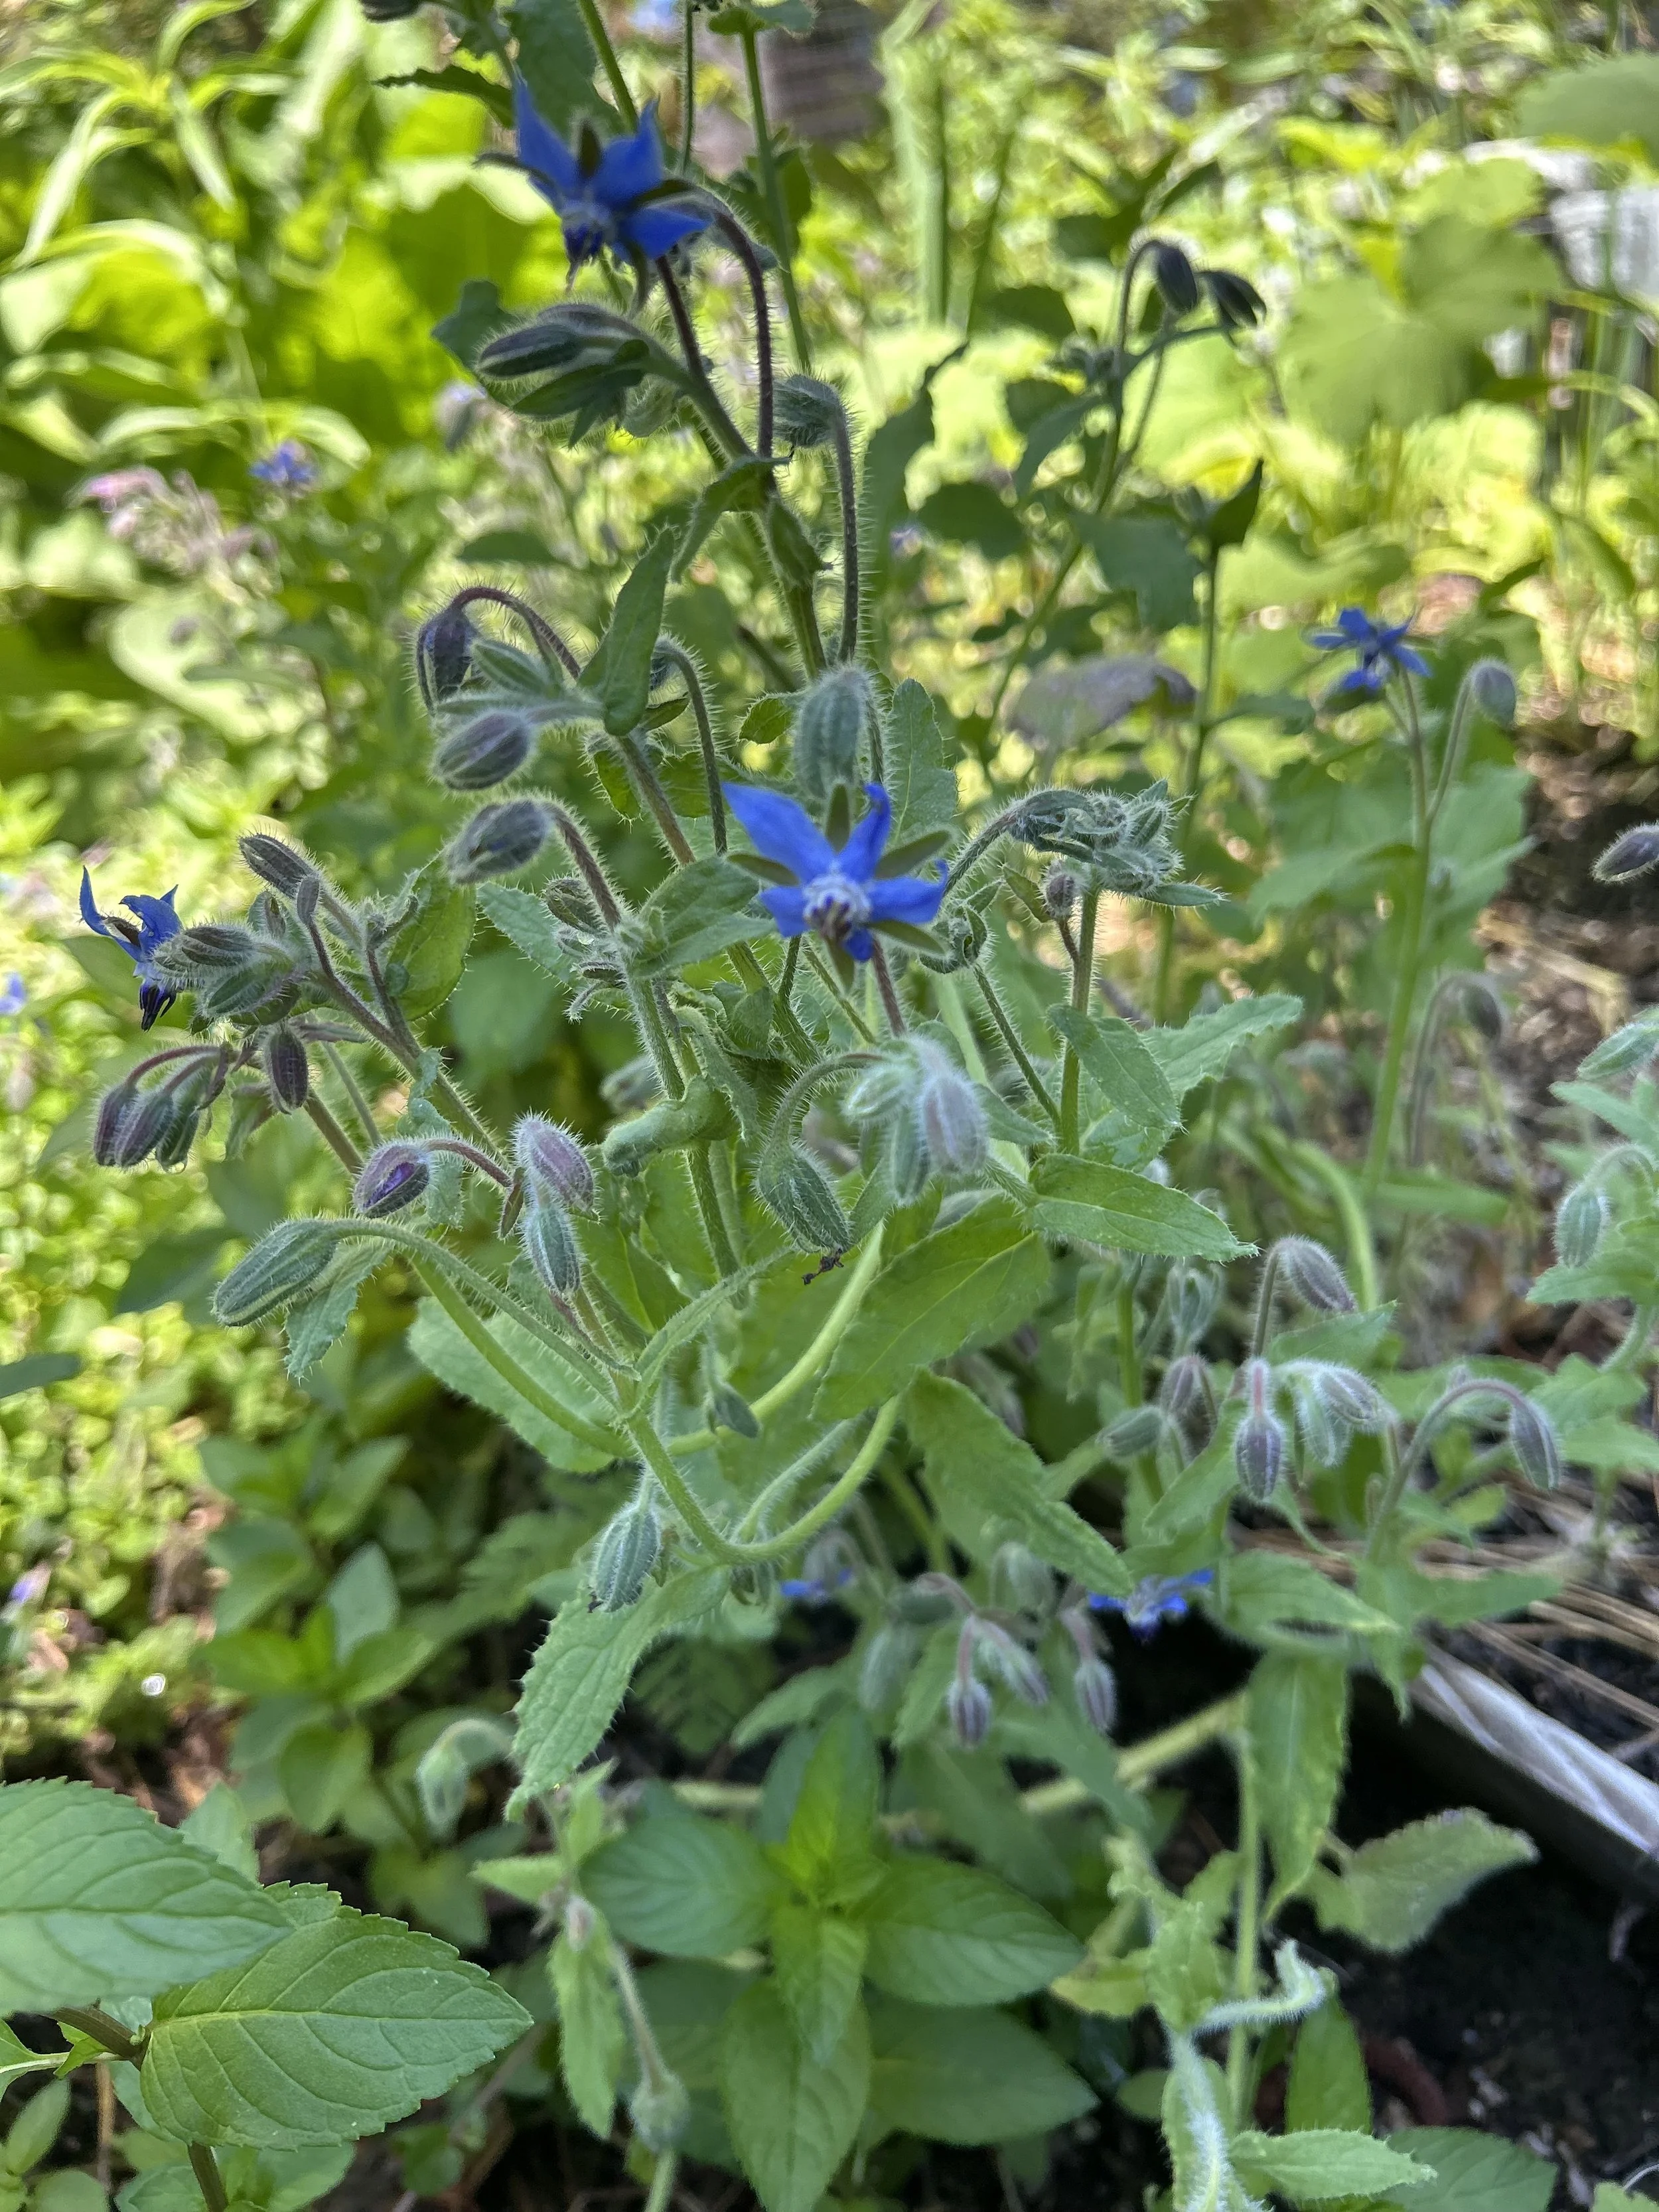
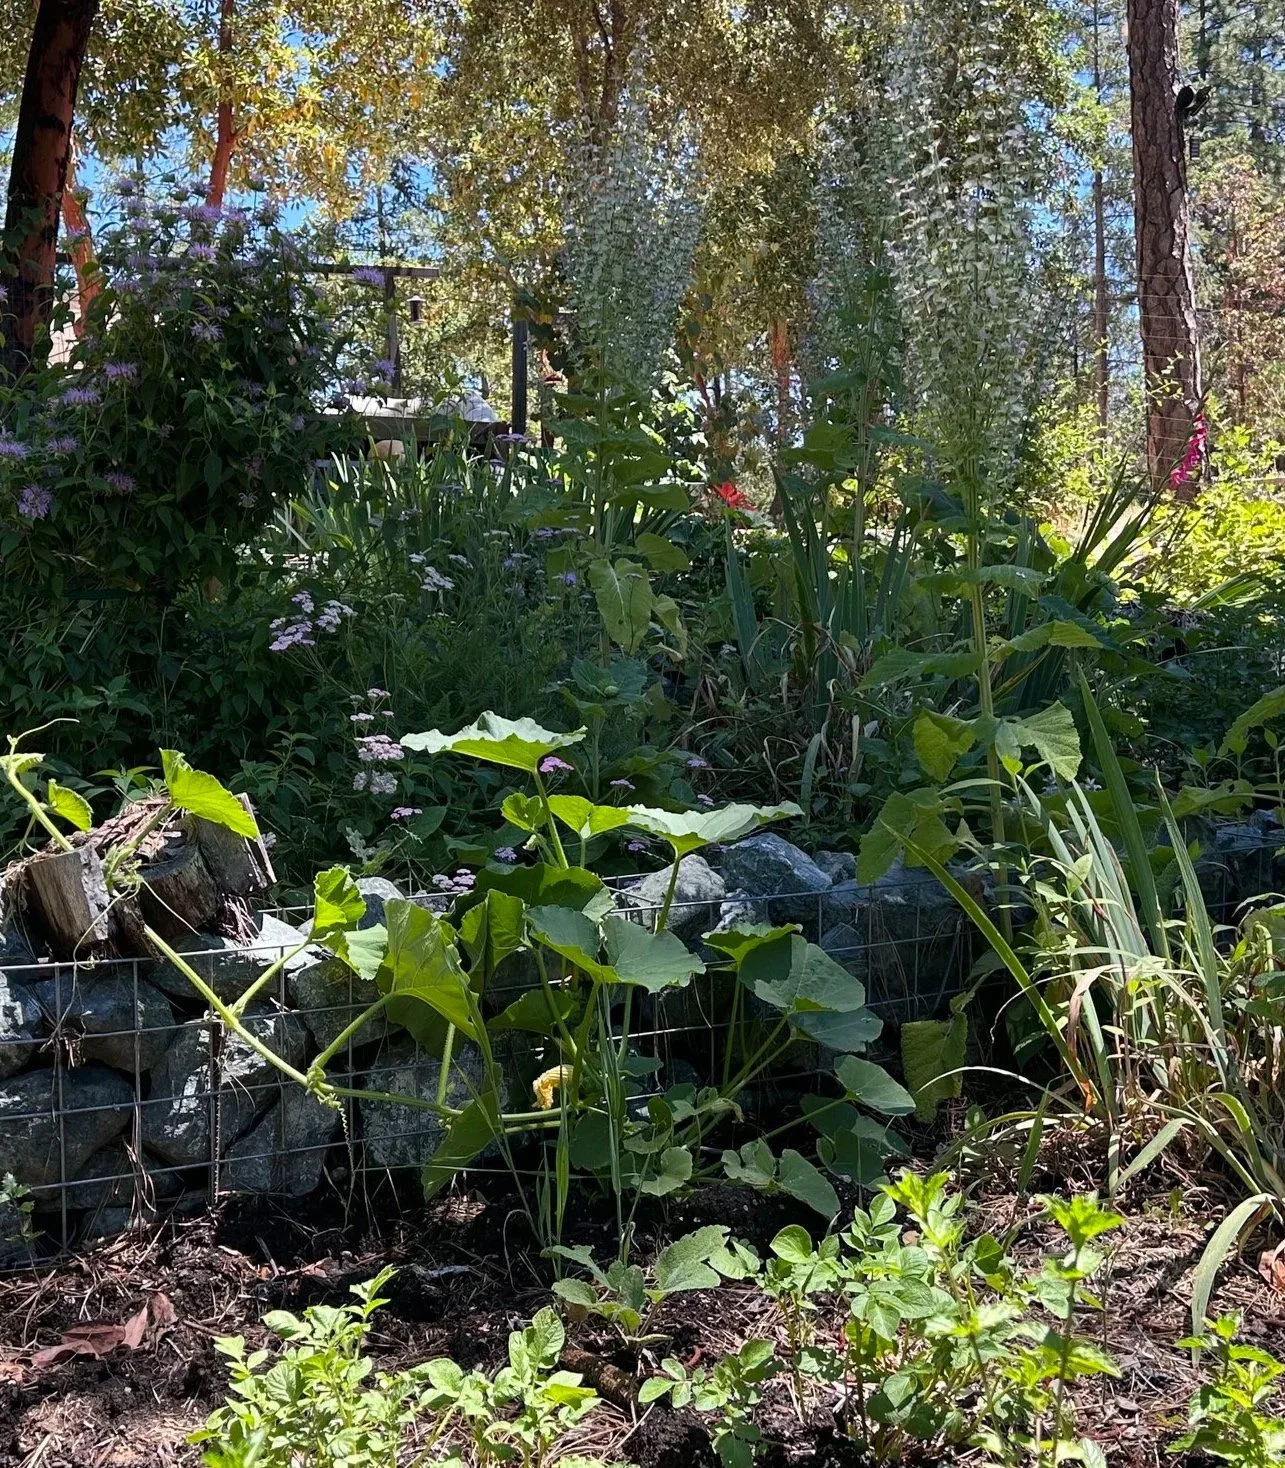
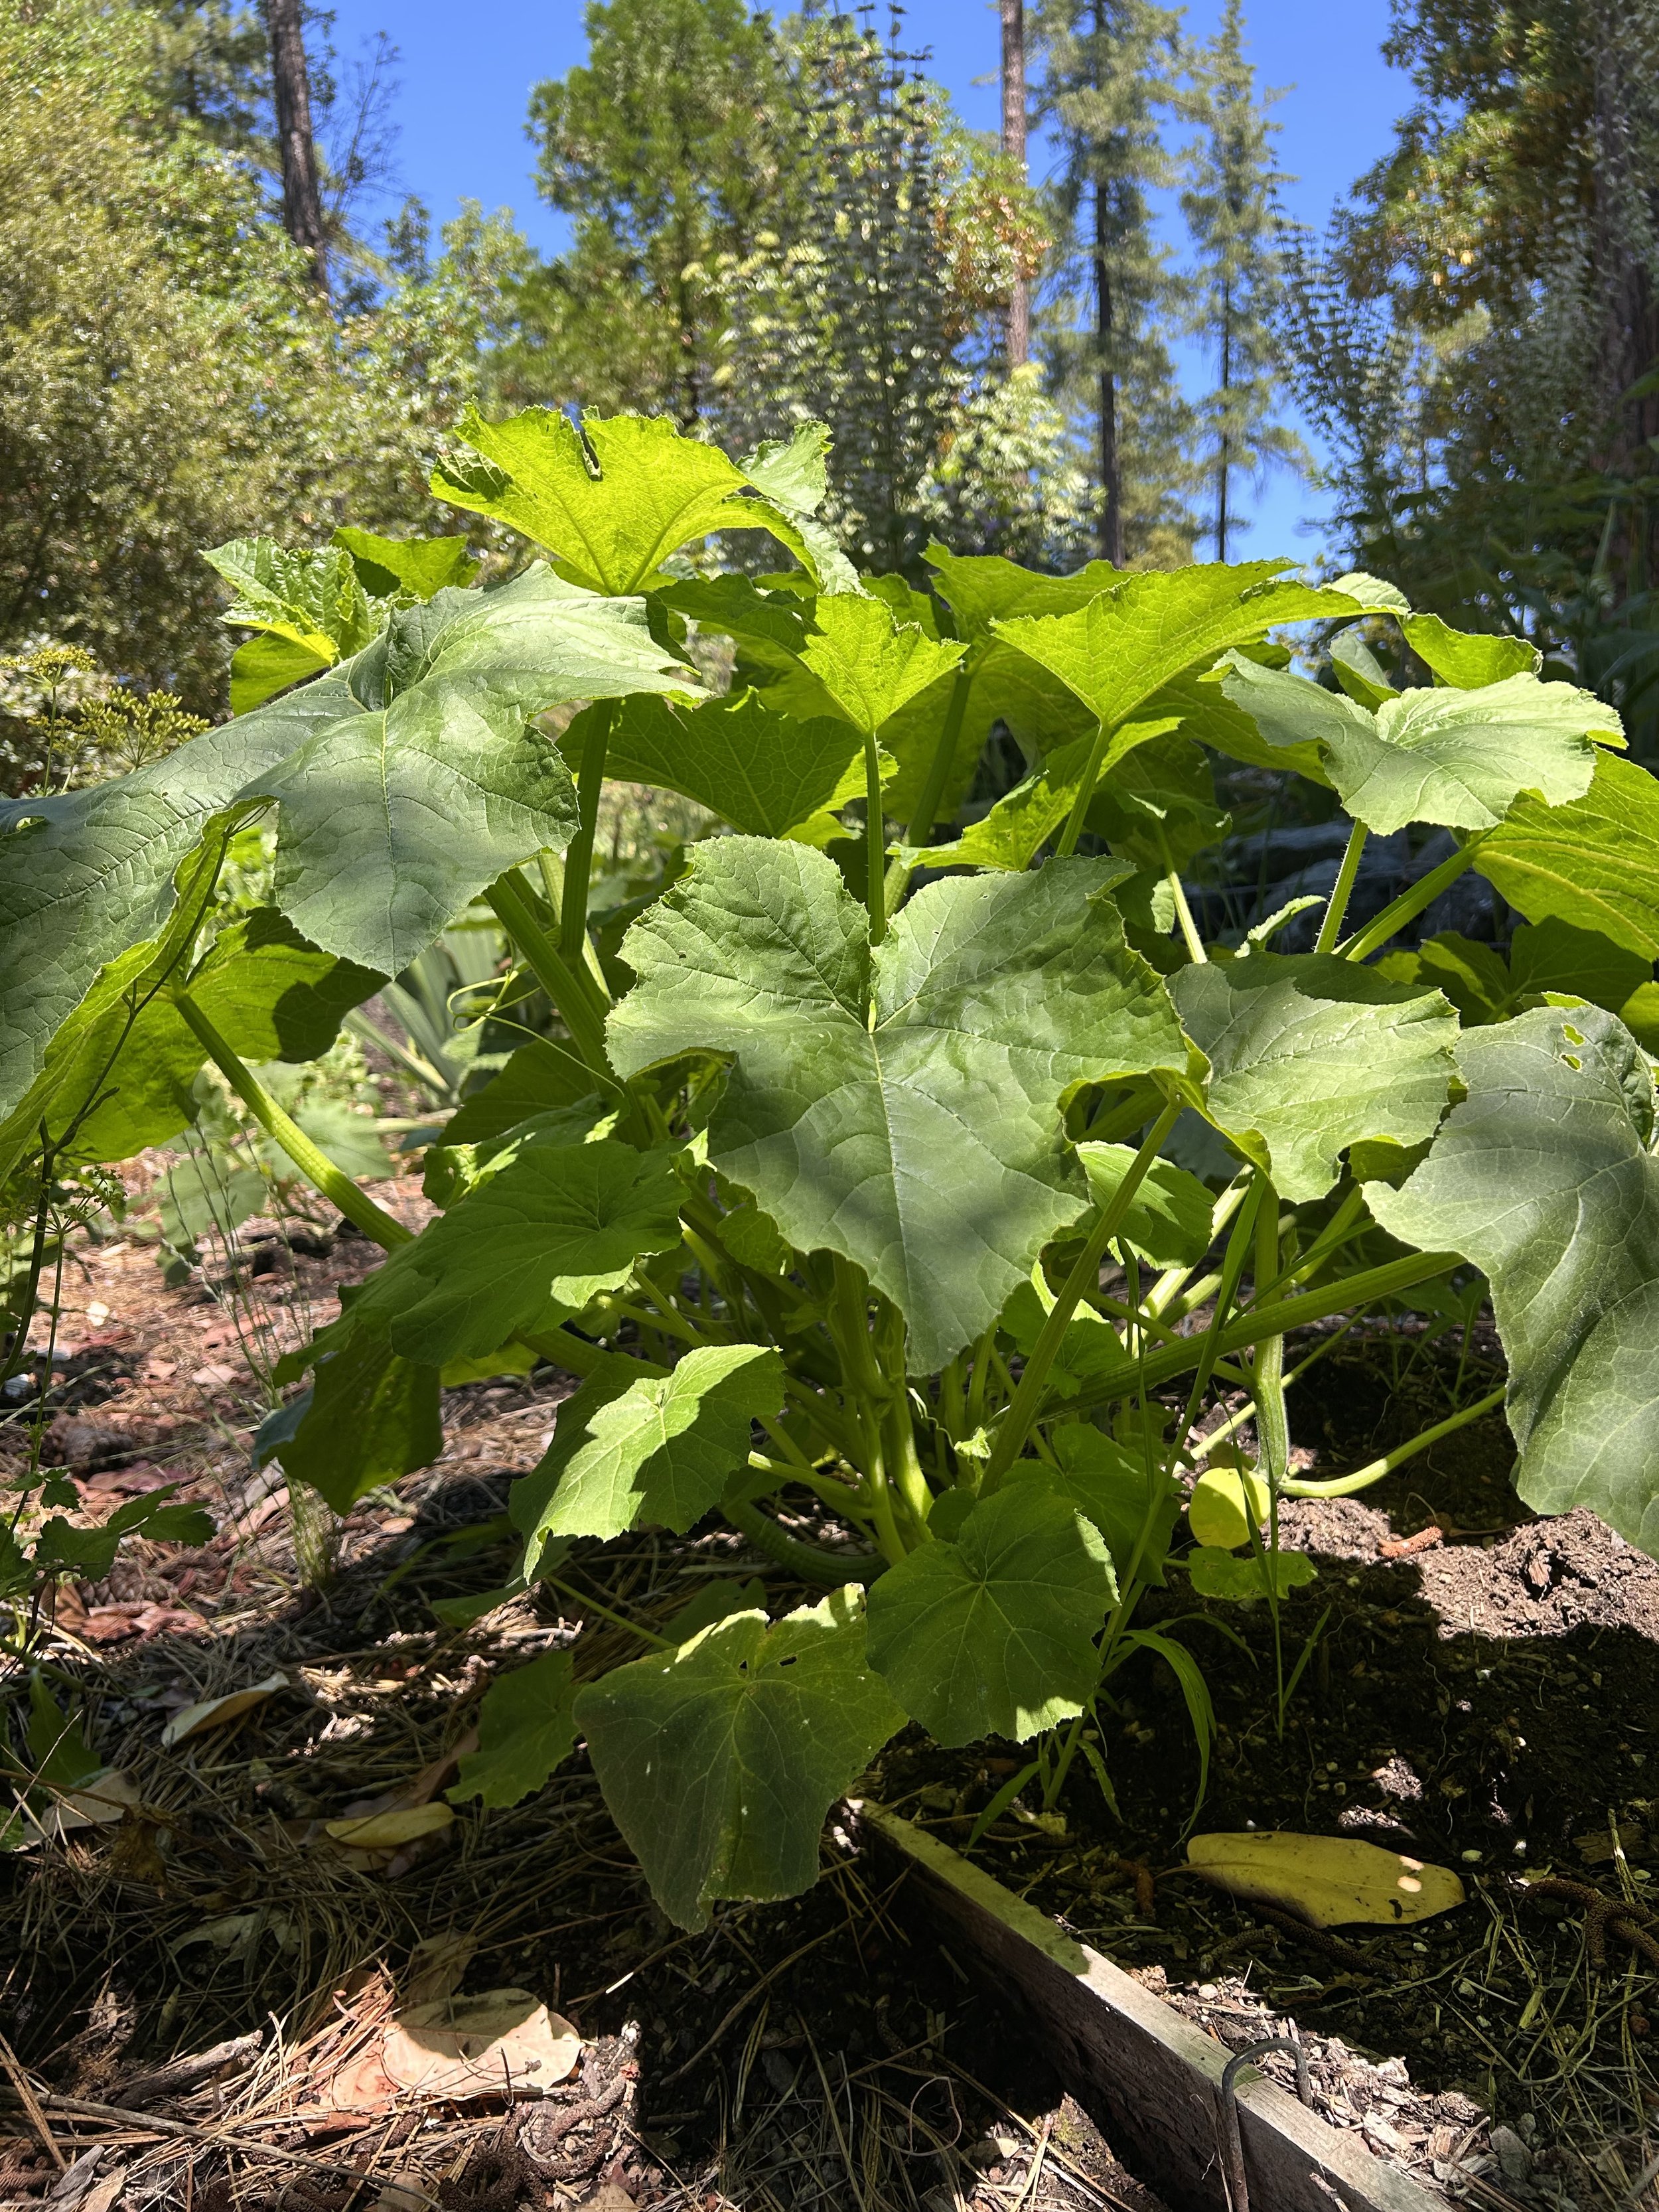
The garden looks healthy. Happy.
I can feel the difference and even though it is not quite harvest time for most things, I can taste the difference.
The berries are finally producing. Not baskets of berries yet, but significantly more than in the past years.
The farmers were right. It really did take five years. Amending the soil to no longer be hydrophobic took time. Did I do it right? Maybe. Should I have done something else? Probably. I’ll never really know. And although over coming hydrophobic soil feels like a great victory, and the garden seems to be doing great, I know that I’m not “done”. I know each year will bring new challenges and new successes. And I look forward to these changes, challenges and discoveries.
I've come to realize that gardening is remarkably similar to raising (and teaching) children. It requires patience. It requires observation. It requires making mistakes, adjusting, and trying again. And, there is never only one right way, nor a one size fits all solution.
I've always believed in learning through doing and that is what Ohmapi is founded upon. But experiences and “doing” take time. It takes much more time to dosomething than to read about doing that same thing. I often call learning by doing, slow learning. And I mean it in the best possible way, like slow food, which I imagine, you probably agree is much better than fast food.
Gardening embodies a philosophy of “slow”. Even the “fast” things, like radishes, take a month from seed to harvest. Most of the others, like watermelon, raspberries and, apparently, healthy soil ask you to wait months or years. Wild nature knows this too. Oak trees don’t begin making acorns until they are around 15 years old and peak production is when they are 50-80 years old.
We live in a culture that loves shortcuts and quick fixes. We look for hacks. We fertilize. Yet, nature doesn't seem particularly interested in hacks. It is interested in relationships. Healthy soil is built through seasons of compost, fungi, roots, insects, microbes, weather, patience, and time.
Have you noticed that children grow much the same way? We cannot force learning, creativity, wisdom, or confidence to appear on our preferred timeline. Sometimes we don't see progress for years. And then one day, almost without realizing it, we notice the something has changed. And we understand that all those days of watering, feeding, waiting, wondering if anything was happening at all, had been quietly, slowly becoming something beautiful.